Pathway for Years 3 & 4
Disciplines:
Cyanotype, Anthotype, Painting with Natural Pigments, Drawing, Sketchbooks
Key Concepts:
-
That we can use the world around us as “ingredients” with which to make art.
-
That photographs are created when a light sensitive surface is exposed to light.
-
That we can manipulate the world around us, transforming it into art.
In this pathway children are introduced to Cyanotypes, and the work of the first female photographer Anna Atkins. They are also introduced to artist Frances Hatch, who finds and makes pigments from the landscape she is drawing.
Children then go on to make their own imagery, choosing one or more methods, to make artwork which is rooted in the materials and place in which it was made.
Medium:
Natural pigments from earth and plants, paper, light.
Artists: Frances Hatch, Anna Atkins
If you use this resource in your setting, please tag us on social media: #InspiredBy @accessart (facebook, twitter) @accessart.org.uk (instagram) and share the url. Thank you!


Teaching Notes
Find the MTP for this pathway here.
Curriculum Links
Maths: 2D shapes, pattern.
Science: Wild and garden plants, trees, structure of plants, local environment, birds, every day materials and properties, planting and growing, the four seasons.
PSHE: Responsibility to the planet.
I Can…
-
I have explored how artists make art from natural materials around them, such as pigments from plants, the ground, and sunlight.
-
I have understood how materials can be transformed through my actions.
-
I can reflect upon artists work, share my response and listen to the response of my classmates.
-
I can use my sketchbook to collect ideas.
-
I can make visual notes about how artists have made images.
-
I can use my sketchbook to try out ideas and experiment.
-
I can make a finished piece, which might be part of a larger class artwork.
-
I can share my experience and artwork, talk to my classmates about what I like and what I would like to try again.
-
I can use a camera or device to take photographs of my work.
Time
This pathway takes 6 weeks, with an hour per week. Shorten or lengthen the suggested pathway according to time and experience. Follow the stages in green for a shorter pathway or less complex journey.
Materials
Soft B pencils, coloured pencils, oil/chalk pastels.
Option 1: Cyanotypes – ‘Sun paper’ or cyanotype solution, found objects or natural forms.
Option 2: Primal Painting – Foraged plants or vegetables, rolling pins for mashing, paper brushes.
Option 3: Anthotypes – Plants, leaves, spices, rolling pins/masher, bowls, jars, water, fine sieve/coffee filter, watercolour paper, brushes, picture frame/clear perspex, flat object, such as pressed flowers.
Pathway: Using Natural Materials to Make Images
A PDF of this pathway can be found here.
-
Aim of the Pathway
This pathway encourages children to explore how they can use materials found around them to make images.
- Week 1: Introduce Artists
Frances Hatch
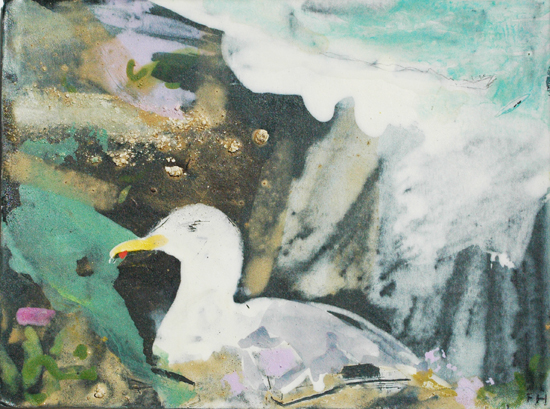
Introduce pupils to the work of Frances Hatch through the free to access “Talking Points: Frances Hatch” resource.
Use the questions on the resource to stimulate a discussion about the way Frances employs curiosity about her environment to build her practice. Scroll down the images in the “Working WITH and In the Landscape” resource to explore with pupils.
Invite pupils to work in sketchbooks. Use the “Making Visual Notes” resource to get children to jot down and draw things of interest to them.
- Week 1: Introduce Artists
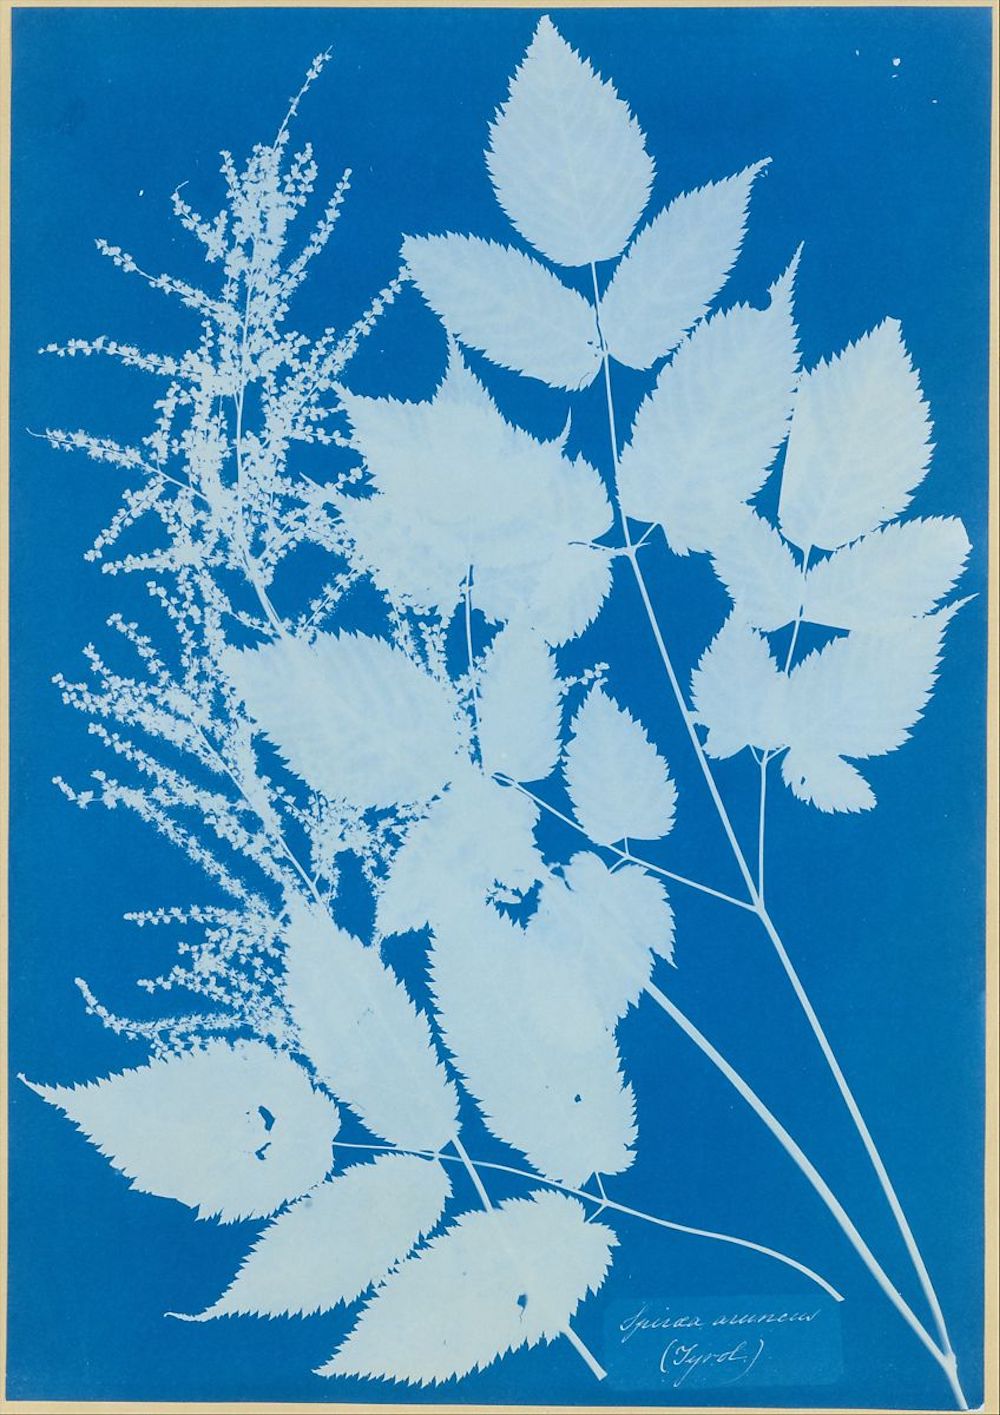
Anna Atkins
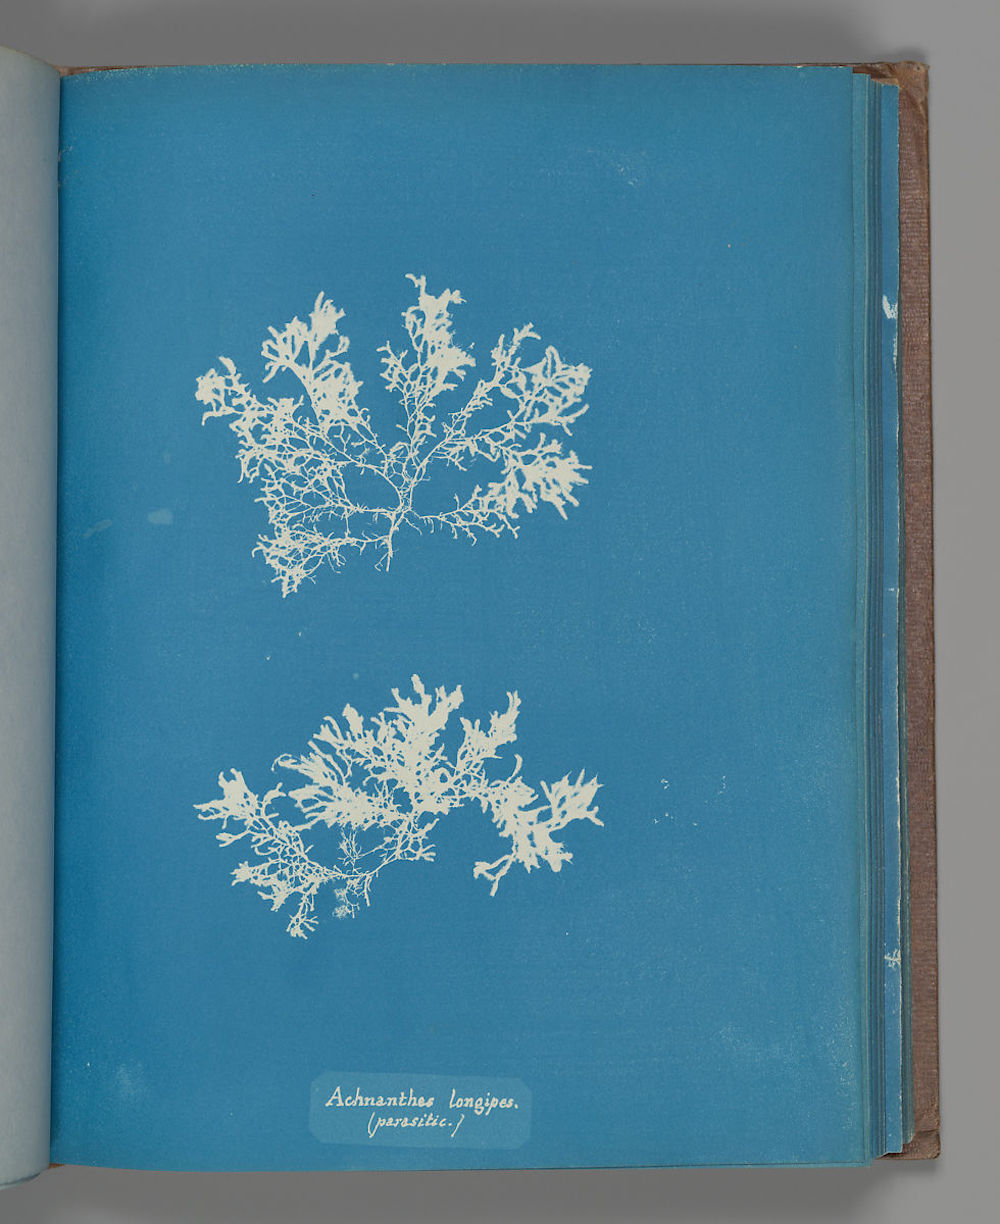 Use the free to access “Talking Points: Anna Atkins” resource to introduce children to the work of the first female photographer who used cyanotypes.
 Work in sketchbooks again using the “Making Visual Notes” resource to collect and consolidate information. Or use the “Show Me What You See” technique.
By the end of the first session pupils should have two or more sketchbook pages full of visual notes.
- Weeks 2, 3, 4, 5: Find Your Focus
Choose Your Project
Choose one or more of the projects below to enable a practical exploration.
- Option 1
Making Cyanotypes
Inspired by the work of Anna Atkins, children will make cyanotypes.
Use the free to access “Talking Points: What is a Cyanotype?” resource to explore what a cyanotypes is.
Use the “Talking Points: What is Negative Space” resource to explore the idea of negative space, and how we can use it in our artwork.
Use sketchbooks to plan and build. What will pupils collect to use on the cyanotype paper? What will the focus of the exploration be?
Use sun paper as an easy way to make cyanotypes. Ask pupils to consider how they will display the results, bringing all images from the class into one artwork for display.
TIP: When you expose your prints you can also use a sunny window – taping the paper and object to the window on the inside.
-
Or…
- Option 2
Primal Painting
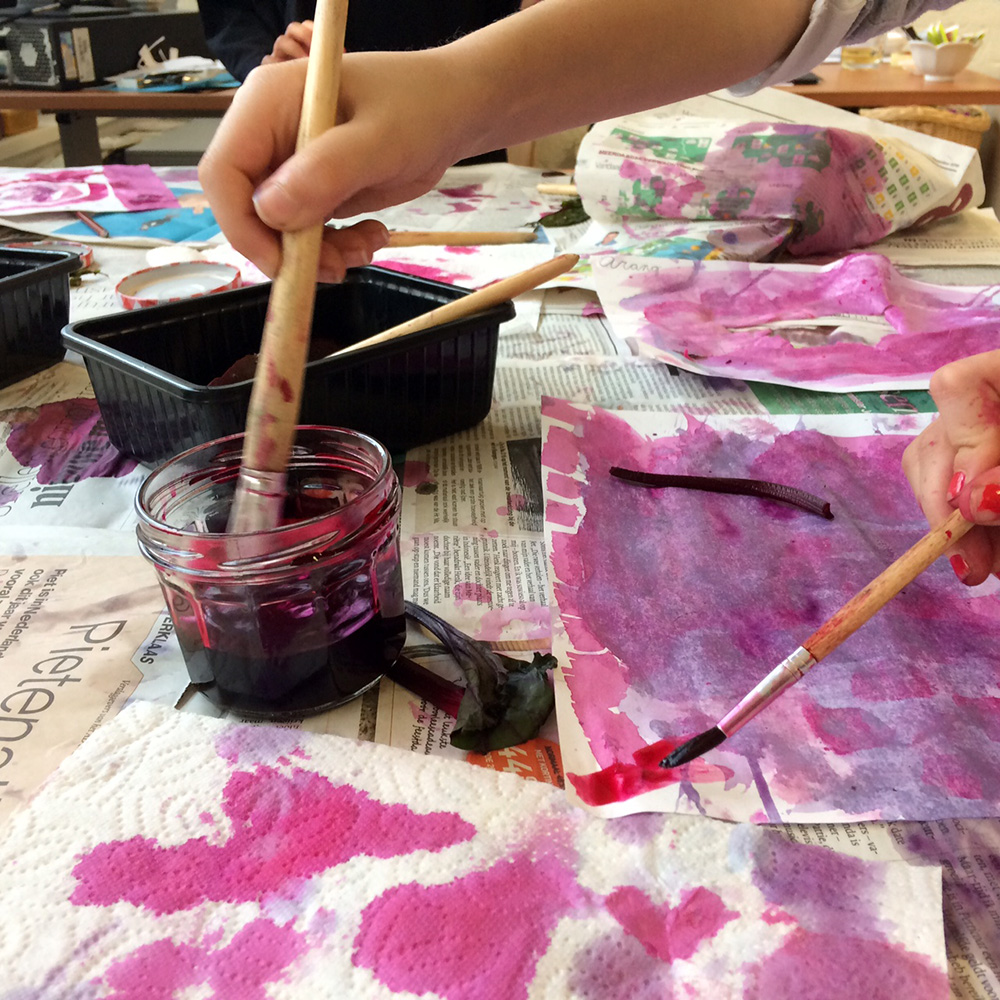
Inspired by the work of Frances Hatch, paint using natural pigments.
Use the “Primal Painting” resource to enable pupils to be curious about the things around them. Forage in school grounds or your local environment. If you live in an urban environment you can bring in vegetables to supplement vegetation from local parks or pathways.
Revisit the free to access “Talking Points: Artists as Explorers and Collectors resource”.
Work in sketchbooks to define the focus of the artwork. Use sketchbooks to experiment, making notes about which materials they use and how.
-
Or…
- Option 3
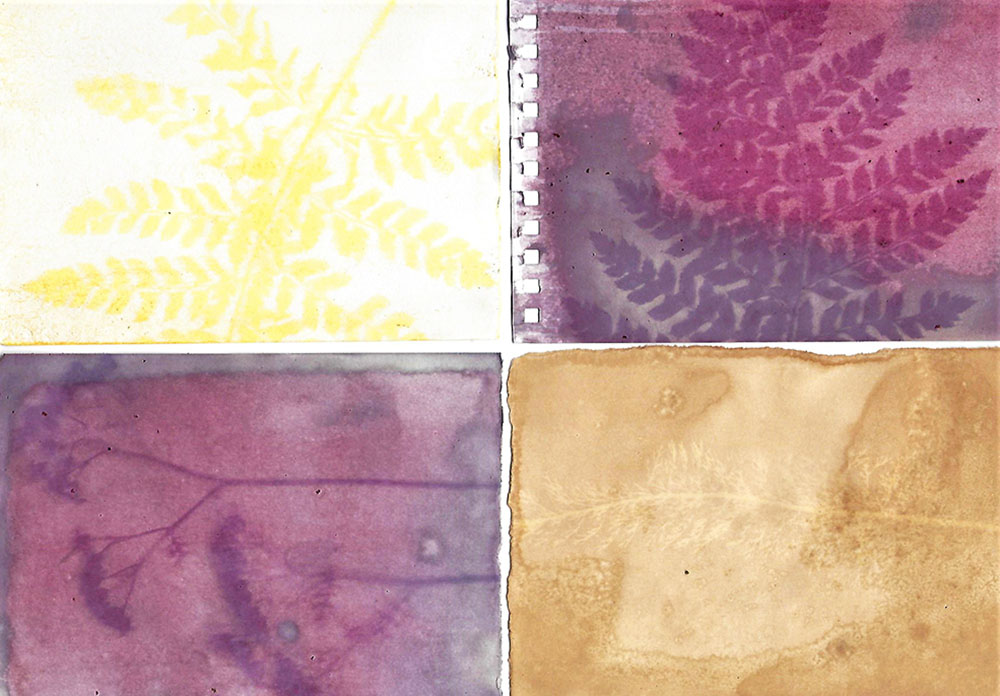
Making Anthotypes
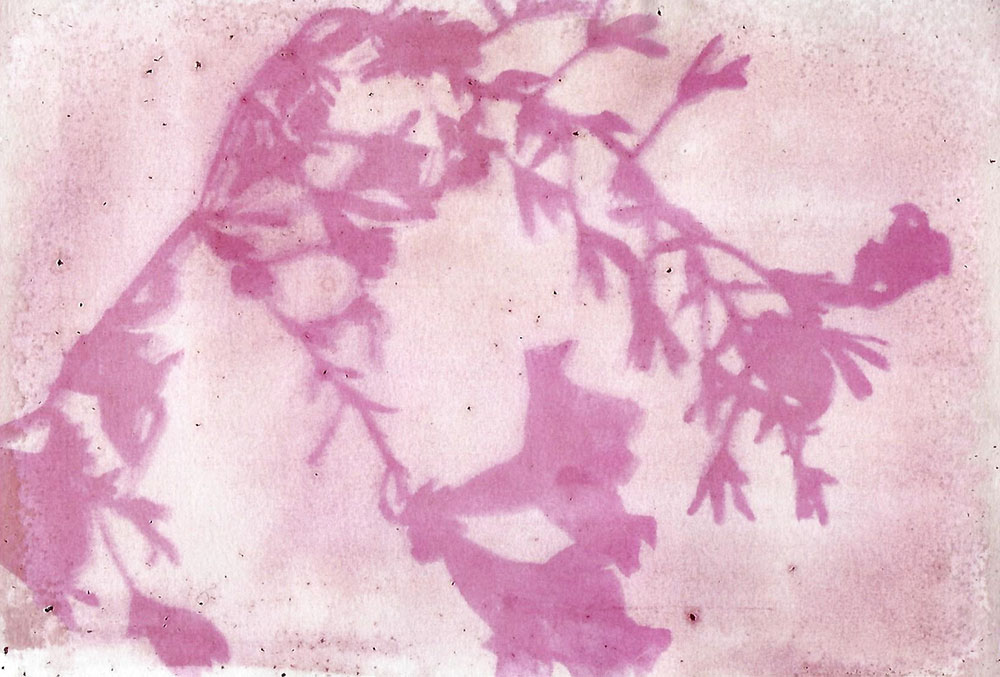
Use the “Making Anthotypes” resource to understand how pupils can make images from the sun and things around them.
Revisit the free to access “Talking Points: Artists as Explorers and Collectors resource.”
Work in sketchbooks to define the focus of the artwork. Encourage children to use their sketchbooks to experiment, making notes about which materials were used and how.
TIP: Use boxes with lids to keep the prepared paper away from the light, or use a heavy cloth over it. When you expose your prints, the above resource recommends you use glass and a frame to hold the image still – but you can also use a sunny window – taping the paper and object to the window on the inside.
- Week 6: Present and Celebrate
Share, reflect, discuss
Time to see the work which has been made, talk about intention and outcome.
Invite pupils to display the work in a clear space, and walk around the work as if they are in a gallery. Give the work the respect it deserves. Remind the children of their hard work.
If you have class cameras or tablets, invite the children to document their work, working in pairs or teams.
Use the resource here to help you run a class “crit” to finish the project.
See the Pathway Used in Schools…


If You Use AccessArt Resources…
You might like to…
Join our Facebook Group

Join the AccessArt Network group on Facebook and ask questions of others using our resources
Share and Tag

Share photos of work made by tagging us on social media
You May Also Like…
Home made inks

Make your own inks from the plants around you
Exploring Cyanotype by Maru Rojas
