Drawing Projects for Children and Make Build Create aim to inspire and enable children, teachers, facilitators and workshop leaders to explore drawing and sculpture in an active and adventurous way.
Find further details about each book, including reviews, below.
*The exercises and projects in these books are aimed at children aged 5 to 12, however the majority of the projects can easily be adapted for older pupils and adults too.
Drawing Projects for Children

Make, Build, Create: Sculpture Projects for Children

Published by Black Dog Press

Ros Corser
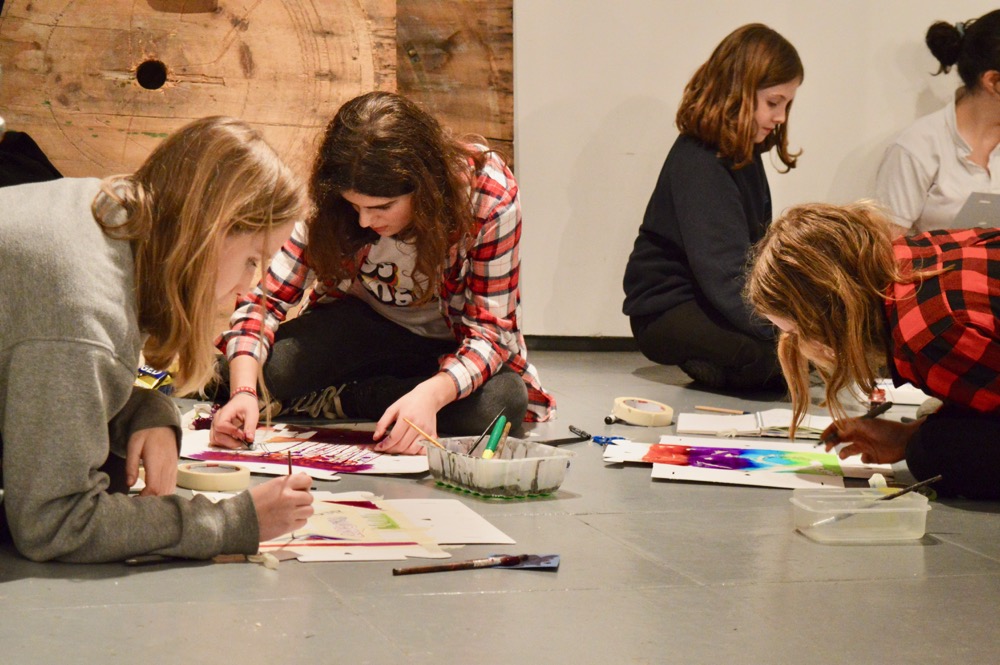
Make Build Create by Paula Briggs is an informative and helpful manual that describes a series of creative sculptural projects designed to engage all. Beautiful photographs run throughout the book, making it as visually appealing as it is inspiring. Thank you, Paula, for such an inspirational book, encouraging “hands-on art” for everyone.
Amanda Warren, NSEAD Network
Make, Build, Create is an inspiring book. Like its predecessor ‘Drawing Projects for Children’, it is beautifully produced, with beguiling photographs and a carefully laid out task which is easy to access whilst being packed with inspiration.
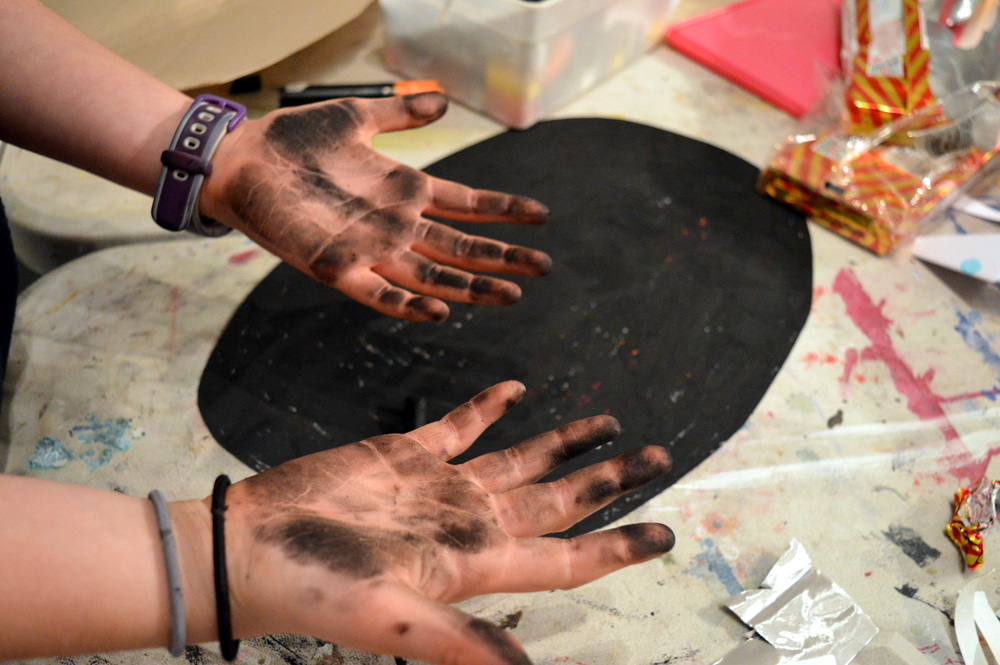
Based on the premise that children love to make things but probably are given insufficient opportunity, the book guides the reader through some basic premises (such as “Why make?”) and useful information about equipment and safe procedures. Some of the materials suggested may have been neglected in recent years (I confess it is a long time since I used plaster in powder form), and there are zany ideas, too. Making a plinth for a figure looks sure to appeal! And those wire insects! The photos can easily be shared with a group of children to inspire them or to illustrate processes.
My only query is who the book is aimed at. To begin with, I thought it was a book for children, but the foreword is definitely for teachers and facilitators. But does it really matter? The book is sumptuous, gorgeous, and appealing. Paula Briggs has done it again; let’s get making!
Amanda Morris-Drake, Darwin Centre for Young People
Full of excellent ideas and beautifully presented.


 https://vimeo.com/518101698")


