Sketchbooks! Making Your Sketchbook Your Own
Part 2: Making Your Sketchbook Your Own << back to \"Sketchbooks!\" course page
We are going to start by making a sketchbook. You could just use a bought sketchbook, but if you do, we\’d like you to spend some time adding on to that sketchbook before you start working in it.
The reason we are going to start by making a sketchbook (or developing a bought sketchbook), is because then the book will start to feel like it belongs to you right from the start. The sketchbook becomes owned the moment you start to make – you make personal choices, and you think creatively from the outset.
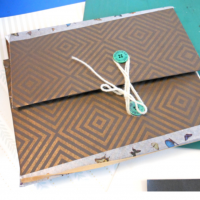
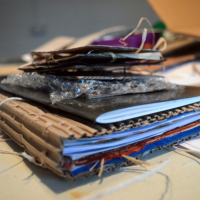
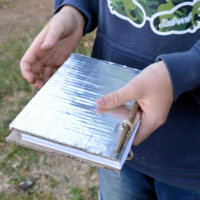
Another thing happens when you make a sketchbook.
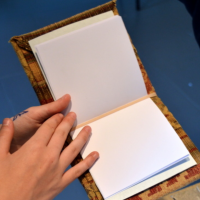
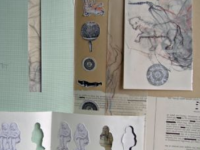
When you turn a page to work in your sketchbook and are presented with a pockets instead of a white page, or a piece of graph paper which unfolds, or a piece of old map, it will inspire you to be more creative in the way you write and draw in the sketchbook.
So, let\’s get started. Decide if you want to make a sketchbook from scratch, which is very simple, OR adapt an existing sketchbook. Either way, we\’d like you to end up with a sketchbook that really feels like it is yours, even before you start to work in it.
Making an Elastic Band Sketchbook
Elastic band sketchbooks are a really great way to make books which have plenty of personality and character!
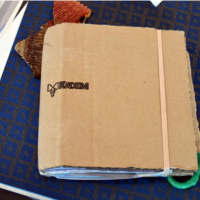
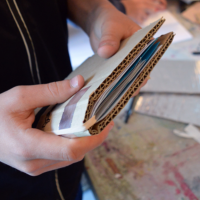
Start off by collecting paper of all kinds – recycled paper, white paper, graph paper, brown paper… the more varied the better. You’ll also need corrugated cardboard for the cover, and an elastic band to fasten it all together.
Whatever size sketchbook you want to make, cut a piece of corrugated cardboard which is twice as wide as the finished book. Bend it in the middle to form a spine.
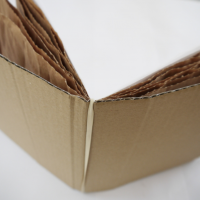
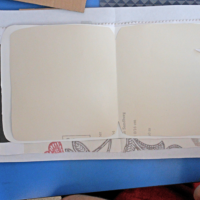
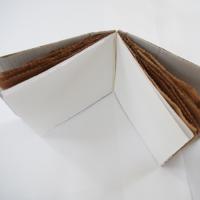
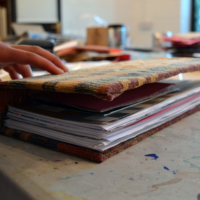
Next cut or tear a series of pages, again twice the width of the finished book. Fold these in half too, and then simply use the elastic bands to fasten it all together. the great thing about these books is that they are completely flexible – you can take them apart, take pages out, and add more pages, and really personalise them.
The cardboard provides a versatile cover which can easily decorated to personalise them further.
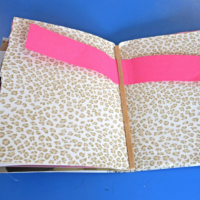
Extending a Bought Sketchbook and adding \"Spaces & Places\" to regular sketchbooks
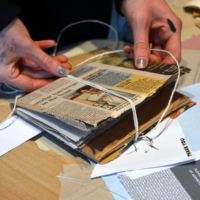
Take an existing sketchbook – it can be any kind, shape or size. The idea is to change the structure of the sketchbook. That might mean adding new pages made up of different types of paper, different sizes, even different shapes. Think about how you can create \”places and spaces\” within a sketchbook. When you start working in your sketchbook, coming across these altered pages can really help you make exciting work in your book.
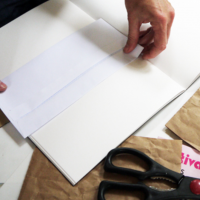
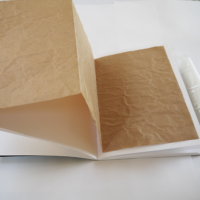
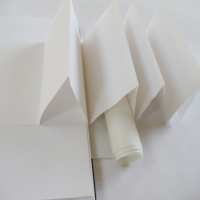
So for example, you might want to bend and glue pages to create pockets. You might want to add bags to create collecting areas, or add fabric so you can paint on that instead of paper. Add whatever you can find or whatever you are attracted to, to change the shape of the places and spaces within the sketchbook.
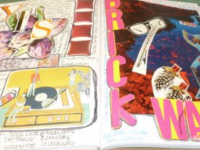
The idea is to be as creative as you can in terms of the way you change the look and feel of the book, so that when you are working in your sketchbook later, you are not only inspired by the world around you and by what’s in your head, but also by the sketchbook itself.

Charlotte D
April 1, 2020 @ 12:41 pm
Thank you for these resources! I will definitely be sharing these with my students and families!