Making Plaster Reliefs
By Paula Briggs
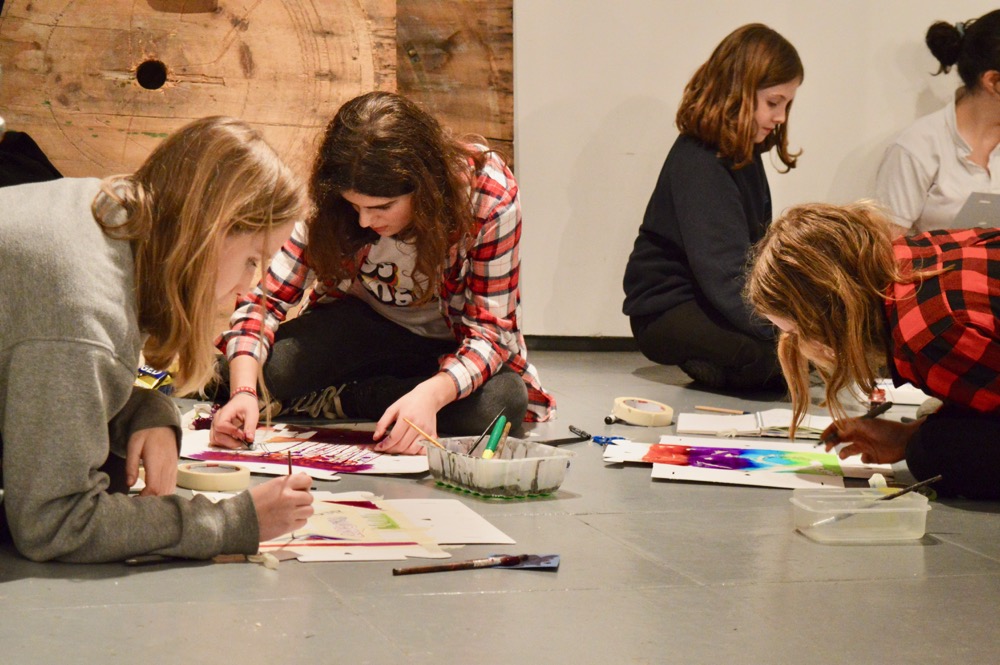
This resources describes how to create plaster reliefs using clay and foamboard moulds. It is based upon a session which took place at Bourn Primary Academy with a group of Year 6 children.

The children had been studying Ancient Egypt as their class topic, and I had taken in a number of objects which somehow captured a sense of Egyptian colour and texture. It was important for me that the children did not create pastiches of Egyptian art, instead I wanted them to work from a subject matter which was relevant to them too, whilst gaining an understanding of how Egyptians used relief on many external walls.
My aim was to enable the children to explore the casting process (rather than carve as the Egyptians did) to create a simple relief, inspired by a richness of forms and colour. The Egyptians used sunken-relief (the image is made by cutting the relief sculpture itself into a flat surface) and the bright sunlight would further enhance the illusion of depth created. As the children made their reliefs, I wanted to give them an opportunity to experience negative and positive, to enjoy the process of creating an object from a space (making a mould, taking a cast), explore the different but complementary qualities of clay and plaster, and finally explore colour by painting the finished relief.
To Begin:
To access all content, I would like to join as…
AccessArt is a UK Charity and we believe everyone has the right to be creative. AccessArt provides inspiration to help us all reach our creative potential.


Sheila C
January 21, 2015 @ 3:19 pm
Students must have been very proud to have accomplished such developed and beautiful pieces of work. I’m impressed by all the techniques and processes explored yet how highly individual the finished master pieces are! Lovely!