Painted Clay
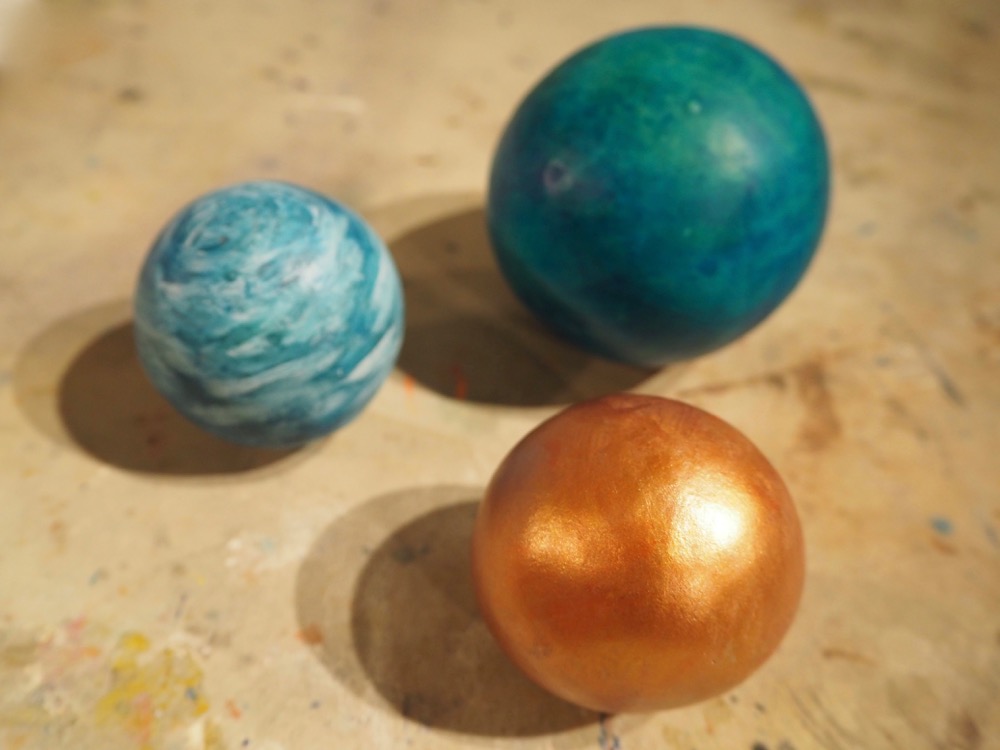
This post was inspired by the Japanese art of dorondongo, where mud and dirt are shaped and buffed into highly polished spheres. We made clay spheres and other simple forms in clay, and once dry, painted them with ink and acrylic. This lesson was run in two sessions, the first to shape the clay, and the second to paint the forms once dry.

Smooth Clay Surfaces
We began by rolling and shaping the clay into balls in our hands. To create a even surface, we lightly rolled the spheres on the edge of a glass. We smoothed the surface by putting a small amount of oil on our hand to gently rubbing. This step is not necessary, but using oil rather than water makes a sleek surface, which is good for painting delicate designs. Rest the sphere on a pillow made by scrunching up newspaper, paper towel, or resting on a sponge, otherwise it will end up with a flat spot. Leave the clay to dry.
Any type of clay can be used: we used plain buff clay. As we did not intend to fire the clay, we did not have to hollow the forms.
To access all content, I would like to join as…
AccessArt is a UK Charity and we believe everyone has the right to be creative. AccessArt provides inspiration to help us all reach our creative potential.


Joanna E
February 11, 2022 @ 8:04 pm
This looks like a great way of introducing participants to clay. The shapes are simple and it’s a pleasing process to smooth them.
A question: I’m assuming you let them dry out before painting them?
Melissa
February 25, 2022 @ 11:57 am
Yes, the clay was dry. We made them one week and painted them the next. The dry surface is porous and will easily take any medium, and also will suck out the moisture so the paint dries quickly.
I would imagine it’s possible to paint them when they are leather hard, but it would likely be tricker (and messier) and not as easy to make lines/details.
Hope this is helpful!