Pathway for Years 3 & 4
Disciplines:
Drawing, Sculpture, Sketchbooks
Key Concepts:
-
That we can take inspiration from other artforms such as film and literature and make work in 3 dimensions in response.
-
That through making work in another medium we can make the work our own, re-interpreting and re-inventing.
-
That we can explore character, narrative and context and create objects (sculptures) which convey these qualities through their form, texture, material, construction and colour.
In this pathway children are enabled to make sculptural equivalents of characters from film and literature.
The pathway begins with an introduction to the work of two artists who use their sketchbooks to help them make the transition from words/film to image/object.
Pupils then use their own sketchbooks to explore their response to the original stimulus, and then go on to develop and make a sculptural character.
The pathway is easily adapted to which ever books/films you are studying in class.
Medium:
Paper, Drawing Materials, Modelling & Construction Materials (Modroc, clay, plasticine etc).
Artists: Rosie Hurley, Inbal Leitner, Roald Dahl, Quentin Blake
If you use this resource in your setting, please tag us on social media: #InspiredBy @accessart (facebook, twitter) @accessart.org.uk (instagram) and share the url. Thank you!


Teaching Notes
Find the MTP for this pathway here.
Find the Zoom CPD session recording exploring Figure Drawing here.
Find the Zoom CPD session recording exploring Modroc here.
Curriculum Links
English: Link to “character” books such as Roald Dahl’s Esio Trot, Dirty Beasts, The Minpins or James and the Giant Peach to inspire making.
Science: Materials, animals, micro habitats.
Maths: 2D/3D shapes, measuring, weight.
PSHE: Responsibility to the planet, collaboration, peer discussion.
I Can…
-
I have seen how artists are inspired by other artists often working in other artforms.
-
I have understood how artists sometimes use sketchbooks to understand and explore their own response to an artists work.
-
I can use my own sketchbook to explore my response to the chosen book/film, making visual notes, jotting down ideas and testing materials.
-
I can make a sculpture using materials to model or construct which is inspired by a character in a book or film.
-
I can reflect and share how the way I made my sculpture helps capture my feelings about the original character.
-
I can enjoy looking at the sculptures made by my classmates and see ways in which they are different and similar to each other and to the original character.
-
I can share my feedback about my classmates work.
-
I can take photographs of my work thinking about focus, background and lighting.
Time
This pathway takes 6 weeks, with an hour per week. Shorten or lengthen the suggested pathway according to time and experience. Follow the stages in green for a shorter pathway or less complex journey.
Materials
Soft B pencils, coloured pencils, oil/chalk pastels, handwriting pens, A3 or A2 cartridge paper.
Option 1: Modroc or Clay Characters – Newspaper, masking tape, modroc, air dry clay, acrylic or ready mixed paint, brushes, trays.
Option 2: Plasticine Characters – A3 cartridge paper, modelling plasticine, constructed materials, corrugated card circles.
Option 2: Flying MinPin Characters – Air dry clay, wire, A4 or A3 cartridge paper, tissue paper, feathers, PVA glue.
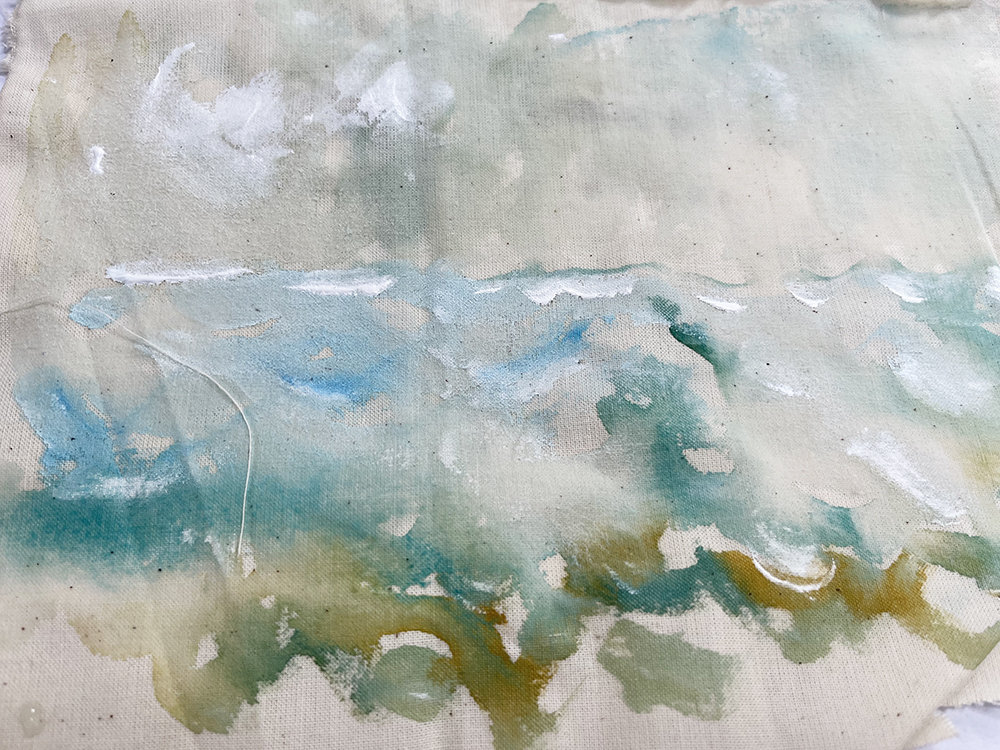
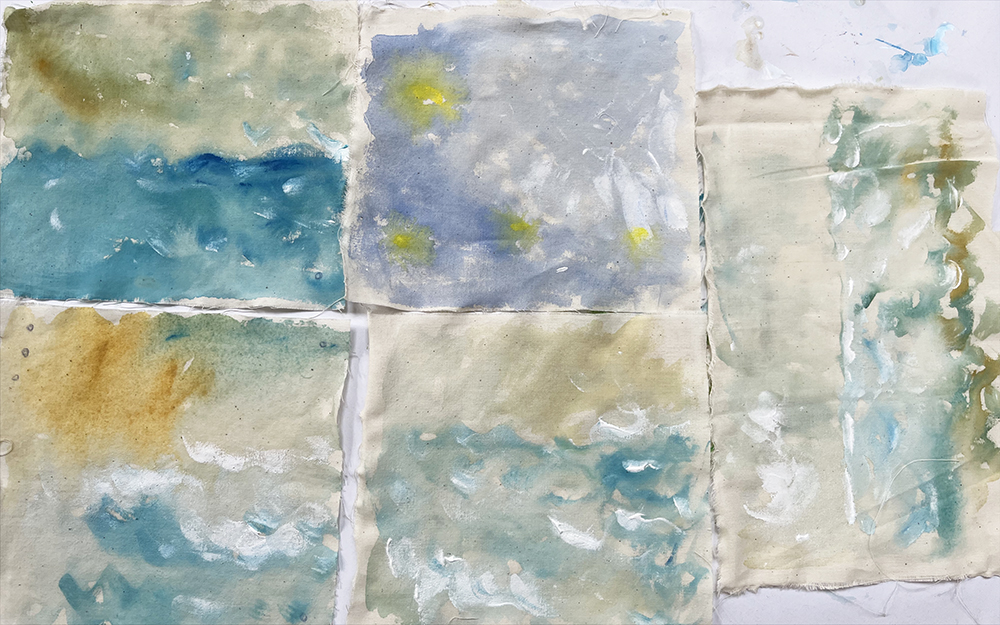
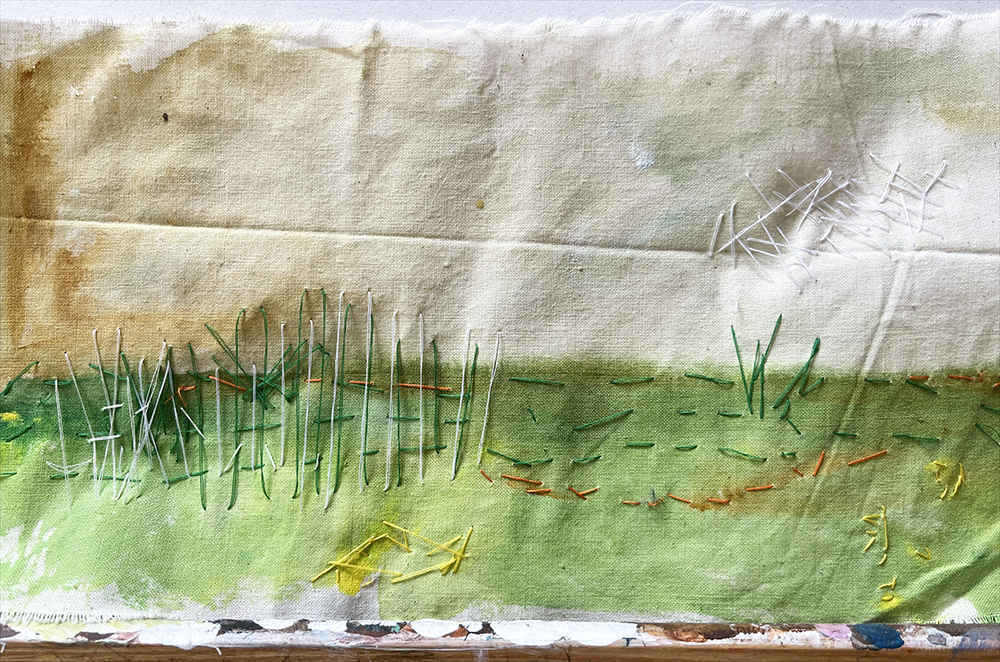
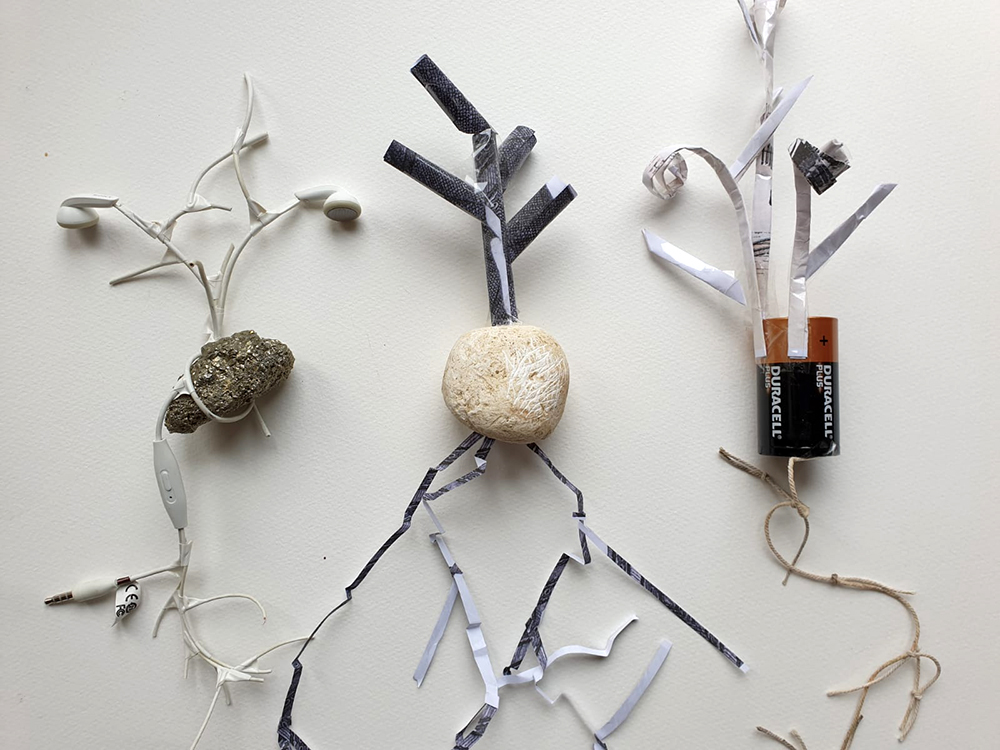
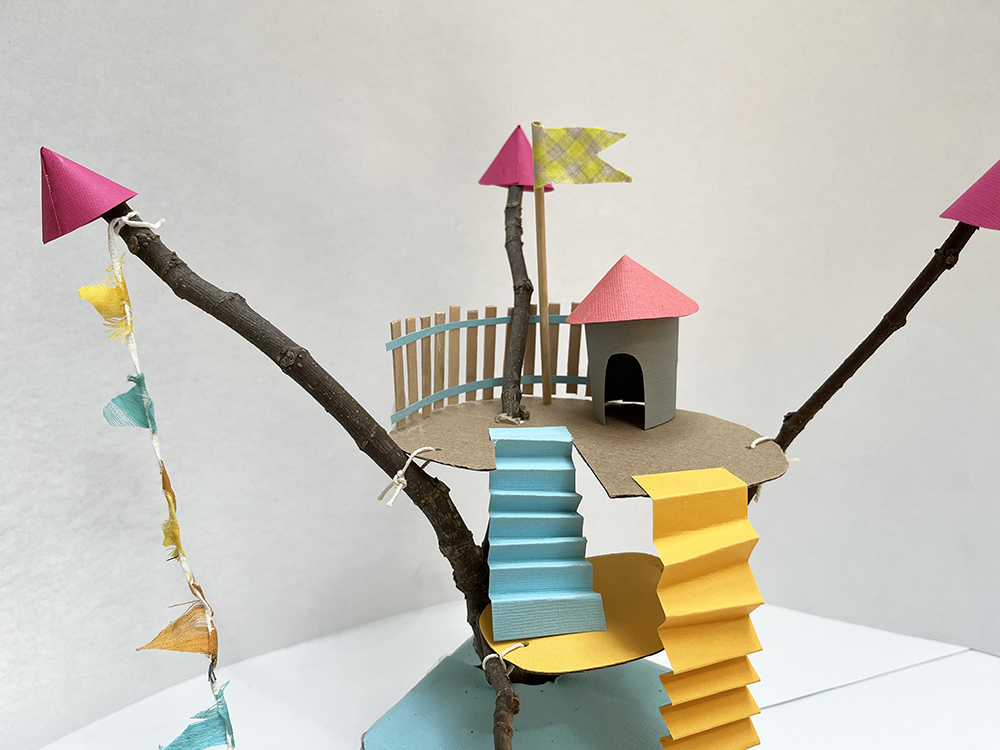
Option 3: James and the Giant Peach Literacy Garden – assorted construction materials.
Pathway: Telling Stories Through Drawing and Making
A PDF of this pathway can be found here.
-
Aims of the Pathway
This pathway introduces children to the idea that we can use literature and film to inspire our making, and that through making we can retell / re-invent stories.
- Week 1: Introduce
Be Inspired by Artists and Illustrators
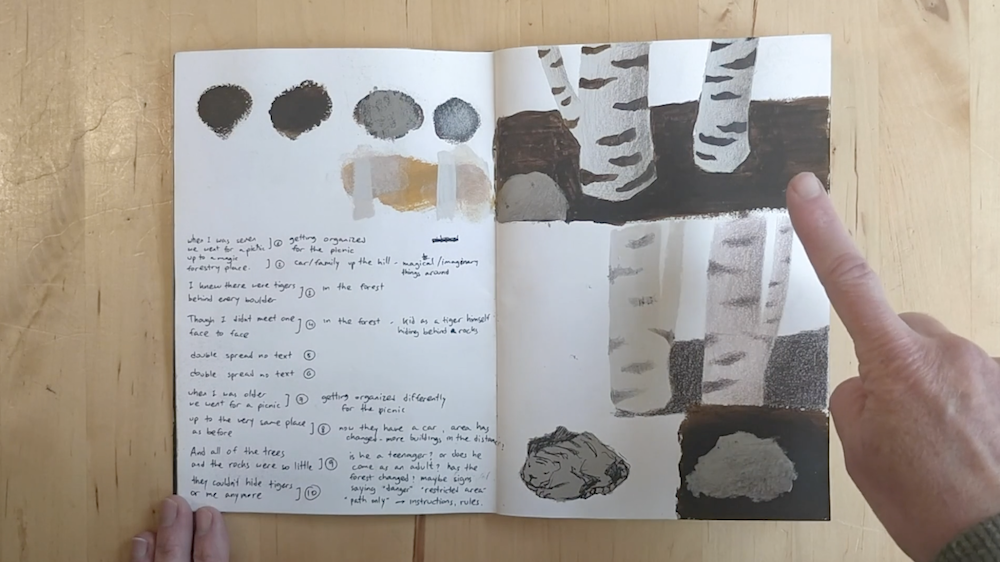
Introduce the Illustrator Inbal leitner and hear how she used a sketchbook to develop characters and artwork inspired by a poem through the “My Tiger Sketchbook” resource.
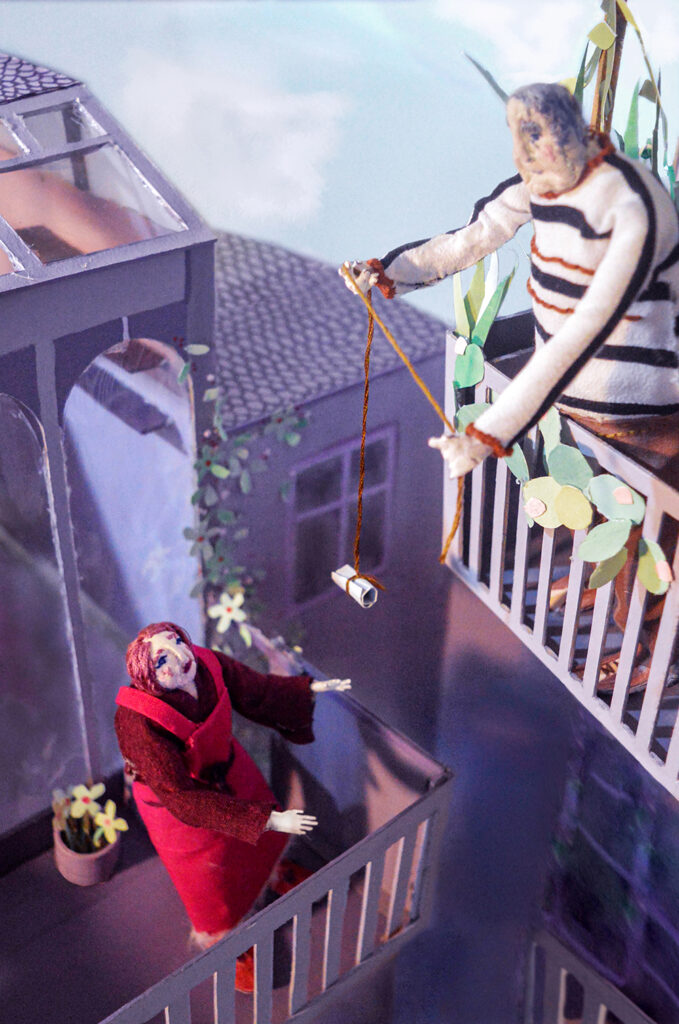
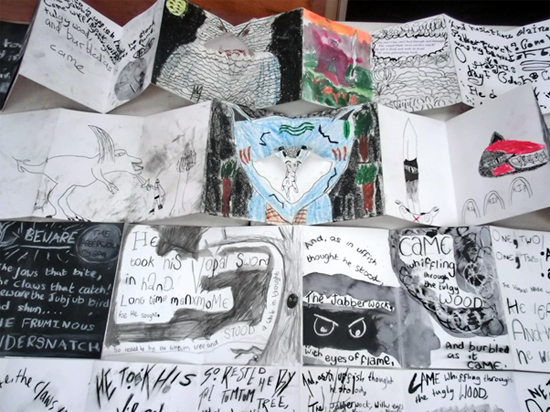
Use the “Rosie Hurley: Esio Trot” resource to see how Rosie made a whole 3D set inspired by Roald Dahl’s book, and how she used sketchbooks to help develop and refine her ideas.
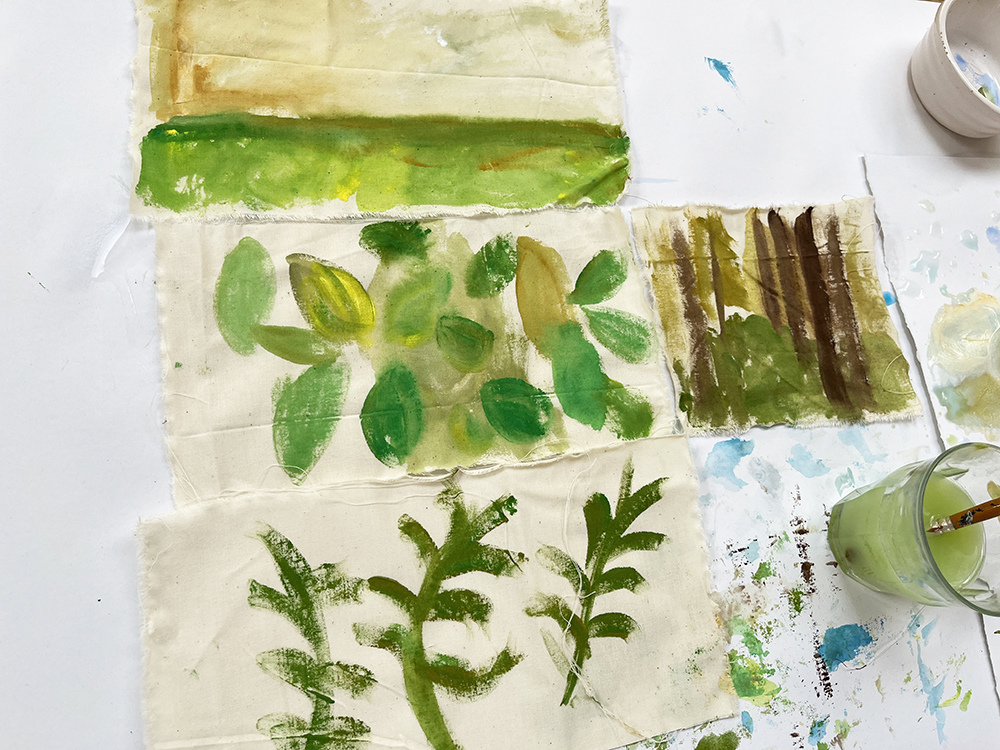
Use sketchbooks for “Making Visual Notes” about techniques and ideas which seem important to the class.
- Week 2: Exploring Drawing
Using Quentin Blake’s Drawings as Inspiration!
Use the “Inspired by Quentin Blake’s Drawings” resource to try three simple exercises to help children draw from life, and explore how we might use exaggeration as a tool to help us convey the intention of our drawing.
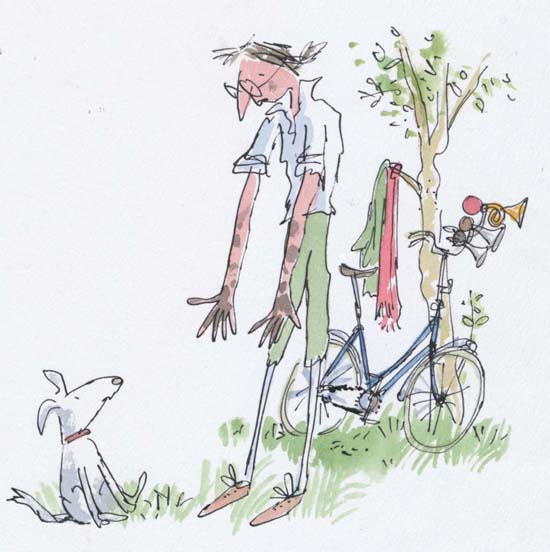
Image (c) Quentin Blake, 1987 from ‘Mrs Armitage on Wheels’ (published by Jonathan Cape) - Week 3, 4 & 5: Find Your Focus
Begin Making
Choose a piece of literature or poem and take inspiration from one or more of the making resources below.
Remember to use sketchbooks throughout, reminding children of the way Inbal Leitner and Rosie Hurley used their sketchbooks.
Use the “Play and Explore: The Ingredients and Elements of the Poem” resource to help support children translate text into imagery.
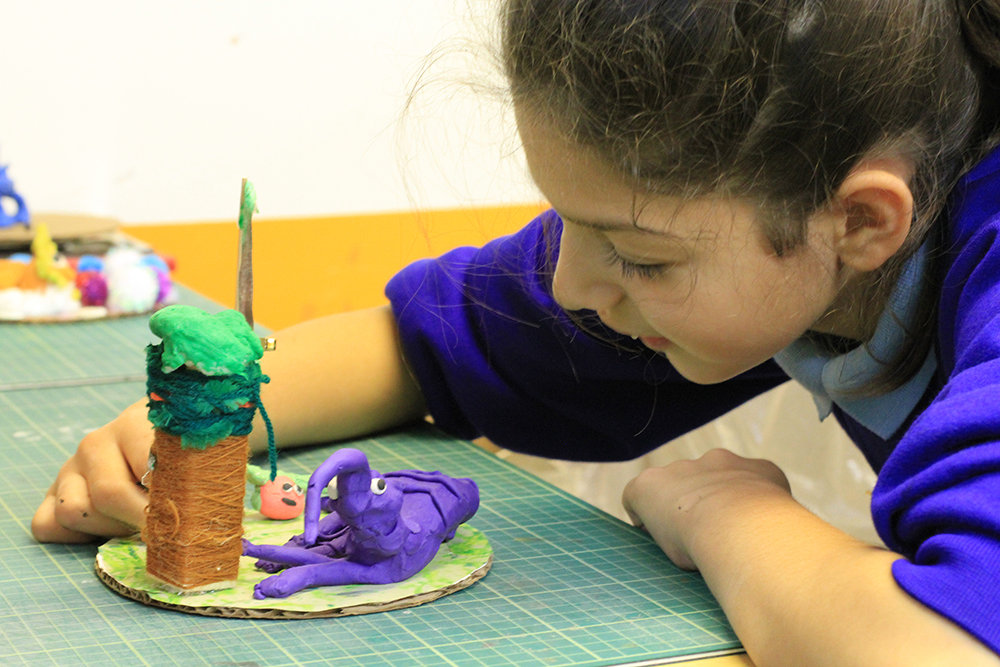
- Option 1
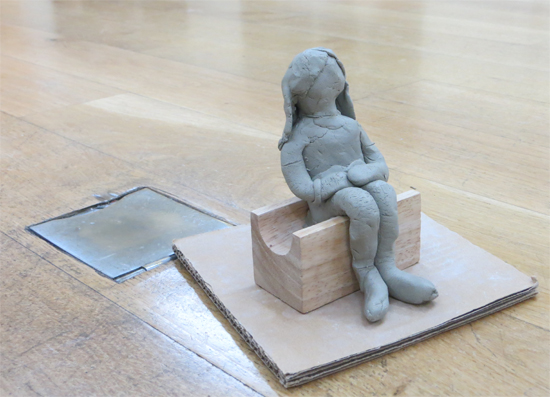
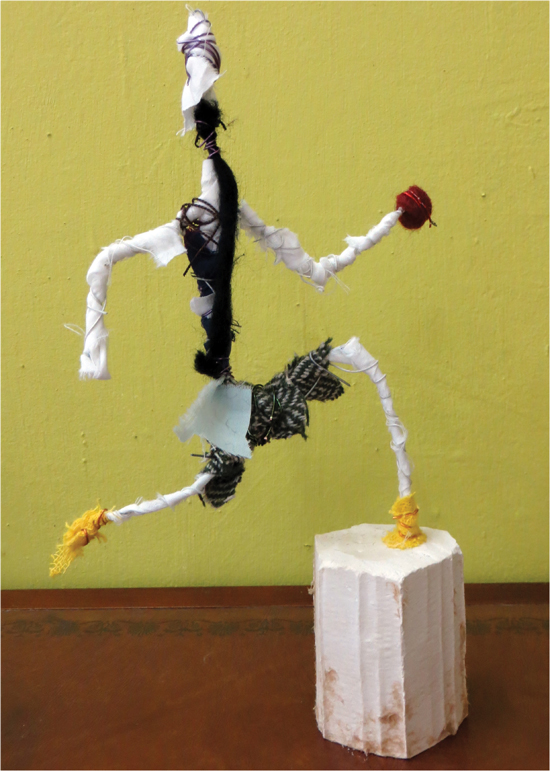
Modroc or Clay Characters
Use the “Make a Roald Dahl Character” resource to make a 3d sculptural character. This resource uses modroc but you could also use airdry clay.
-
Or…
- Option 2
Plasticine Characters
Use the “Plasticine Models and Decorated Plinths inspired by ‘Dirty Beasts’” resource to create sculptures from plasticine and found materials.
-
Or…
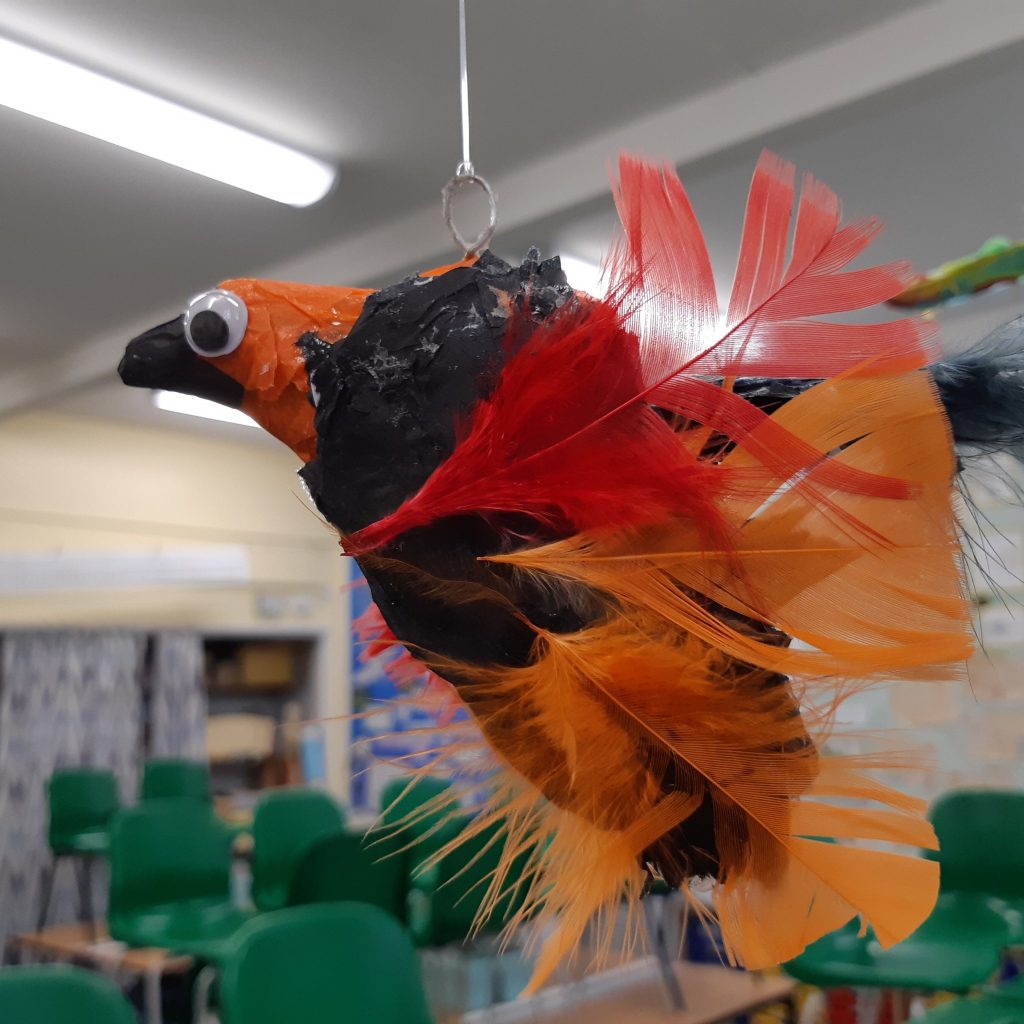
- Option 3
Flying Minpin Characters
Use the “Flying Minpin Birds” resource to make hanging sculptures.
-
Or…
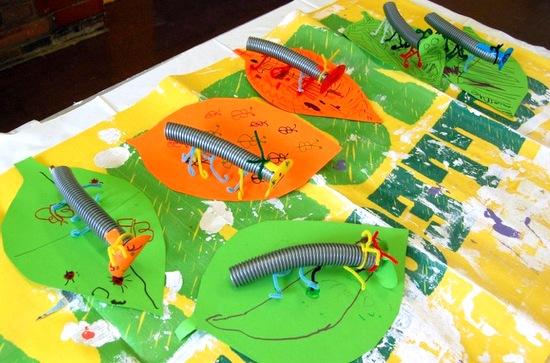
- Option 4
James & The Giant Peach Garden
Use the “James and the Giant Peach Garden” resource to explore making work in a variety of media around one text.
- Week 6: Reflect & Discuss
Share and Celebrate the Outcomes
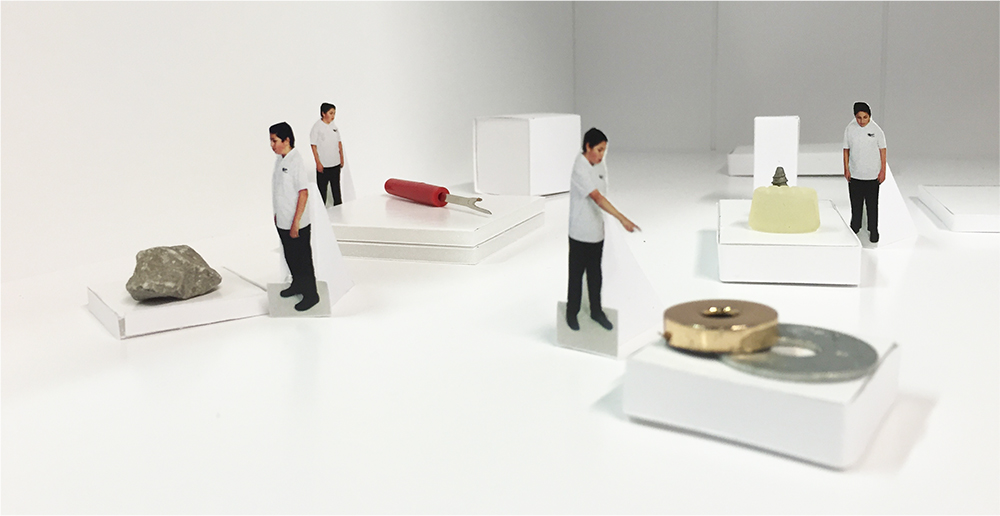
Clear the space and display all work including sketchbooks so that pupils and teachers can appreciate the work.
Use the resource here to help you run a class “crit” to finish the project.
If you have class cameras give pupils the opportunity to take photographs of their sculptures – thinking about how they can best present and light their sculptures. Explore how children can take high quality photographs of 3d artwork with this resource.
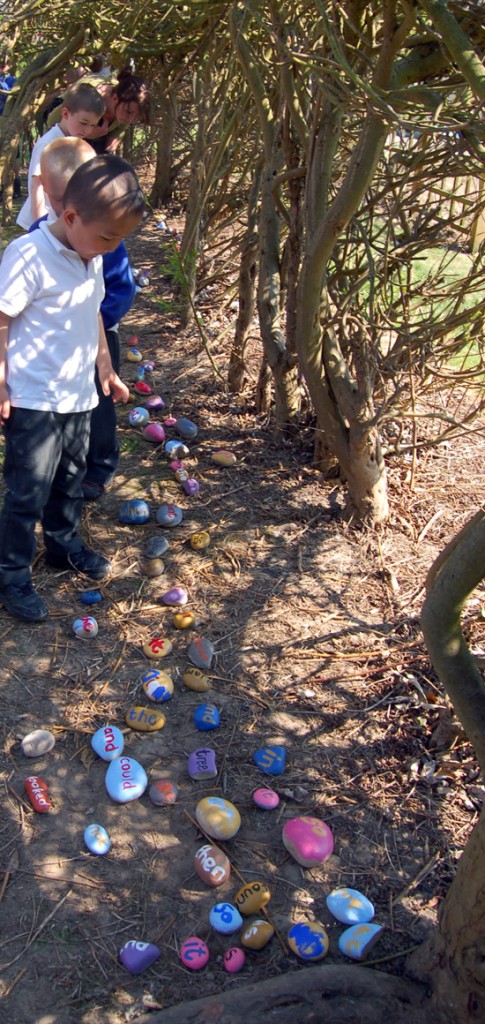
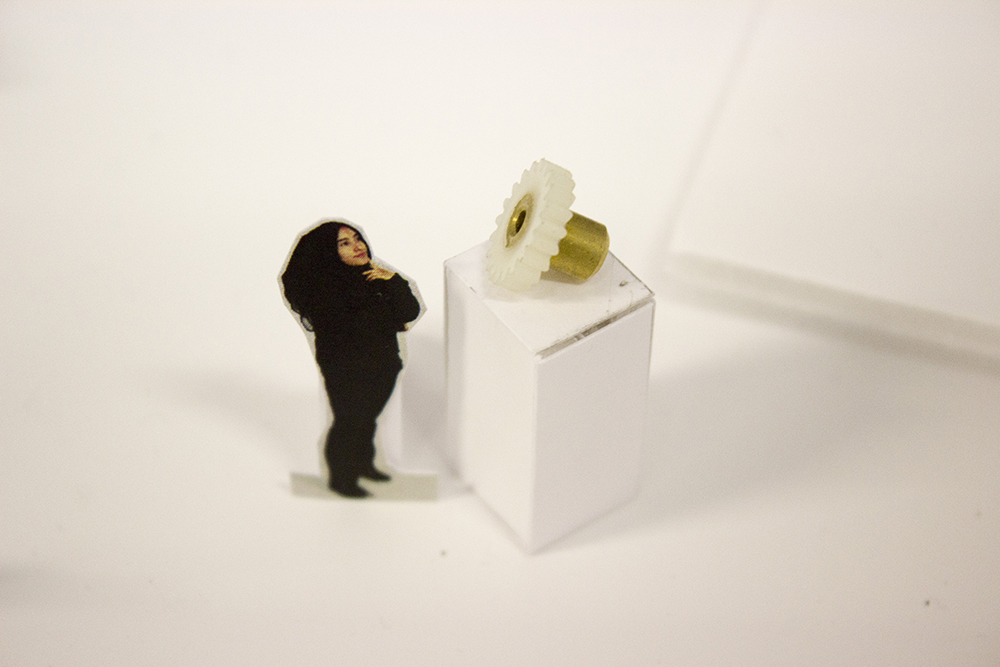
See the Pathway Used in Schools…


If You Use AccessArt Resources…
You might like to…
Join our Facebook Group

Join the AccessArt Network group on Facebook and ask questions of others using our resources
Share and Tag

Share photos of work made by tagging us on social media
You May Also Like…
Making Papier-Mache Marionette Puppets Inspired by Characters in a Historical Painting

Investigate historical puppets and recreate characters from books or artwork
Pop-up puppets Inspired by Characters in a Historical Painting


 Use the free to access “


 Use the “


 by Vincent Van Gogh. Original from the MET Museum.")
 by Vincent Van Gogh. Original from the Barnes Foundation.")