This resource shares how French artist, Edgar Degas (1834-1917), made his ‘inky drawings,’ or monotypes, and how the process of mono-printing can be further explored in the classroom.
This resource was created in collaboration with AccessArt and the Fitzwilliam Museum, Cambridge and is one of three AccessArt resources: Inspired by Edgar Degas: Printmaking, Drawing & Sculpture at the Fitzwilliam Museum Cambridge with AccessArt.
-
Who is this resource for?
This resource is for any teacher, or educator, who would like to take a closer look at 19th century art, in particular Degas, and bring it to life in their classrooms.
This resource can be used to support looking at art work in a museum, or how you might use printable resources in the classroom to inspire printmaking.
-
Accessing Degas’s mono-prints…
- You will see a selection of Degas’s “inky drawings,” or mono-prints, as seen in the exhibition Degas: A Passion for Perfection at the Fitzwilliam Museum, Cambridge in 2017/18, with links to:
- The Fitzwilliam Museum’s Collections Explorer/Degas with access to downloadable images of the work. A must go-to for teachers!
-
Activities covered in this resource…
A Drawing Challenge with AccessArt Drawing Prompt Cards, to help teachers explore Degas’s work – (NB these cards are useful on any gallery floor, in any museum, anywhere in the world!).
More about how Degas approached mono-printing and practical, hands-on techniques to aid classroom practise with examples from teachers on how to:
- ink up a ‘plate,’
- paint and make marks directly onto a plate,
- etch into a plate to make a print,
- ‘remove’ and ‘reduce’ on a plate,
- taking a print,
- masking,
- taking multiple prints
-
You will need…
- A ‘plate’ – Degas would have most likely used an aluminium plate but acetate is perfect for monoprinting in the classroom
- Printing inks – Degas would have used rich oil-based inks, but classroom, water based printing inks, like those made by ScolaQuip, are perfect
- Mark making tools – paint brushes, scrapers (like old credit cards), pencils etc.
- Rags
- Newsprint – plenty of it!
- An assortment of paper including coloured sugar paper, black and white cartridge paper
Setting the Scene
In November 2017, a group of primary school teachers explored the exhibition Degas: A Passion for Perfection, at the Fitzwilliam Museum, Cambridge with the museum’s education officer, Kate Noble and Paula Briggs & Sheila Ceccarelli from AccessArt.
For those who could not participate in this session, we hope that the resource below will have all that you need to inspire open ended, creative explorations, in the classroom, from a distance, inspired by Degas.
The Fitzwilliam Museum, generously shares works of great Art via its Collections Explorer which should be a go-to place for teachers with hundreds of great works available to download and use freely in the classroom.
Degas’s “Inky Drawings”
Degas’s search for artistic style and study of the world through fine art processes and “technical experimentation,” makes him an ideal artist to study, as have many 20th and 21st Century artists, including Henry Moore, Pablo Picasso, Lucian Freud, Frank Auerbach and Francis Bacon. See Degas work in the Museum’s Collection Explorer/Degas.

The exhibition celebrated the artist’s extraordinary achievements and featured a wide range of works including prints, drawings, pastels, paintings and sculptures.
When he was a young art student, Degas met his artistic hero the artist Ingres who reportedly told him, ‘Draw lines…lots of lines, either from memory or from nature, and you will be a good artist.’ Degas followed this advice throughout his career and you can see this continual process of experimentation in action by looking at how he returns to key themes and motifs using a variety of different materials.
Degas pretty much tackled all fine art processes, but here we’re looking at his Monotypes, or “Inky Drawings.”
Making monotypes, or mono-prints, is a particularly effective process for children and young people, like Degas, to explore the rapid production of images, mark making and tonal contrast. This form of printmaking is arguably more like drawing or painting, but is much less controlled and open to more experimentation. The process of mono-printing takes away any pressure to produce truly representational work and allows for expressive, open-ended, even accidental outcomes. An ideal process for making intuitive, unconscious responses to the surrounding world.
Looking at Degas’s Drawing and Monotypes

Kate Noble Introduced the exhibition and the historic reasons why the Fitzwilliam Museum was in such a strong position to curate such an important collection of Degas’s work and those artists who inspired him on his artistic journey.
Three Approaches to Making Monotypes by Degas:
Painting and Making Marks Directly onto the ‘Plate’
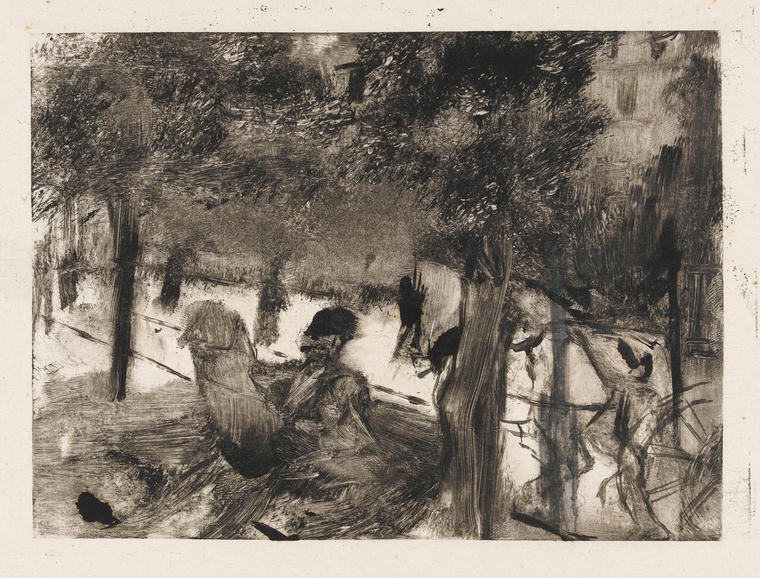
This approach was probably most typical of Degas’s approach to making a monotype.
The ink which he used was known as ‘encre graisse,’ which translates as ‘greasy ink,’ but he sometimes used paint in his prints too.
Loose, impulsive strokes are painted directly onto the plate and tonal contrast further enhanced by the removal of ink, in places to create Chiaro Scuro effects.
Removing and Reducing
A slight variation on the process above, is working on fully inked up plate and removing areas, so more like an etching process. The marks, textures and lines get ‘etched’ directly onto the plate. Further ink is removed with a rag.

Masking
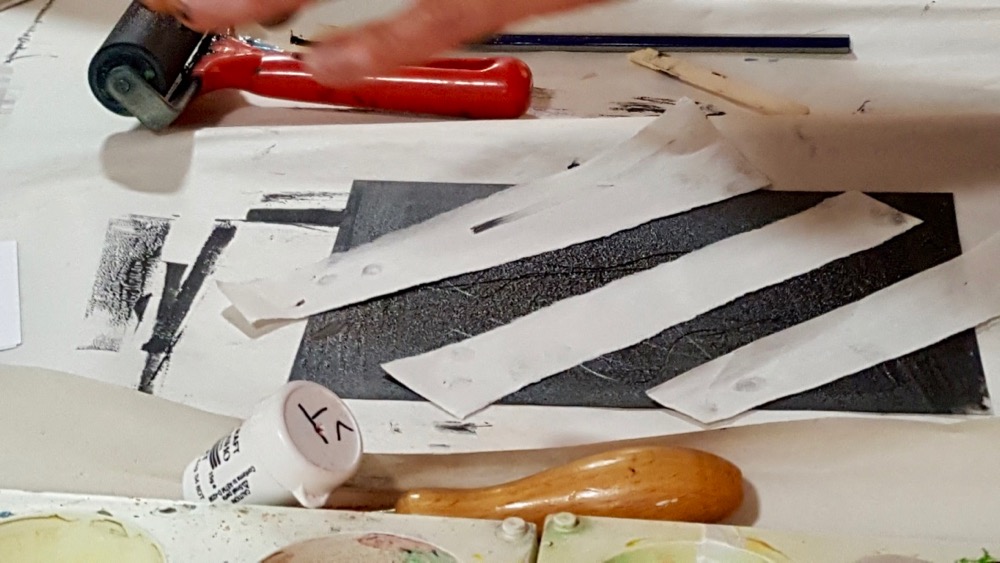
Mono-printing is a perfect technique for introducing looking at the ‘negative’ and ‘positive’ in printmaking.

A very easy way to start to build a print is experimentation with masking up areas over the ink. The print will consist of the positive areas which have picked up the ink.
The Drawing Challenge: Finding a “Static” and a “Dynamic” ArtWork
We then moved on to a drawing exercise, below, to help teachers tune into the art works and orient themselves around the exhibition.
This drawing exercise was particularly suited to Degas’s work, but could easily be adapted to be used in other exhibitions or museum, or gallery, settings.
In this exercise, teachers were asked to explore the exhibition and Degas’s work and using their intuition, instinct or impulse identify a ‘static’ piece of art work. They were open to interpreting the word ‘static’ in their own way, with no ‘right’ or ‘wrong’ choice of artwork to pick from the collection in response to it. The use of an identifying word, like ‘static,’ was to create a focus in entering the art works and opening the teachers’ to curiosity and private enquiry.
Once found, they were encouraged to find a ‘dynamic’ piece.
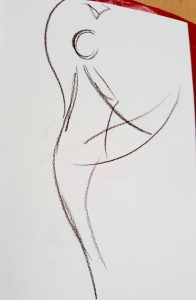
The idea of choosing works described in this way felt very pertinent to Degas’s work, as displayed in this exhibition, where a definite tension between the still and the moving was visible. Dancers’ bodies were extended in pose, but frozen in wax and bronze, likewise movement is captured in Degas mono-prints, etchings, paintings and drawings – all sitting, temporarily together, now still, on the walls and floors of the Fitzwilliam Museum.
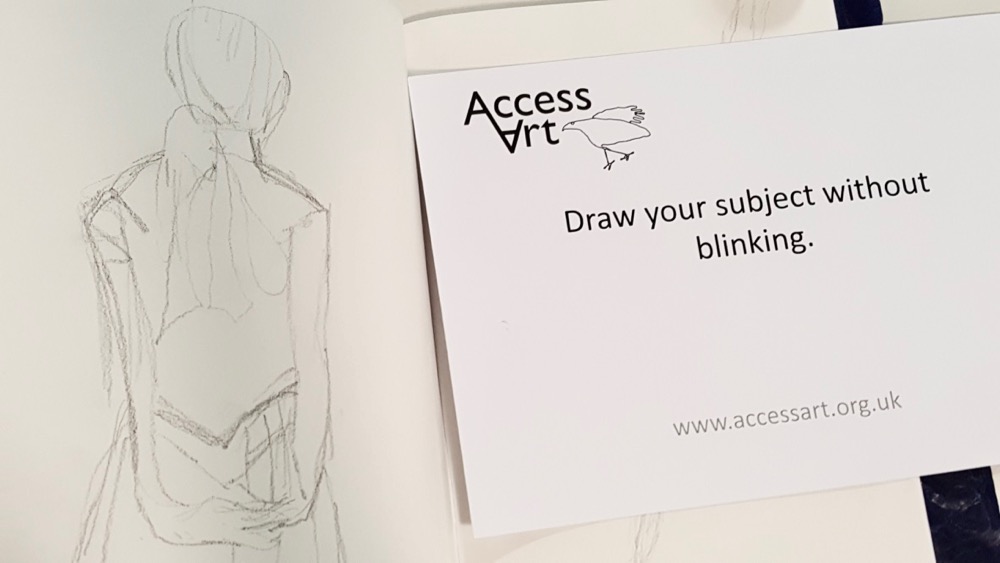
Using AccessArt Drawing Prompt Cards, to aid the production of a series of drawings exploring works in the exhibition, teachers extended their experience of drawing and created a series of drawings to ‘study’ their chosen pieces.
Drawing prompts included:
Look and draw your subject in the time it takes to inhale and exhale one breath.
Draw your subject with your non-dominant hand.
Hold your pencil or pen lightly from the top (with all five fingers).
Draw your chosen subject in a continuous line.
Draw your chosen subject in five lines.
Draw your chosen subject in three lines.
Look at your subject and draw it without looking at the paper.
Draw your subject in dots and specks.
Draw your subject in scrapes and slices.
Draw the outline of your subject in one, strong gesture.
Draw your subject without blinking.
Draw your subject’s shadow.
Draw your subject from inside out with no outline or contour at all.
Making A Monotype in the Studio
Drawings from the exhibition floor, were then taken back into the studio, or ‘classroom,’ where Sheila gave a quick demonstration to the teachers on how they might approach making their own monotypes, or mono-prints.
Although ‘mono’ does mean one print, Degas (and some other printmakers) sometimes pulled a second impression, which he often then worked on using pastel and other materials. These are called ‘cognates.’
The key point being that mono-printing is a process that needs vast amounts of play and experimentation to achieve effective results. It’s the perfect process for producing happy accidents which then go on to inform the creation of the next image, but the process can be frustrating if one is too prescriptive if expectations for the finished results are too defined. In other words, there is no right or wrong approach and the more play and experimentation brought into the process, the steeper the learning and most effective the outcomes.
As its name suggests, ‘mono,’ single, or one off, so unlike other forms of printmaking is not about making multiple images, but mono-printing is the ideal process for the rapid production of original prints.
You Will Need:
- A ‘plate’ – Degas would have most likely used an aluminium plate but acetate is perfect for monoprinting in the classroom
- Printing inks – Degas would have used rich oil-based inks, but classroom, water based printing inks, like those made by ScolaQuip, are perfect
- Mark making tools – paint brushes, scrapers (like old credit cards), pencils etc.
- Rags
- Newsprint – plenty of it!
- An assortment of paper including coloured sugar paper, black and white cartridge paper
Demo
Painting on a Plate
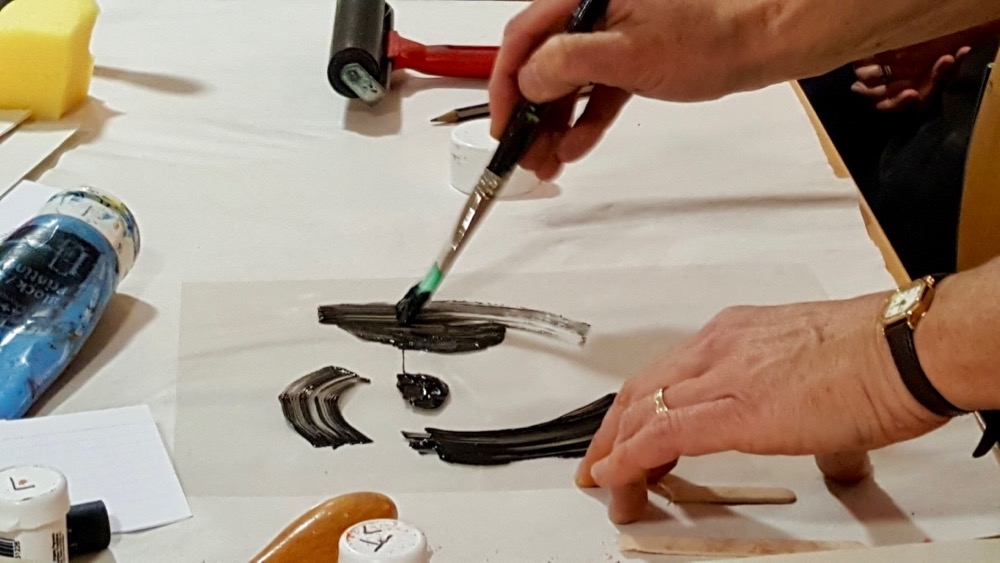
Rolling Up a Plate
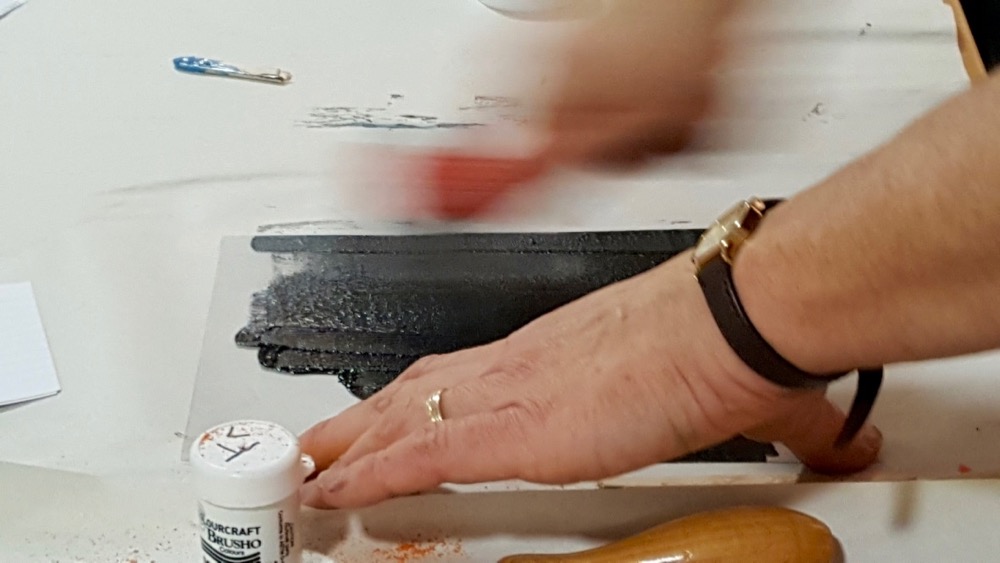
Etching into a Plate
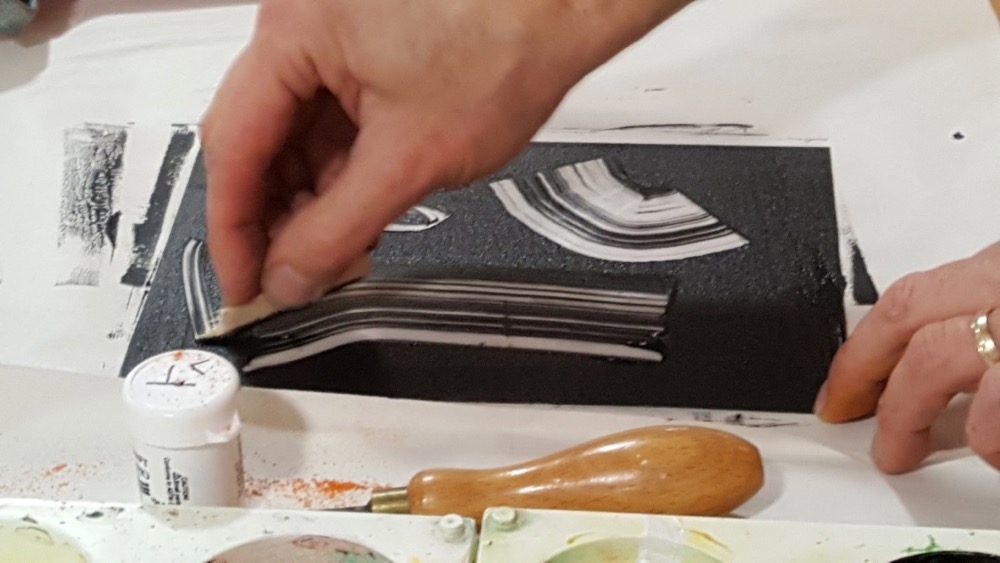
Masking Areas on a Plate
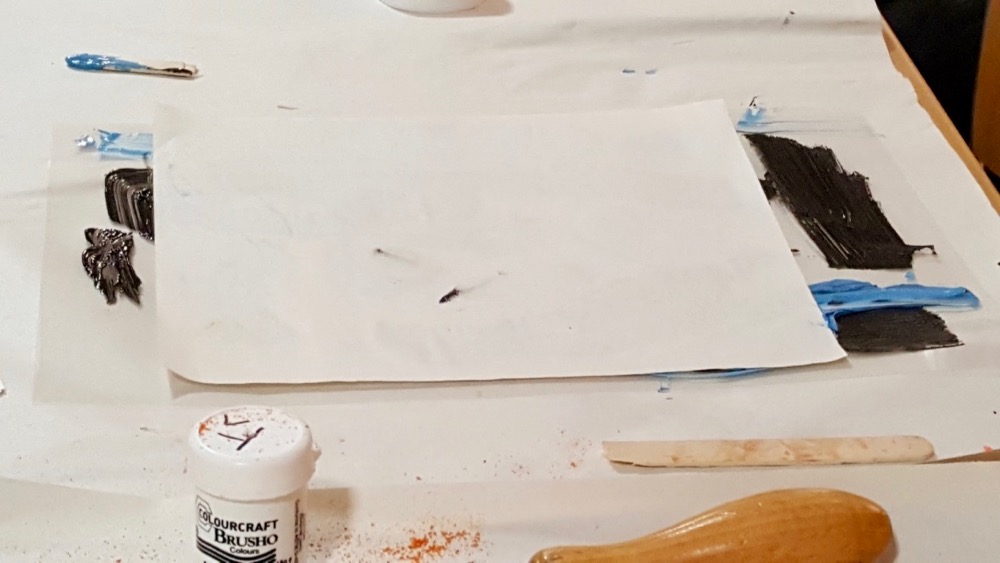
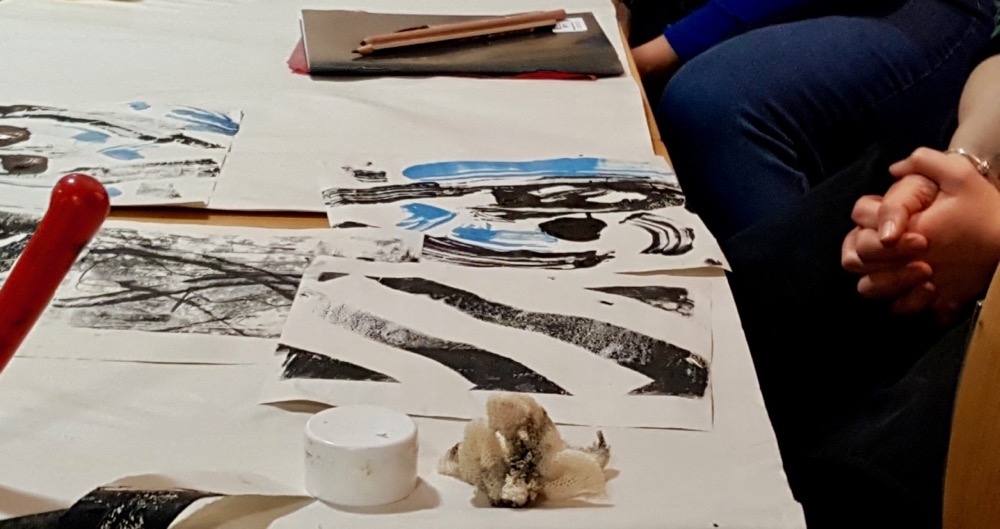
Teachers at Work
Inspired by the drawings they’d completed on the gallery floor, teachers were urged to play with the mono-printing processes and experiment with the techniques. They were encouraged to combine different methods on the same plate and be open to outcomes and happy accidents. Teachers made wonderful work and some of it can be seen below. The session highlighted the benefits of a linear process; from taking inspiration from looking at artworks and drawing on the gallery floor to experimentations in the studio and working towards the production of more resolved pieces.


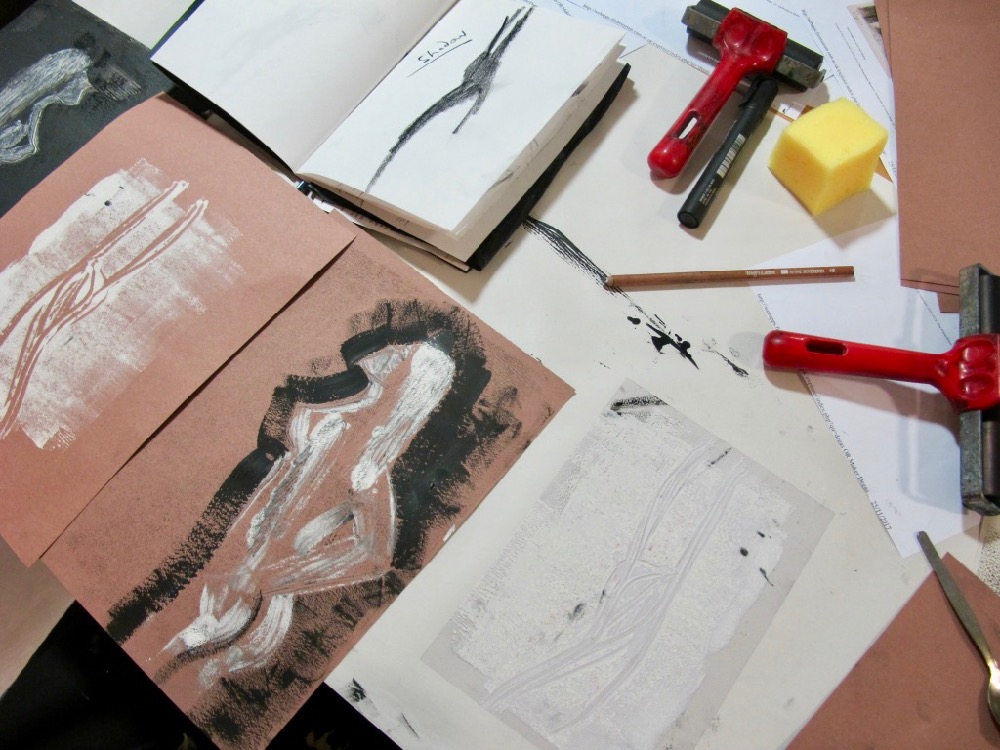

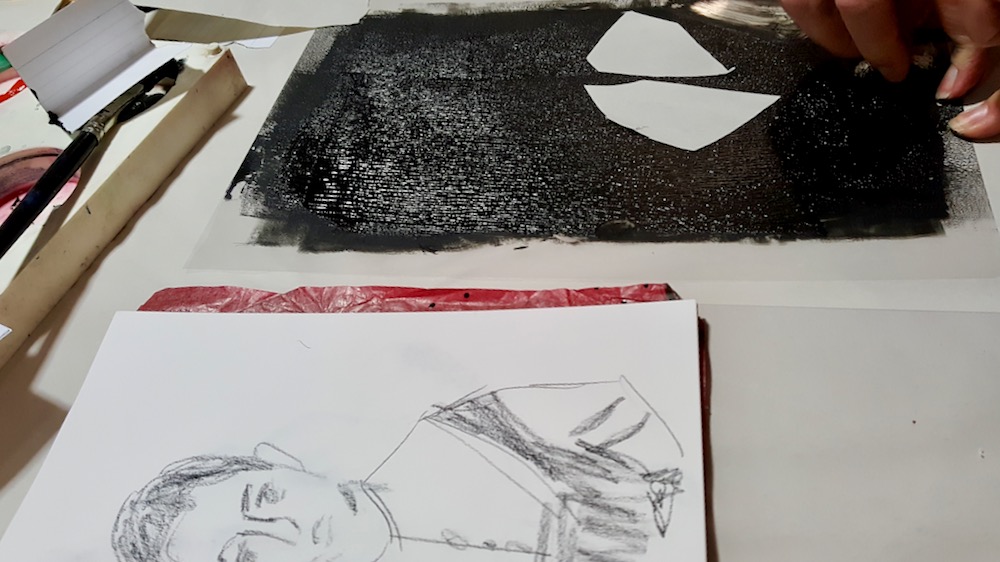
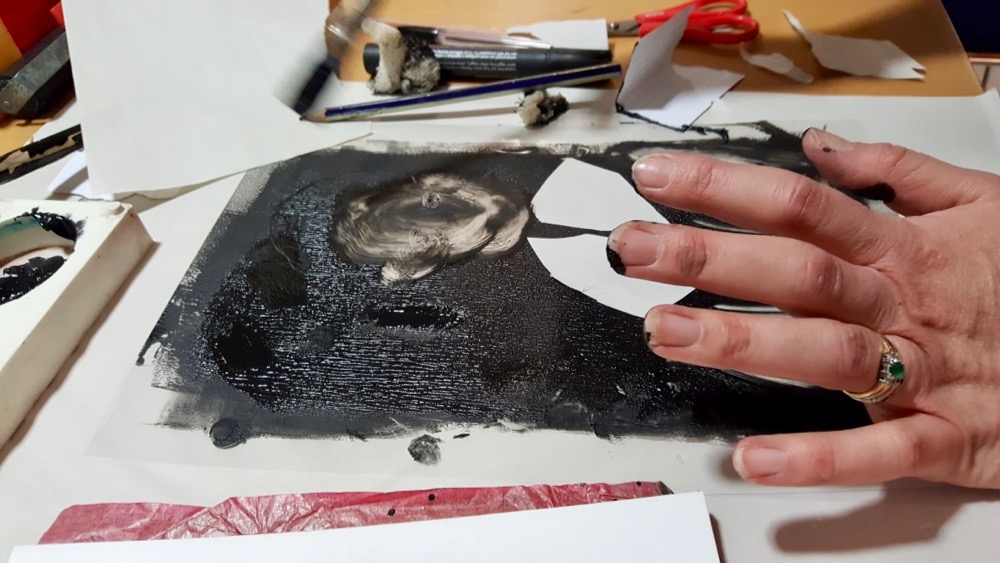

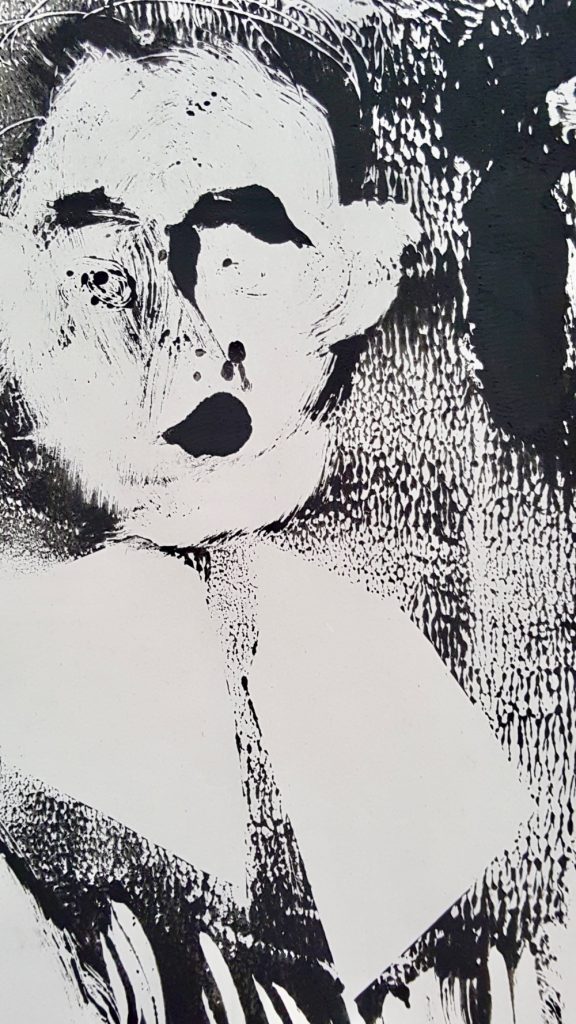

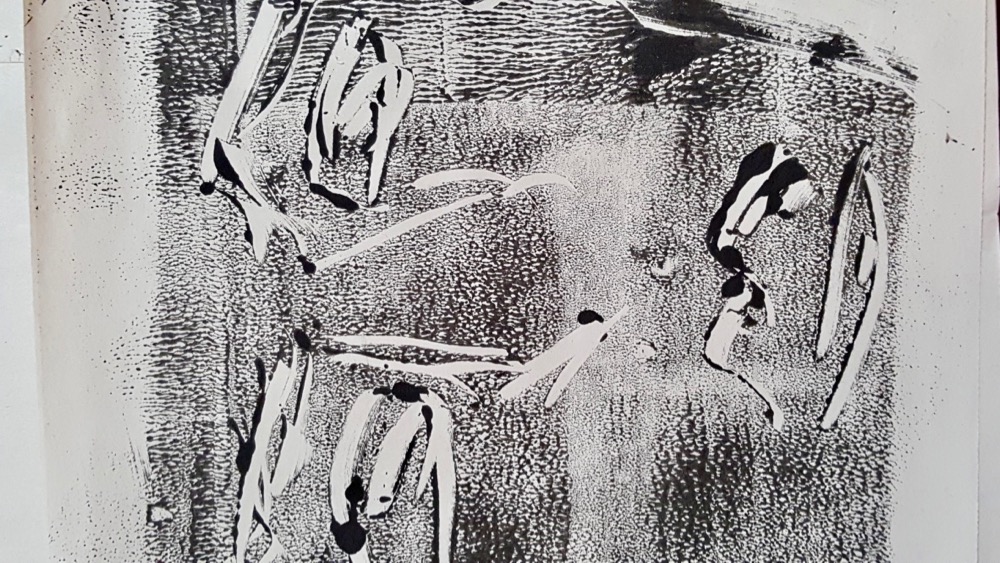
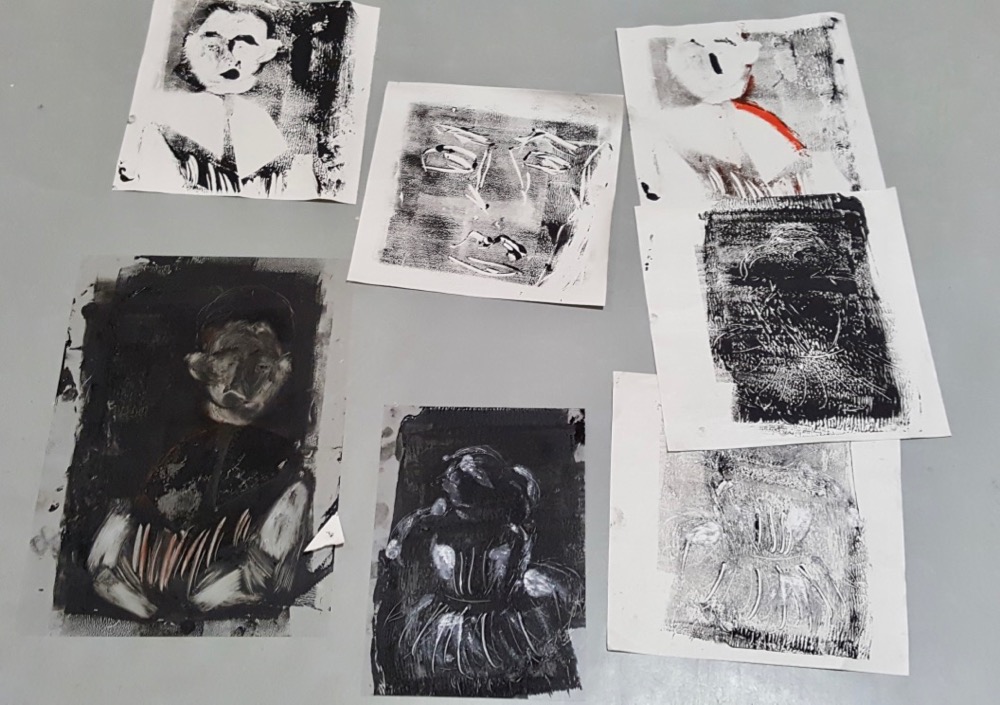

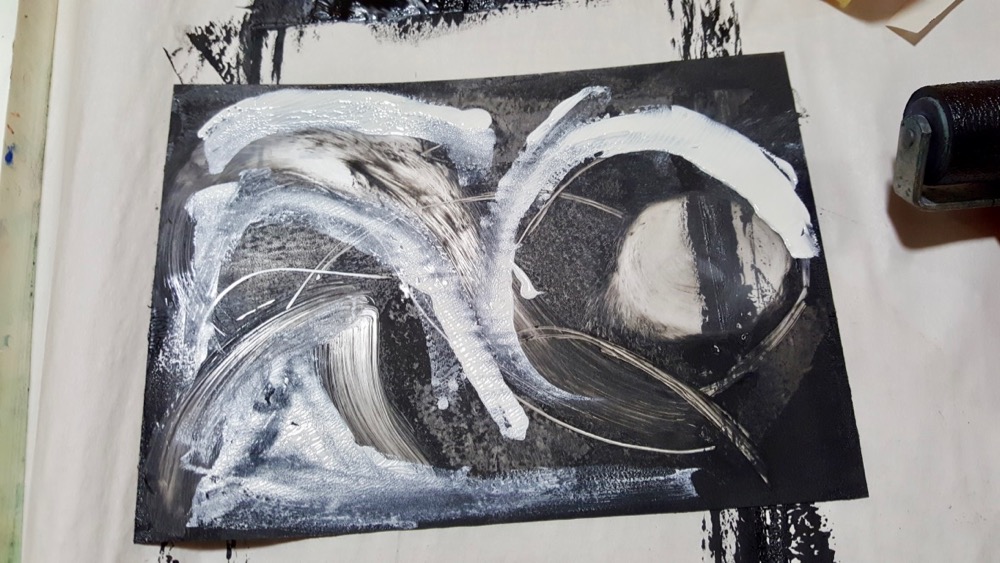
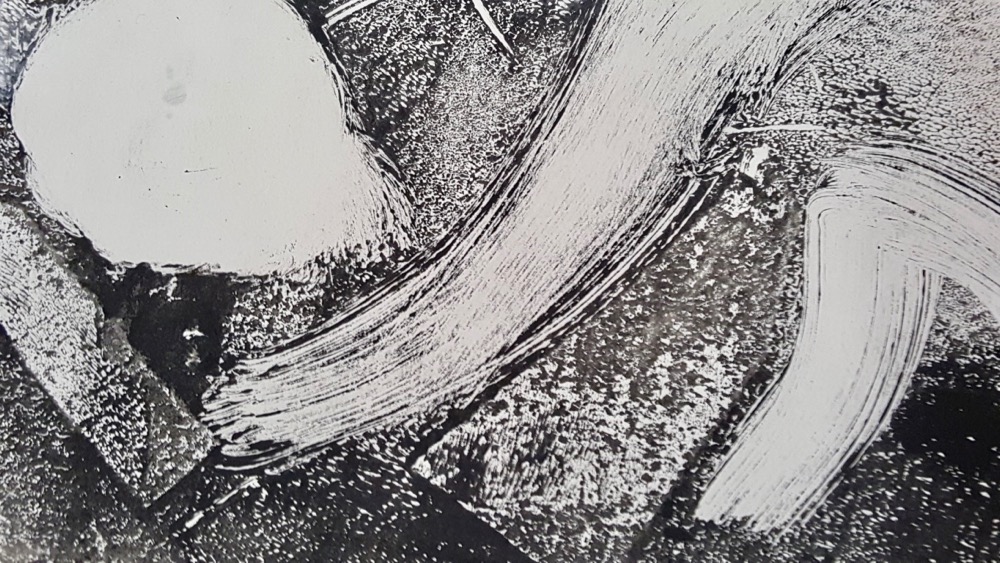
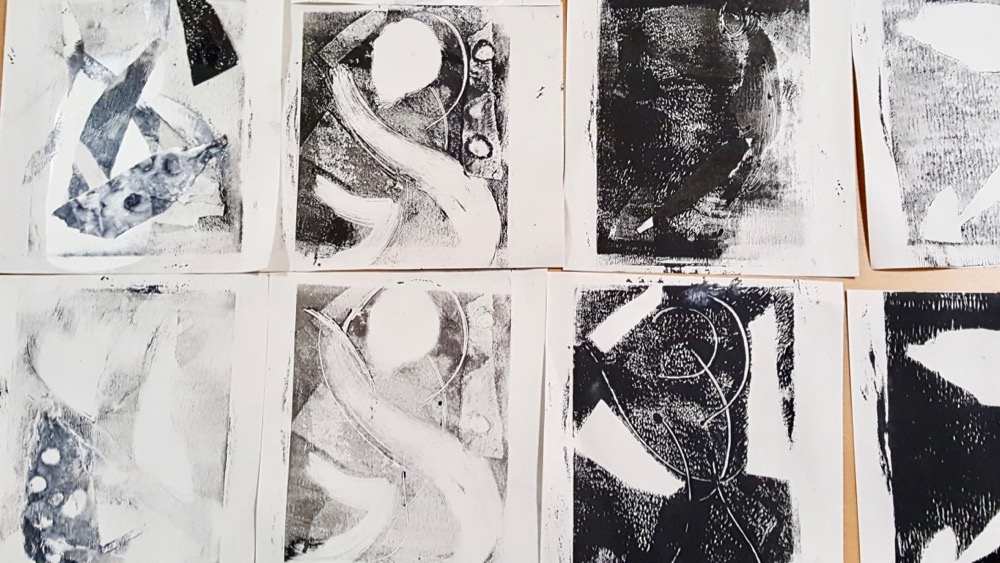


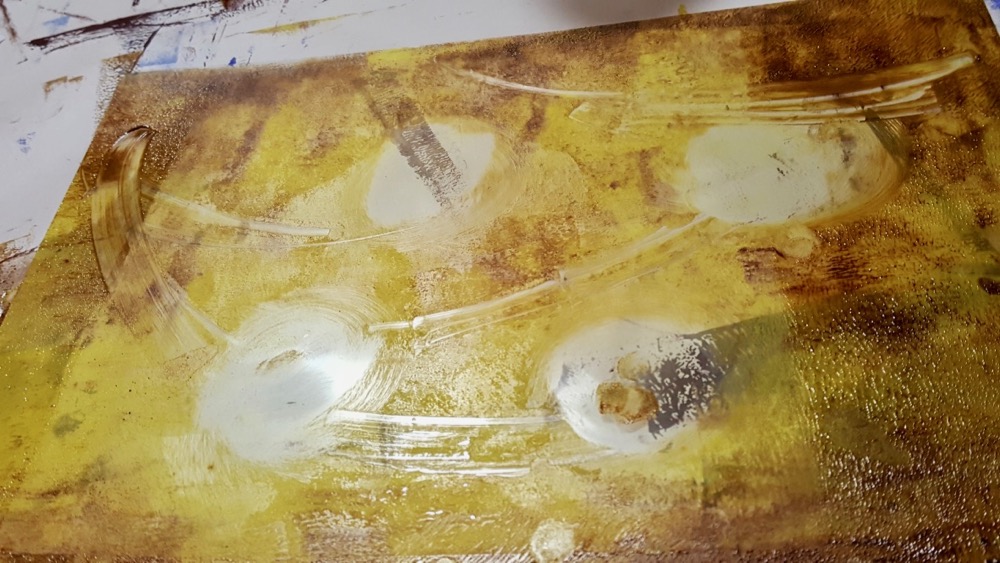

Many thanks to the teachers who participated in this InSET training session for sharing their process with AccessArt and the Fitzwilliam Museum, Cambridge.
A special thanks to Jane Munro, the Keeper of Paintings, Drawings and Prints at the Fitzwilliam Museum, Cambridge, and the curator of this exhibition, for her support and input into this resource.
Many thanks to ScolaQuip for their generous donation of printing ink to AccessArt.
