Drawing with Wire like Calder, and Backwards Forwards Sketching
By Paula Briggs
We hope you enjoy this free to access resource. To access all of our resources and to help support our work, please consider becoming a Full AccessArt member.
Children Aged 6 to 10 took our inspiration from one of our favourite artists: Alexander Calder. Calder is a great artist for children to study – his work consists of mobiles, line sketches, wire drawings and sculptures made from found objects.
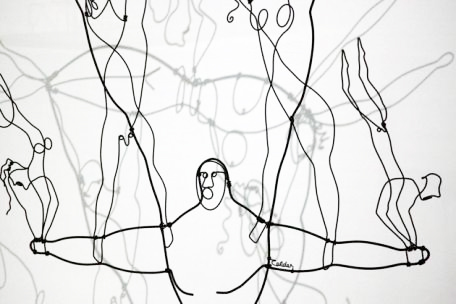
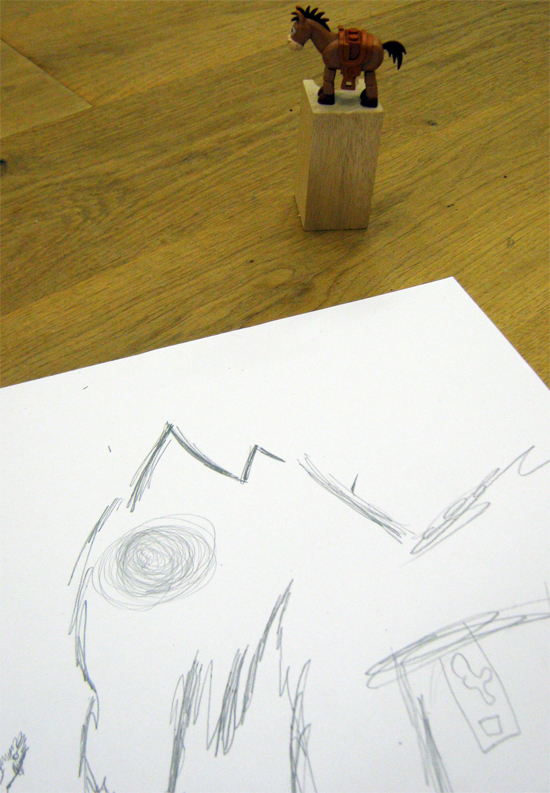
As with previous workshops we encouraged the children to bring in their own toys to draw, so that they had ownership of the subject matter, and were drawing things they liked.

Backwards, Forwards Sketching
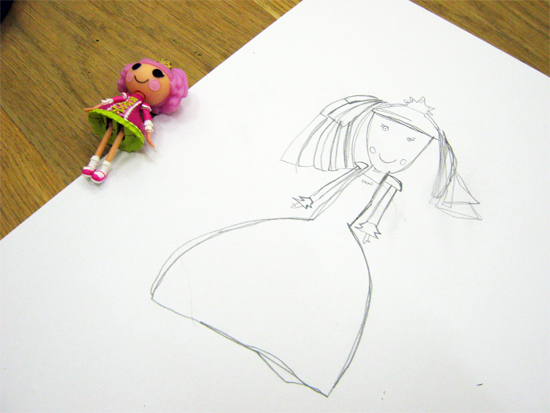
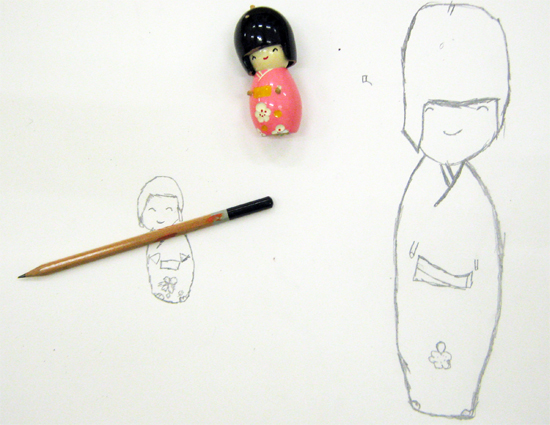
We started by making pencil sketches of our toys. I asked the children to make a “backwards, forwards” sketching motion with their pencil, so that the lines the children created were made fairly cautiously. “Backwards forwards” sketching helps the artist slow down their drawing, so that lines are not rushed before the object is seen, and the style of the pencil stroke means that contours or outlines of objects are really “felt’ or “built” as the sketch grows. The sketch is made up of lines which are remade/re-seen with every pencil stroke. This week we used hard pencils (F and H), rather than concentrate on mark making resulting from softer pencils as we had in previous weeks.
Video showing action of “backwards, forwards” sketching.
What we didn’t do – but would have done if we’d had more time!
Our workshop was one hour long and the children took longer than expected (or rather focussed better than expected) on the backwards forwards sketches, so we ended up missing this step out – but I would recommend it if you have time to help the children make a link between their early stage sketches and working in wire…
Once the children have finished their sketches, we were going to use a sheet of tracing paper over the sketches, and then get the children to re-see their object/sketch in a single line. The children would pick out what they saw as being the essential or most liked elements of their drawings, summed up in a single continuous line.
Moving on to Drawing with Wire…
The wire we used was a mixture of fine modelling wire and aluminium wire (2mm). Both are easy to bend for little fingers. We also introduced the children to working with pliers – limiting their use with our class to snipe nosed pliers which have fine points to help you bend and control the wire. The adults present helped children cut wire were necessary with cutting pliers (though in most of our workshops children of this age would use cutting pliers too). We also reminded children that they needed to work in plenty of space and to be aware of the ends of the wire and other people’s eyes.

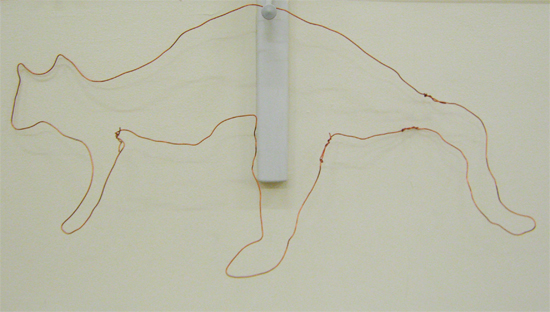
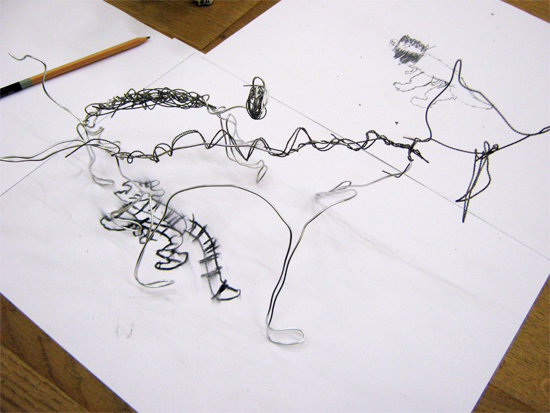
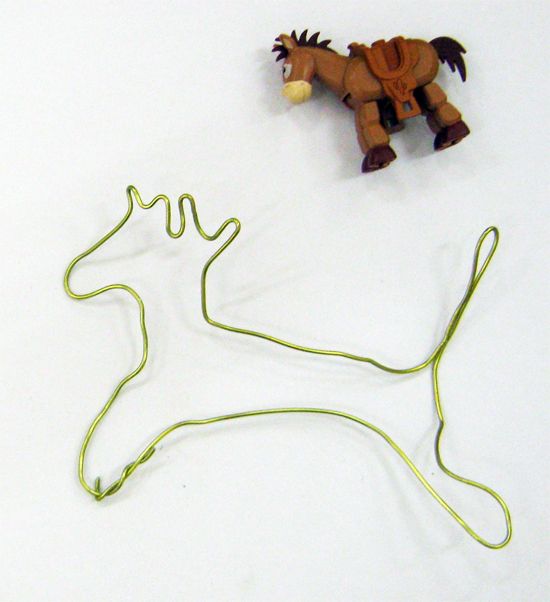
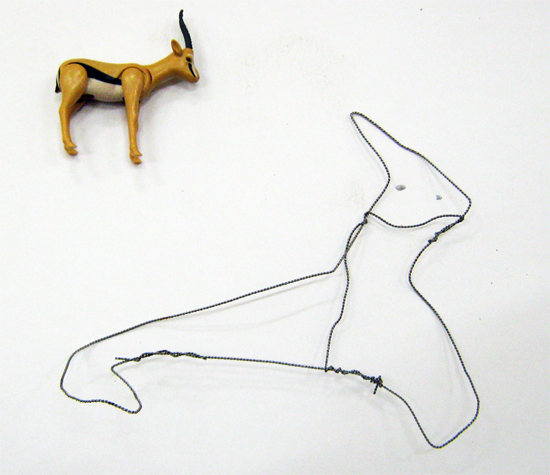
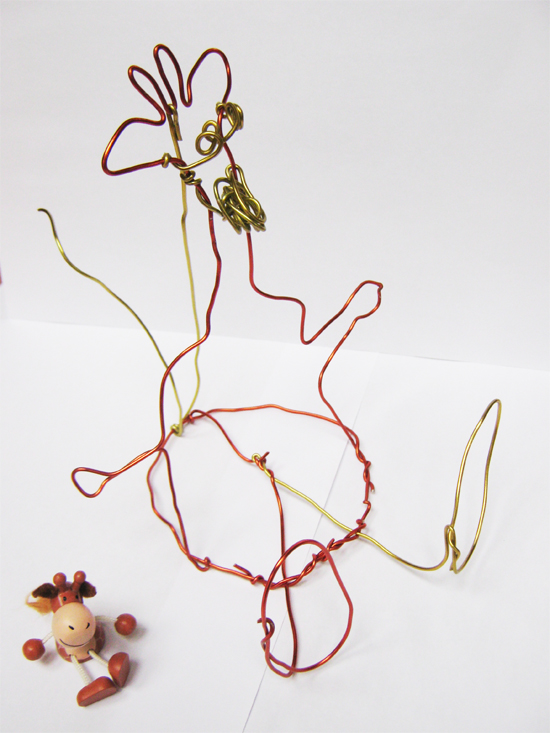
The children were challenged to create a Calder-like wire drawing inspired by their early sketches. Drawing in space like this is a tricky business – the children not only have to master manipulating the material but what’s hard for some children is the lack of “focus”. When we draw on paper, the paper is finite, white and still, and when you make a mark on the paper it helps you visualise the rest of your drawing – and so the drawing grows. When you work with wire and draw in space, it’s harder to find a reference point to start the sculpture/drawing, and it’s hard for some children to see clues in their wire to help them get started. We got round this by checking that children knew where on the sketch they wanted to start, and if necessary we helped them get an initial shape into the wire – and then once they could “see” or visualise the rest they were away.
We also encouraged the children to think of the wire as being capable of having rhythms – just like dense and narrow pencil marks in a drawing can create rhythms – so that their wire drawings might consist of thin and fatter wire. Some children used cross wires to help keep their shapes in place as they built their sculptures, others worried less about the wire being unwieldy and enjoyed the freedom. We encouraged the children to work hand-sized but some children enjoyed working on a larger scale.
We’ve groups the images together this week, so you can see the progression from sketch to wire drawing.









For more Calder images see also:
The Whitney Museum
The Calder Foundation
and don’t forget to watch the video of Calder presenting his fabulous Circus
You might also be interested in:
