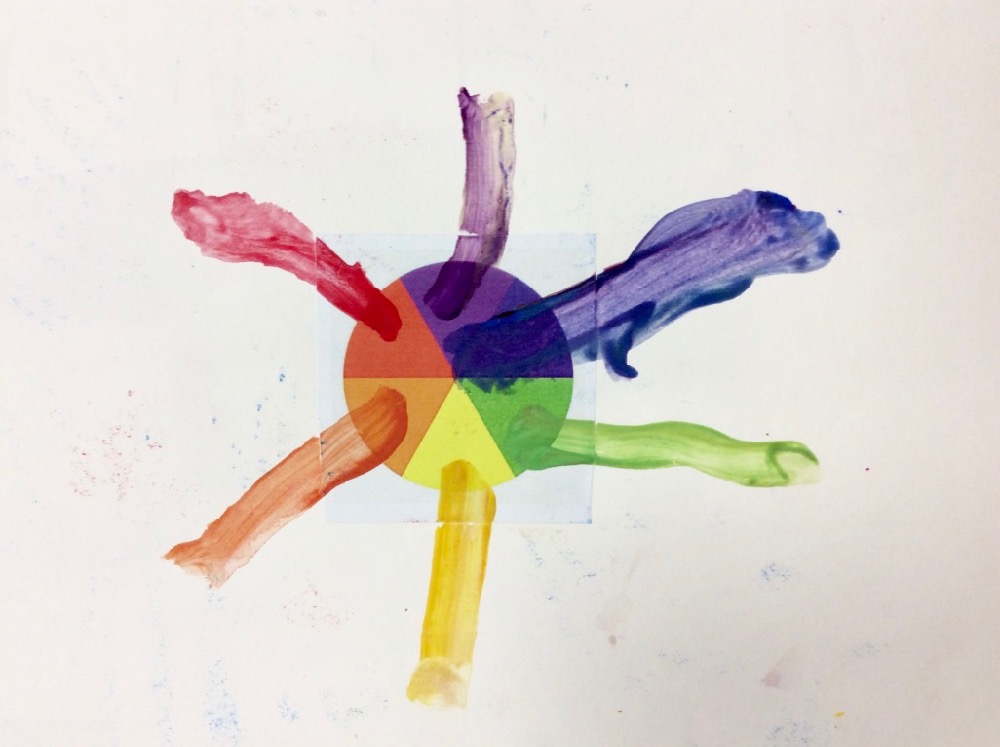
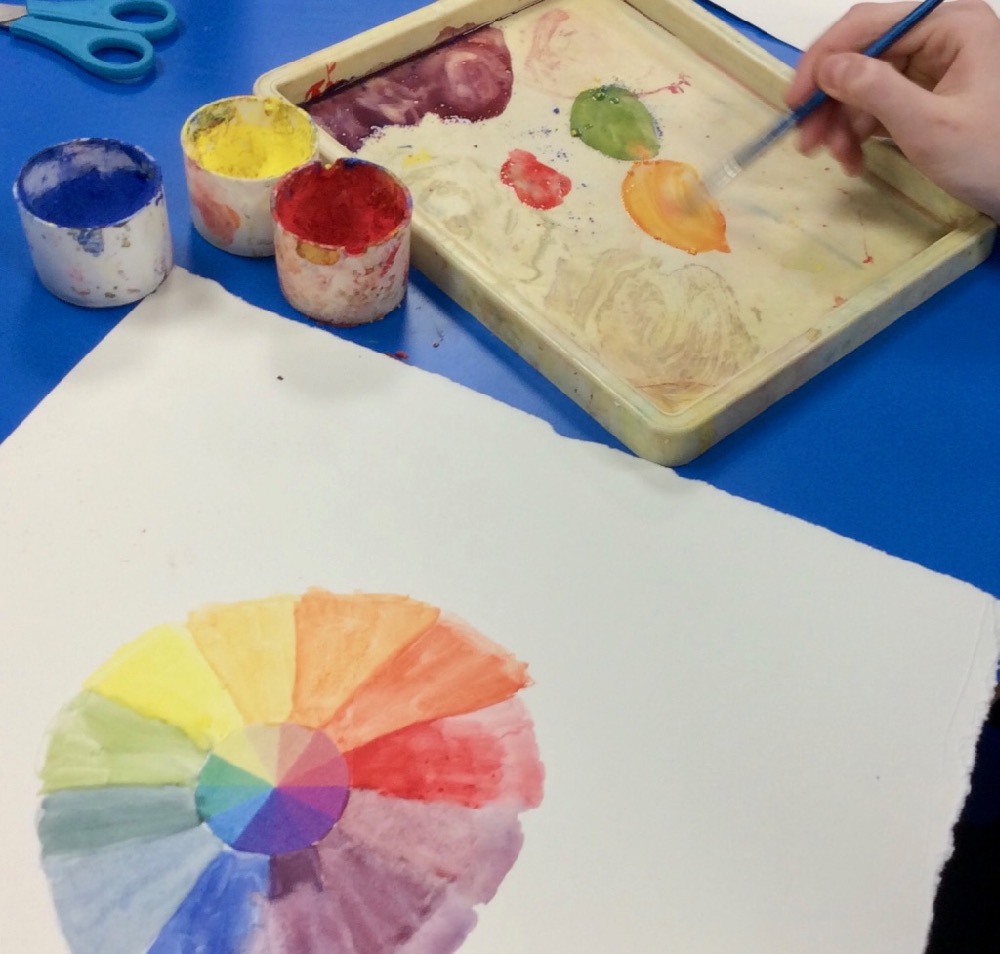
Colour Wheel for Infants and Juniors
By Rosie James
In this post, artist educator Rosie James, shows her open-ended and experiential approach to introducing the colour wheel to primary aged children throughout the key stages.
Introduction
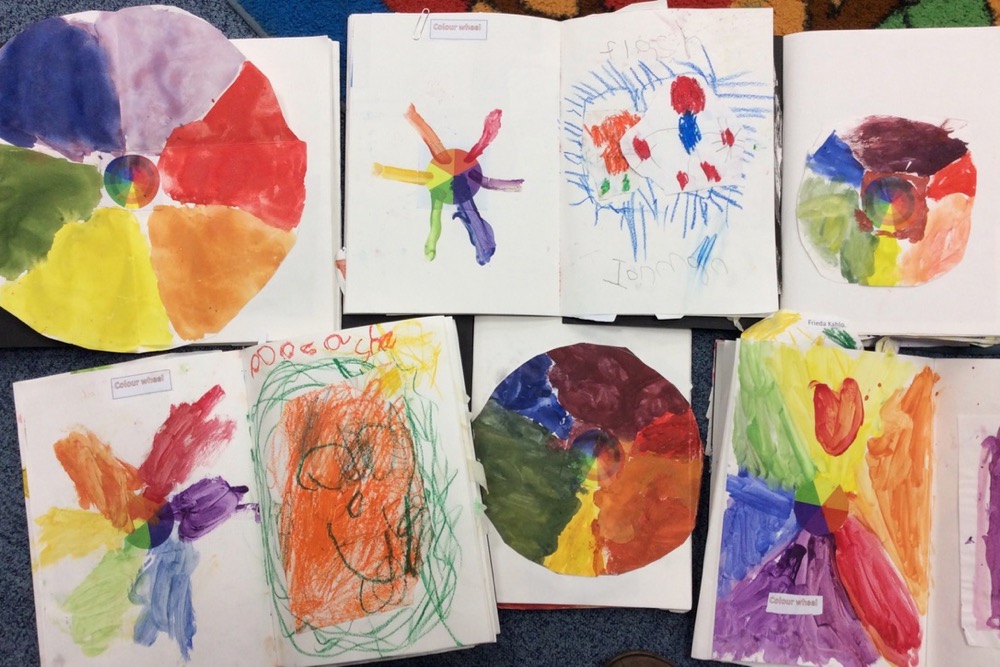
In my work teaching 4 to 11 year olds in mixed year group classes at a small village school, the lessons have to suit a wide age and ability range. Often I am amazed at the standard of work by really young children and this has certainly been true when teaching them about colour.
I get better results with colour wheel activities if the children have had a chance to practice using paint beforehand. So for example, working with very young children, I might run a short session the week before, offering only yellow, white and two shades of blue paint, asking them to make as many different green colours as they can; the results can be used later for collaging. Older children will sadly, not always have had more practise.
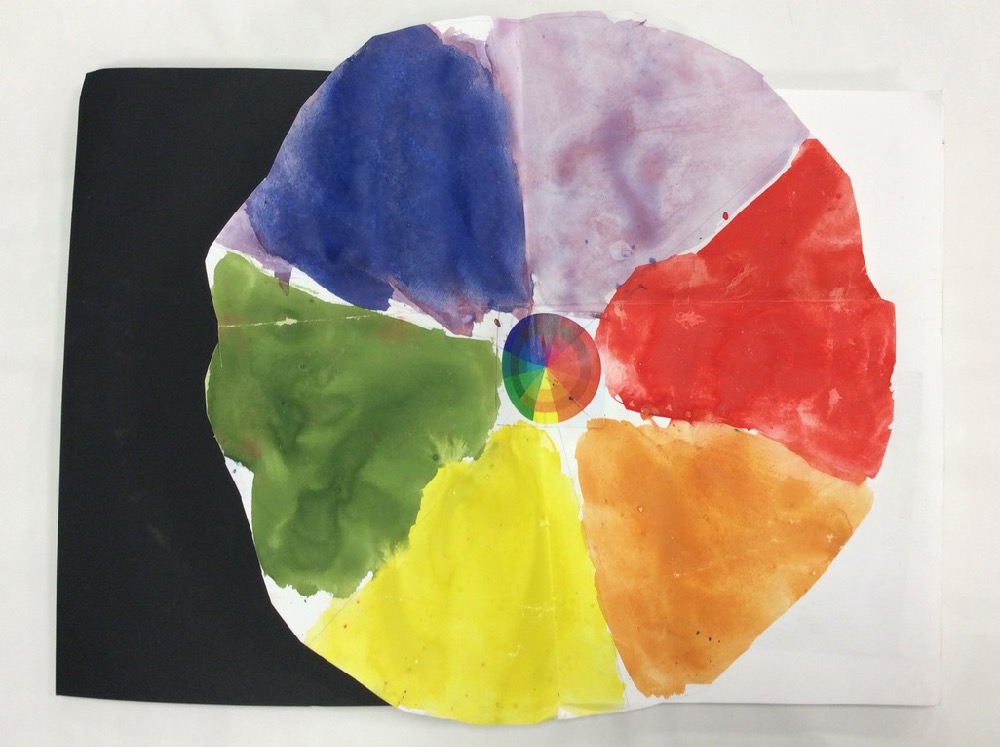
Children love the magic of colour mixing and quickly learn through having a play and doing it themselves at any age. Ready-mix paint and powder paint are both easy to use, (there is no need to make up the powder paint, it can be left in powder form for the children to dip wet or damp brushes into), they can then mix the colours in a separate palette or straight onto the paper.
Keep in mind that the brush size should correspond to the size of the work. This is important as children get frustrated if they are expected to paint large pictures with thin brushes and equally a fat brush will not produce good results on A4 paper.
Ensure any helpers understand to let the children do it all by themselves, so to maximise the learning outcomes, and the child’s feeling of self-worth.
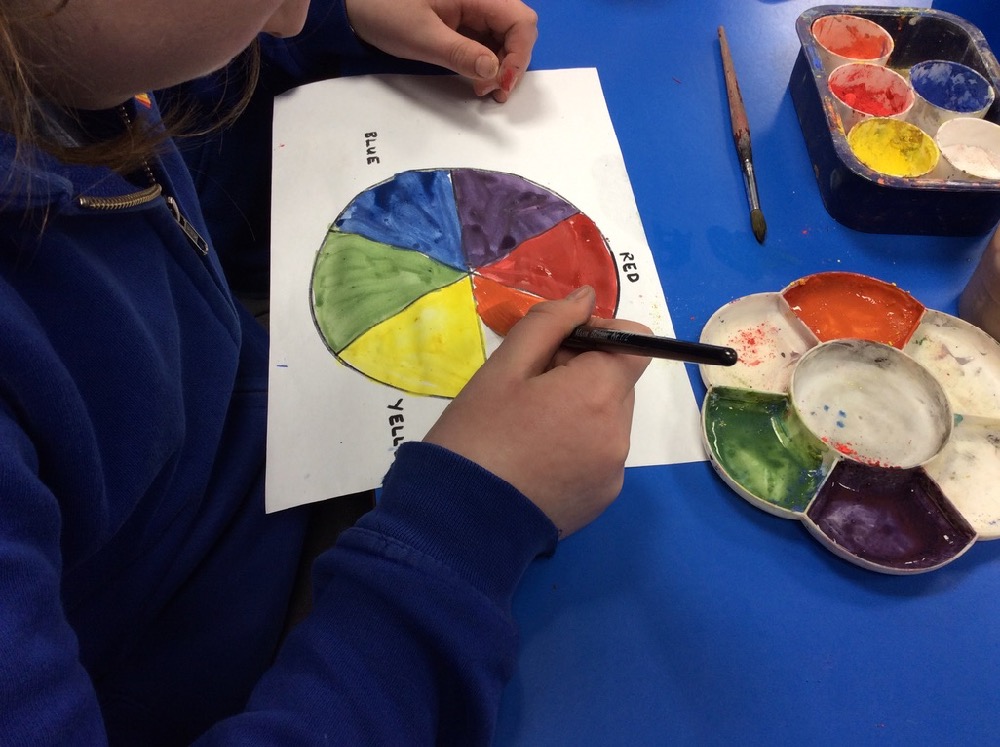
Each child’s result will be different and it is important to notice what they have achieved, not to criticise even if the outcome isn’t exactly what you had in mind. If they are enjoying the task, they may add their own elaboration. A teacher or helper, being critical of the work or too rigid in perceived outcomes could have a negative effect on their enthusiasm for future painting tasks and art in general. Furthermore, it is the process which is of most importance to the child’s learning rather than the finished product.
Materials and Resources:
- White paper or card (thicker paper or card is better)
- Paint -Yellow, red and blue – (Spectrum colour paint which gives the perfect mix can be bought from most suppliers but it is relatively expensive and not necessary for good results).
- Brushes
- Pallets
- Water pots – half-filled to avoid spillages when changing water
- Colour wheel template or small colour wheel
- Scrap paper – for testing colours and paint consistency
- Paper towels or rags – for wiping/drying brushes and spills
- Printed labels – i.e. colour wheel title, colour names (optional)
Method
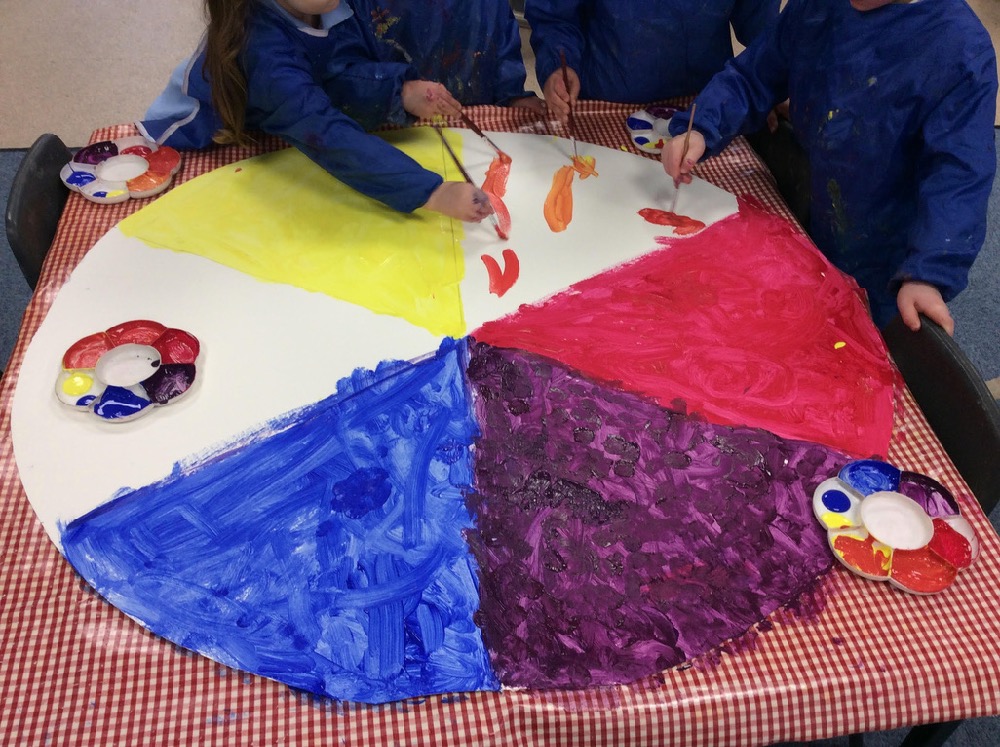
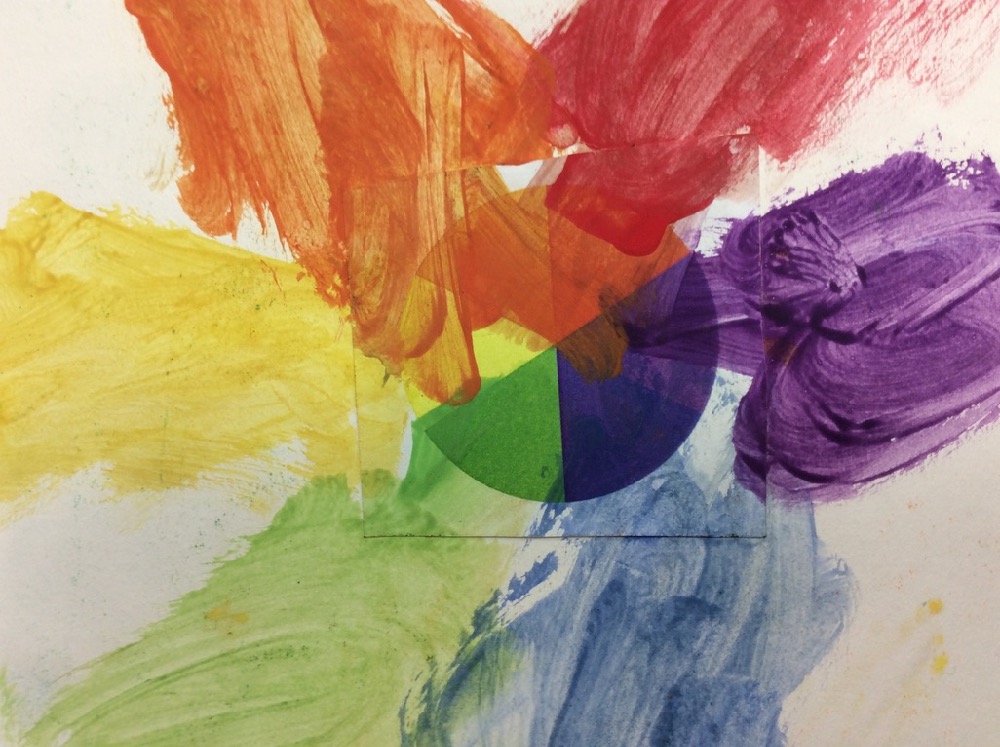
Firstly, I show the children a colour wheel. This would usually be on the whiteboard and depending on the time available, I might also show a small PowerPoint presentation about colour. I explain that all the colours on the colour wheel can be made by using the three primary colours of yellow, red and blue and that each of the three secondary colours – orange, green and purple, can be made by mixing equal parts of two primary colours together. I then ask them if anyone knows how to mix each of the secondary colours to test their existing knowledge.
Orange = yellow + red – purple = red + blue – green = blue + yellow
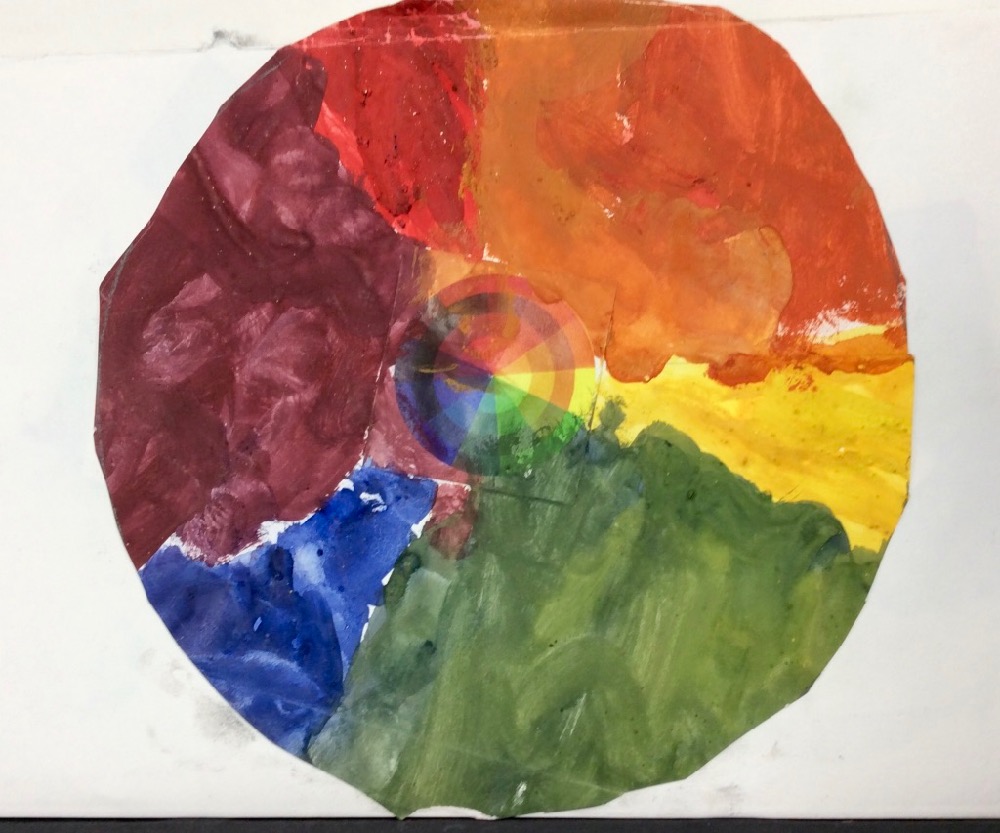
When you mix all three primary colours together it makes brown, so it can be helpful restrict the younger children to two colours at a time for this exercise and to ask them to keep their brushes clean by regularly washing them and refreshing the water.
It is also a good idea to start with the lightest colours, ie. yellow, then red, then blue so as to prevent them becoming muddy.
I Give a quick demonstration showing the children how and where to apply the paint starting with yellow, then how to mix equal amounts of two colours (yellow and red) to make a secondary colour (orange).
I might ask a child to help with the mixing which usually makes the others eager to get started. I would Show how to try out the paint first on a tester sheet, adding more paint when the brush is dry, drying the brush off on a paper towel or newspaper if it is too watery and to wash the brush properly in between colours. In practice they may not all do this and that is fine.
Keep an eye out for the children who have forgotten to put more paint on their brush or those who are awash with paint, reminding them of the instructions.
I would strongly advise teachers to practise this activity beforehand, as some shades of blue and red do not mix as successfully as others, it also really does help your understanding if you have first-hand knowledge of what it is you are asking the children to do.
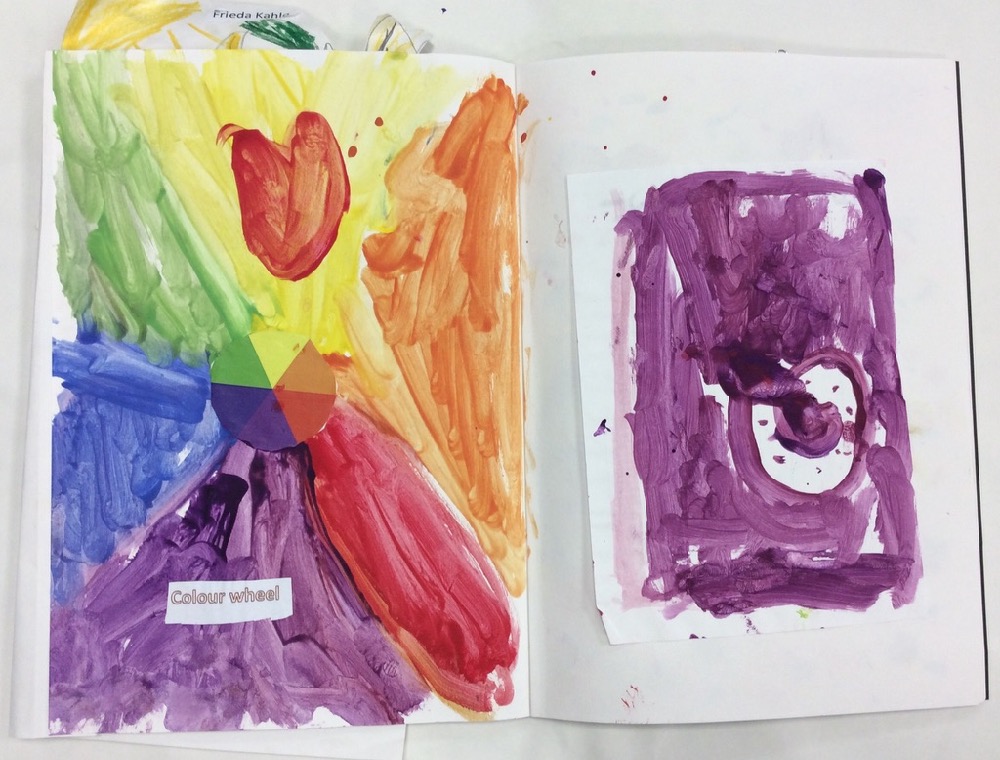
If there is surplus paint and time at the end of the lesson I let the children use it up to paint whatever they like.
