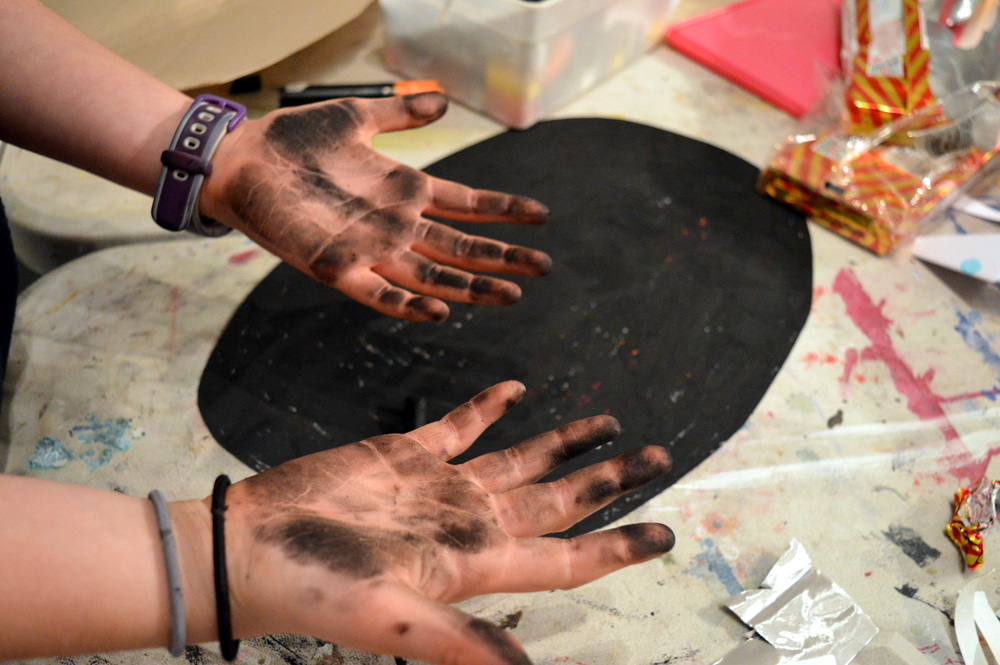
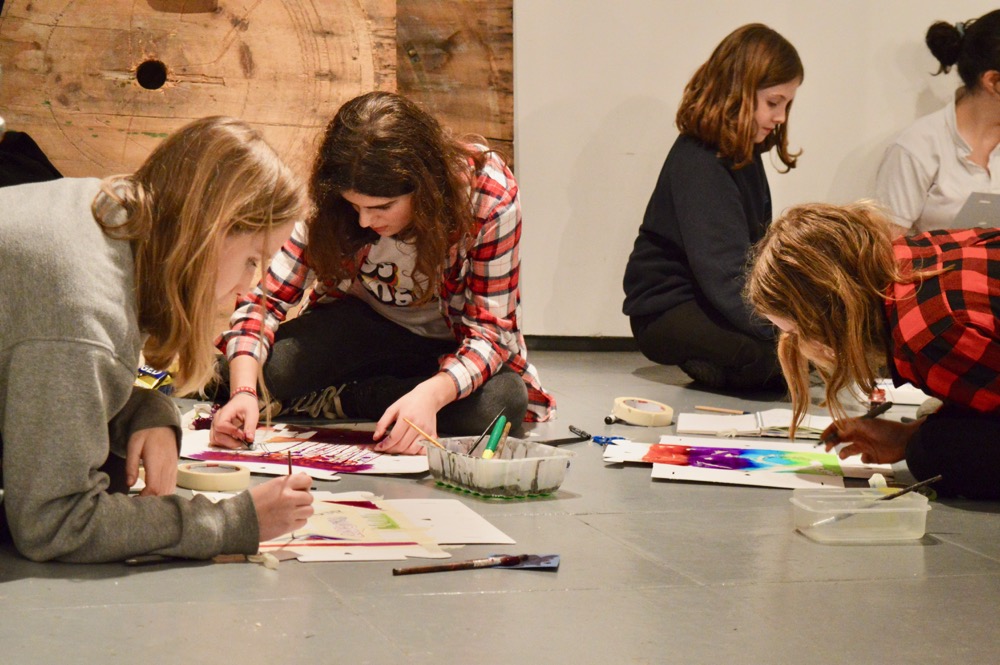
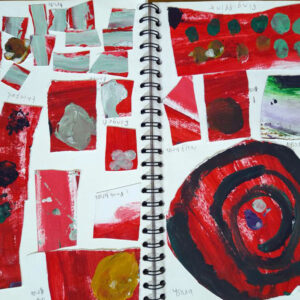
Exploring Macbeth Through Art: Witch’s Capes

By Rachel Thompson

In this second of six resources on Shakespeare’s Macbeth, children are invited to look closely at the witches and the role they play in the story.

The aim of this session is to build on the charcoal skills used in session one, and use further skills in paper manipulation/construction to create an imagined costume cape for the witches.

Back to all six sessions here.

Session Two: The witches
Warm Up: Approx 15 minutes
Main Activity: 45 minutes
Materials needed: Cartridge and sugar paper, newsprint, charcoal, pencils, coloured pastels, coloured chalks, wax crayons, fabric scraps, masking tape or glue, garden twine/embroidery thread and embroidery needles (if available)
Focus Theme/s: Appearances Vs Reality, The Supernatural

Time to Warm Up! Building layers of drawing materials and observing fabric.

Using what you’ve learnt from session 1 about using two materials together (charcoal and pencil) we’re going to do the same but adding in some new materials. We’re also going to learn a bit about observational drawing.

Take some scraps of fabric. Cotton, calico, and other natural fabrics work best for this. Tear and shred the fabric to ‘distress’ it. You can use scissors for this, or perhaps your hands. Then, either hang the fabric up so you can see it, or have some in front of you on the table. Take some paper and a drawing pencil. Look closely at the folds and draping of the fabric, observe the tonal changes where the fold catches the light or casts a shadow. What effect do the tears and distressed look have?

Begin to draw what you see.

Observing distressed fabric.

This doesn’t need to fill the white paper. You may prefer to start small and work up to a bigger drawing. You may want to ‘zoom’ in on tiny details and make a series of small sketches.

Looking close at torn fabric.
Once you have worked on the sketches with the pencils, choose another material. Let’s see what pastels and chalk can do. Can you shade in some shadow? Can you use pale colours to highlight the lighter areas?

A small detailed sketch of a piece of worn fabric.
Choose another material. What happens when you work this into your drawings? Does anything happen to the paper? How about wax crayons? They create a particular kind of surface on paper – can you draw over this or does it resist?
Keep the fabric to hand as you will need this in the main activity.

Observing a piece of fabric distressed with charcoal.

Starter Discussion:
In the play Macbeth, appearances are not quite what they seem. When Macbeth and Banquo, returning from battle, meet the witches on the heath Banquo is shocked at their appearance and wonders who they could be.

‘…What are these,
So wither’d, and so wild in their attire,
That look not like the inhabitants o’ the earth,
And yet are on ‘it? – Live you? Or are you aught
That man may question? You seem to understand me,
By each at once her chappy finger laying
Upon her skinny lips: – you should be women,
And yet your beards forbid me to interpret
That you are so’
(Act 1 Scene 3)

What images of the witches’ appearance are conjured by this description? How can we tell they are forces of evil rather than forces of good? Banquo’s physical revulsion at the witches is clear. What do you think Macbeth’s reaction to them says about him?

‘Stay you imperfect speakers, tell me more’
(Act 1 Scene 3)

Why does Macbeth want to hear more of what the witches have to say?

Context:
The witches use words that have a double meaning to fool Macbeth.
Shakespeare’s audience would have been very scared of witches and evil spirits – and would have held fear of supernatural powers beyond the real world. The opening scenes that introduce us to them would have set the tone of what is yet to come.
Without the use of modern staging methods such as electric lighting or sound effects, Shakespearean actors would have relied more on their voice and movement as well as their costume. The sound of thunder was sometimes made by rolling stones over lead sheets!

Main Activity: Making a Witch’s Cape

We are going to look at how a character’s appearance can inform us of who they are as person, and how we can use drawing to communicate this understanding.

You’re going to create the effect of the ‘wither’d and wild’ clothing worn by the witches using paper and layers of drawing materials.

Step 1: First, take a large sheet of A2 cartridge or sugar paper and scrunch it up gently in your hands. Open it out again and repeat the process. Do this until the paper becomes softer and more mailable.

Scrunching sugar paper to make a paper cloak.


Scrunching and smoothing paper.

Smooth the paper out flat. Then, choose some drawing materials – charcoal, pastels, chalks, pencils etc. Imagine your paper is going to become withered fabric worn by the witches. Using what you leant in the warm up about building materials, begin to work into the paper.

Working charcoal into sugar paper.

This time, you are not observing fabric while you draw – but taking the qualities of that fabric and creating your own impression of this using mark making on paper.

Adding charcoal to sugar paper.


Tearing and using charcoal.

Think carefully about the colours. What colours do you associate with the witches? What colours communicate evil, death, destruction? Notice how the texture of the paper changes as you keep building the layers.

Working colour into scrunched sugar paper.

Take another piece of paper and repeat this process. Once you are happy with your layers, move onto Step 2.

Step 2: Starting on one longer edge, gently tear strips of the paper towards the middle. Stop at the middle and repeat, working your way along one edge and tearing at varying distances towards the middle.

Try to make points in the loose/torn ends, rather than retaining the straight edges. Observe the distressed fabric from the warm up if it helps you develop your making.

Keep working into your two pieces of paper. Try not to rip it up completely – you should still be left with two single pieces of paper, albeit ripped and distressed.

If you think it needs it, work in some more drawing or painting materials.

Adding paint to ripped sugar paper.


Layering paper

Layering both materials and the paper itself is key to making an effective cape. Hold your two pieces of torn paper over one another. You now need to attach them together. You can either do this by using masking tape (folding it on itself and taping to the underside so it’s not seen), or you can use needles and thread. You will need an embroidery thread and needle for this as regular cotton will be too thin.

If you are stitching, do a loose running stitch along the edge of your overlapped paper. Your cape should begin to form as you gather the paper together, moving it along the thread as you work. Once you have stitched to the end and gathered enough, tie a knot in the thread to secure it. If you are using tape, try and scrunch and overlap the paper as you stick it to create volume and texture.

Try it on for size over your shoulders. Trim, tear, fold and scrunch the paper until it feels right. Don’t worry if it falls apart a bit – embrace the withered nature of it!

Trying on a paper cape.


Trying on a paper cape for size.

Keep trying them on as you make. Make your own creative choices on its appearances. Can any deeper colours enhance your cape?

The rhythm and rhyme of the witches’ lines sound like they are casting a spell. Try reading them out loud as you embody their character:

‘Fair is foul, and foul is fair:
Hover through the fog and filthy air’

Keep your capes safe as you’ll need them for session 3!


Reflection:

Pin the capes up or invite all the children to put them on.

Invite anyone who would like to, to show and talk about their cape.

Can you explain which drawing materials you used and what differing qualities they have? Which material did you prefer and why?
Can you think of some other ways to make a cape like this?

If you were an actor performing the role of one of the Witches in a production of Macbeth, how might wearing your withered cape help your performance?


This is a sample of a resource created by UK Charity AccessArt. We have over 1500 resources to help develop and inspire your creative thinking, practice and teaching.

AccessArt welcomes artists, educators, teachers and parents both in the UK and overseas.

We believe everyone has the right to be creative and by working together and sharing ideas we can enable everyone to reach their creative potential.


Session Recording: Exploring Charcoal


Session Recording: Finding Marks Made by Artists


Using Sketchbooks to Make Visual Notes

See This Resource Used In Schools

Year 3 Redesdale Primary
Year 3, Sutton Valence Preparatory School
Year 5/6, Histon and Impington Brook Primary
Sutton Valence Preparatory School
Year 3, Sutton Valence Preparatory School
Sutton Valence Preparatory School
Benton Dene School by Clare Boreham


Mixed Media Landscape Challenges

See This Resource Used In Schools…

Year 5, Whitchurch Primary
Year 5, Winslow CE School
Year 5, St Teresa’s Roman Catholic Primary School

You May Also Like…

Pathway: Mixed Media Land and city scapes

This is featured in the 'Mixed Media Land and City Scapes' pathway

This is featured in the ‘Mixed Media Land and City Scapes’ pathway

Talking Points: Kittie Jones

Layered Landscapes by Kittie Jones

Talking Points: Vanessa Gardiner

Vanessa Gardiner- Landscape Painter https://vimeo.com/211454959

Talking Points: The Shoreditch Sketcher

Royal Academy by The Shoreditch Sketcher


Nests: With Dry and Wet Media

See This Resource Used In Schools…

Year 6, Sheffield High School
Year 6, St Teresa's School
Emma Dodsworth, Ashmead Primary School, Lewisham

You May Also Like…

Pathway: Sculpture, Structure, Inventiveness & determination

This is featured in the 'Sculpture, Structure, Inventiveness & Determination' pathway

This is featured in the ‘Sculpture, Structure, Inventiveness & Determination’ pathway

Talking Points: What can we learn from birds

Marcus Coates, Conference of the Birds, 2019, (excerpt) https://vimeo.com/518101698

Drawing source material: nests

Birds nest in tree, nature photography. Free public domain CC0 image.


Nests: Observational Ink Drawing

See This Resoucre Used In Schools…

Yr 5 Sutton Valence Preparatory School, Adaptation of Nests Pathway

You May Also Like…

Pathway: Sculpture, Structure, Inventiveness & determination

This is featured in the 'Sculpture, Structure, Inventiveness & Determination' pathway

This is featured in the ‘Sculpture, Structure, Inventiveness & Determination’ pathway

Talking Points: What can we learn from birds

Explore parallels between behaviour of birds and ourselves

Explore parallels between behaviour of birds and ourselves

Drawing source material: nests

A collection of imagery and sources which you can use to prompt drawing

A collection of imagery and sources which you can use to prompt drawing


Nests: Materials, Tools Testing and Sketchbooks

See This Resource Used In Schools…

Yr 5 Sutton Valence Preparatory School, Adaptation of Nests Pathway

You May Also Like…

Pathway: Sculpture, Structure, Inventiveness & determination

This is featured in the 'Sculpture, Structure, Inventiveness & Determination' pathway

This is featured in the ‘Sculpture, Structure, Inventiveness & Determination’ pathway

Talking Points: What can we learn from birds

Marcus Coates, Conference of the Birds, 2019, (excerpt) https://vimeo.com/518101698

Drawing source material: nests

Birds nest in tree, nature photography. Free public domain CC0 image.


A Visual Poetry Zine with Monotype

See the Resource Used in Schools…

Littleport Community Primary School Year 5 Making Monotypes - these were inspired by Sea Fever the poem by John Masefield

You May Also Like…

Pathway: Making Monotypes

This is featured in the 'Making Monotypes' pathway

This is featured in the ‘Making Monotypes’ pathway

Talking points: What is a monotype?

Monotype Vimeo Screenshot

Talking Points: Kevork Mourad

Kevork Mourad: the making of Seeing Through Babel https://vimeo.com/347106795


Dance and Drawing


Expressive Painting & Colour Mixing

See the Resource Used in Schools…

year 2 @littletownschool sketchbooks

year 2 @littletownschool sketchbooks
Year 2
Year 2
Year 2
2023-01-30 (15)
Year 2
Year 2 Whitchurch Primary School
Home-Education Mixed Age Group, 6 - adult

You May Also Like…

Pathway: Expressive Painting

This is featured in the 'Expressive Painting' pathway

This is featured in the ‘Expressive Painting’ pathway

Talking Points: Brush Work of Van Gogh & Cezanne

Wheat Field with Cypresses (1889) by Vincent Van Gogh. Original from the MET Museum.

Talking Points: Marela Zacarías

Marela Zacarías

talking points: Charlie French

Charlie French

Session Recording: Expressive Painting

expressive painting on green


To The Thames Barrier And Beyond


World War 1 And The Work Of Paul Nash

See This Resource Used In Schools…

Sheffield High School


Which Artists: Tatyana Antoun

What We Like About This Resource….

“The research phase of a creative project can be presented in many different ways, and can even be an art form in itself. Here, Tatyana demonstrates how her sketchbooks became a medium through which she expressed her thoughts, refined her ideas and explored materials. We believe sketchbooks to be a powerful tool for children to take ownership of their ideas and travel on their own creative journey, without necessarily knowing the destination. Take a look at our sketchbook journey for more sketchbook inspiration” – Rachel, AccessArt.

You Might Also Like….

Sketchbooks and Thinking Skills

Sketchbooks and Thinking Skills

Sketchbooks for Designers - an Introduction for Children

Sketchbooks for Designers – an Introduction for Children

Using Sketchbooks to Take Ownership of Ideas

Using Sketchbooks to Take Ownership of Ideas


Exploring, Associating & Connecting – a Sketchbook Exercise


How I Use Sketchbooks & Drawing


Sketchbooks Should Be…

You Might Also Like…

An open page spread of a child's sketchbook

The Sketchbook Journey

Explore the AccessArt Sketchbook Journey to grow your understanding about what sketchbooks are and how they might be used.

Share your work and receive feedback in The AccessArt Tutorial Group

The AccessArt Network

Join our network on facebook and continue the conversation, share and support.


Scaffolding Projects


Sketchbook Journey At Haslingfield Primary School


Which Artists: Rachel Parker

What We Like About This Resource

“It’s really interesting to see the combination of hand and digital work in Rachel’s work, and particularly how her hand stitched embroidery is scanned before being used to create patterned products. We love that lots of Rachel’s work begins in sketchbooks and how this really underpins her creative process. For children in school, learning to utilise a sketchbook and discover their potential though drawing and mapping ideas is invaluable. We have a whole Sketchbook Journey section on the AccessArt website (linked below) which explores this in more detail”. – Rachel, AccessArt.

You Might Also Like….

Pathway: Exploring pattern

This is featured in the 'Exploring Pattern' pathway

This is featured in the ‘Exploring Pattern’ pathway

using sketchbooks to make visual notes

Sketchbooks used for observations, research drawing and experimentation.

Show me what you see

Show Me What You See Method 250 Words by Tobi Meuwissen

Inspired by Rachel Parker

Wallpaper Mockup Rachel Parker

Sewn Treasure Box

If you Wish

Felt and Embroidery Sets

Felted and Embroidered Blue Room by Gabby Dickson