Creating Your Sewn Square

This resource provides a starting point for making your sewn square for the AccessArt Village Project.

Part One – Make the Drawing

embroidery - 11

Cut a piece of paper into a 20cm x 20cm square. Decide on the view of your home you would like to draw. To make the initial drawing on the paper take a pencil or pen, and try making a continuous line drawing of your home.

A continuous line drawing is a drawing in which the pen does not leave the paper. Instead the pen travels around the page as your eye sees the object it is drawing. Find out how to do a continuous line drawing here.

Keep your drawing fluid and relax when you make it – it is only a preliminary sketch to help you gather information.

embroidery - 13

Part Two – Transfer the Drawing to the Fabric

Next take a square of fabric. If you intend to use an embroidery hoop (this might help small children as well as adults), then you may want to make sure your fabric is larger than 20 cm square. You can stitch your drawing onto your choice of fabric.

It’s best to go for something that will support your stitching without distorting the fabric.  You could choose from medium-weight cotton/cotton sheeting, calico, felt, evenweave fabrics, linen and lightweight furnishing fabrics.  Take care not to pull the stitching too tight if your fabric is not supported by an embroidery hoop. Calico can be softened by prewashing.

embroidery - 15

Place a piece of carbon copy paper ink side down, over your fabric. On top of this place your continuous line drawing. Now use a pencil or pen to trace over your drawing. You might have to press on quite hard and go over your line – experiment with how much pressure you need to transfer the line.

This is your chance to decide which lines you really like, which lines you think really help give your drawing personality and help describe your home, and which lines you are less keen on. If there are any lines you do not like in your initial sketch, then simply don’t trace over them.

embroidery - 17


embroidery - 18


accessart village: Carbon paper used to transfer drawings onto cotton and evenweave fabrics
Carbon paper used to transfer drawings onto cotton and evenweave fabrics


If you choose dark fabrics then chalk or a pastel pencil can be used to transfer your drawing freehand.
If you choose dark fabrics then chalk or a pastel pencil can be used to transfer your drawing freehand


Part Three – Stitching

embroidery - 14


For felt, evenweave and loose weave fabrics use darning needles - for cottons and close weave fabrics use sharp needles
For felt, evenweave and loose weave fabrics use darning needles – for cottons and close weave fabrics use sharp needles


AccessArt Village
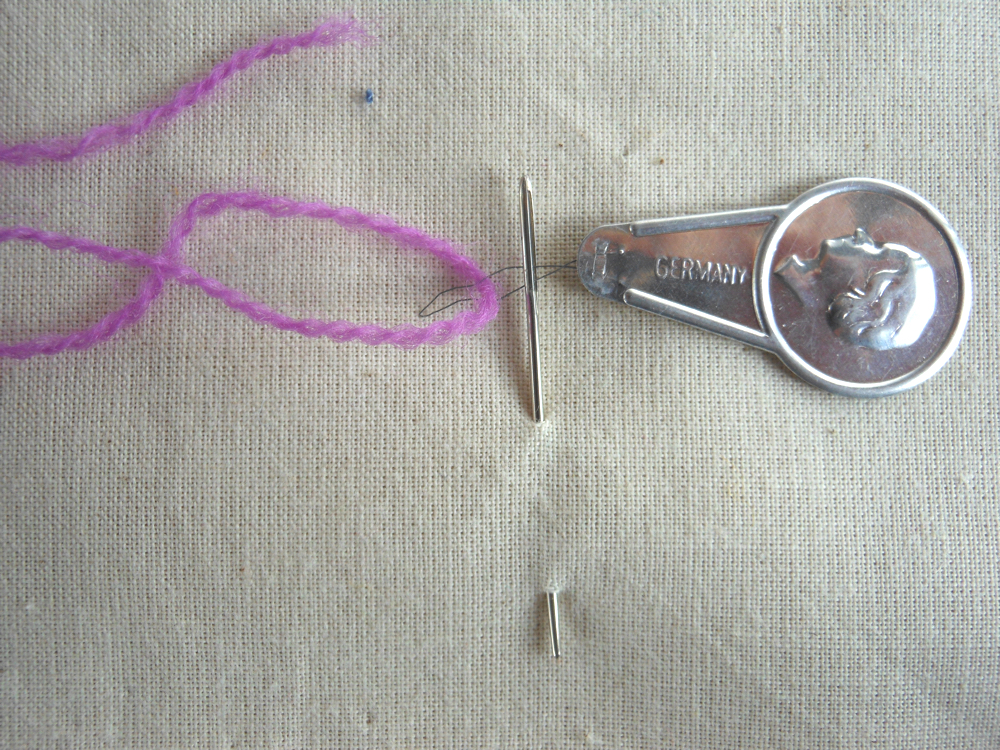
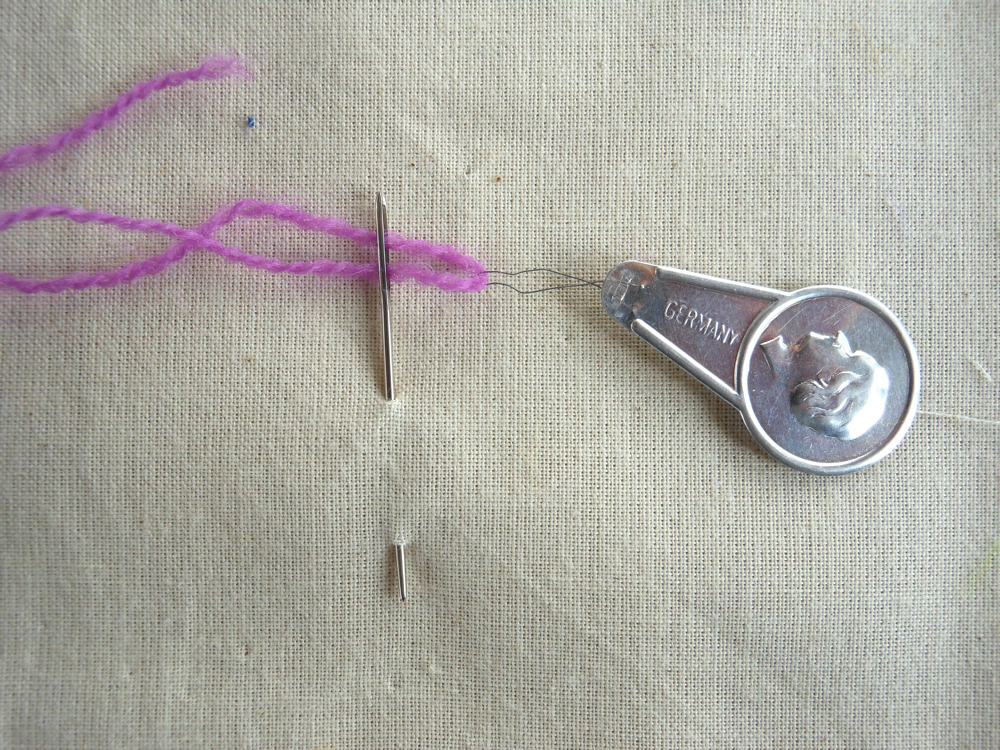
If you struggle to thread needles, a needle threader is a useful accessory. They are usually included in packs of sewing needles

AccessArt Village
Pull the thread through the needle


AccessArt Village
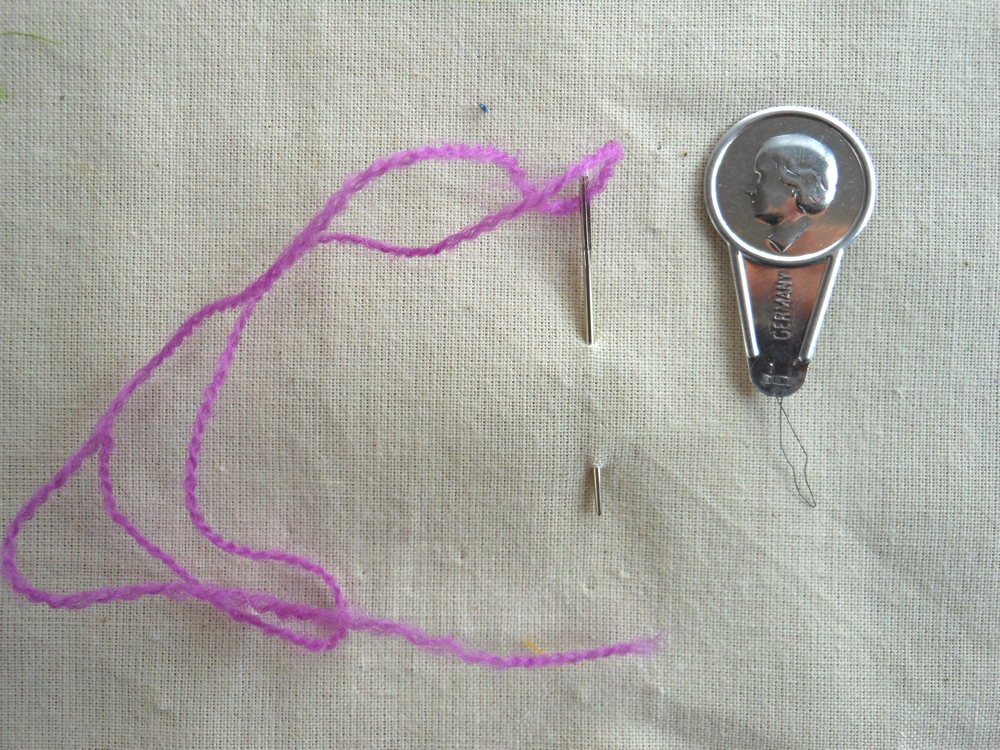
Needle threaded with minimum fuss!

If you haven’t sewn before, it might be a little daunting knowing how to begin.  When you start stitching with your first thread, either tie a knot in the end (quite acceptable for our project!) or make your first stitch, leaving a long tail of thread on the back of the fabric.  Then, when you have made a few stitches, weave this tail gently under about four stitches and then snip off the end.

Beginning the first line of stitches - leave a tail of thread on the back of the fabric
Beginning the first line of stitches – leave a tail of thread on the back of the fabric


Weaving the tail of thread under the stitches to secure the end


Once you have a line of stitching you can start the next thread off by weaving the end under the previous line of thread

When it comes to turning your line drawing into an embroidery, be creative! Think in terms of how you can use different stitches to create interesting and varied marks. (You may enjoy looking at Diverse Mark Making which explores how you can make your drawings more interesting by using diverse mark making).

Be as creative as you can in your stitching! Think of your embroidery as a line drawing – you might want to use any or all of these stitches in your work:

A simple running stitch:

embroidery - 3

Backstitch:

embroidery - 5

Seed stitch:

embroidery - 1

If you feel more confident, you might want to explore other decorative stitches, such as the ones shown below or use your own favourite stitches.

Stitching onto felt. Stitches include: blanket stitch, cross stitch, chain stitch, French knots, herringbone stitch and satin stitch and also experiementing with cross stitch to make different marks
Blanket stitch, cross stitch, chain stitch, French knots, herringbone stitch, satin stitch and a line of cross stitch exploring different scales of mark


You can use any stitching technique or combination of stitch processes to create your house e.g hand stitching and appliqué or collage, free motion embroidery on the sewing machine or mixing hand and machine stitching to get the effect you want – you can be as expressive and inventive as you like!

Other resources that you might enjoy:

Draw Your Home: Collage, Stitch and Fabric Crayons

Collagraph, Collage and Stitch: make and Image of your Home on Fabric


This is a sample of resource created by UK Charity AccessArt. We have over 1100 resources to help develop and inspire your creative thinking, practice and teaching.

AccessArt welcomes artists, educators, teachers and parents both in the UK and overseas.

We believe everyone has the right to be creative and by working together and sharing ideas we can enable everyone to reach their creative potential.


Drawing Flames


How To Clay Play


Long Legged Animals by Years 3 & 4 Making Club


Life Drawing: Using Tone by Hester Berry


Life Drawing: Understanding Foreshortening by Hester Berry


Life Drawing: Drawing Hands and Feet with Hester Berry


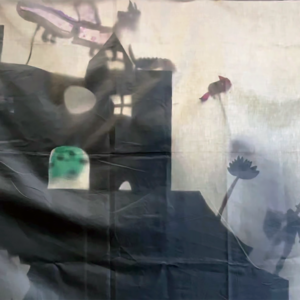
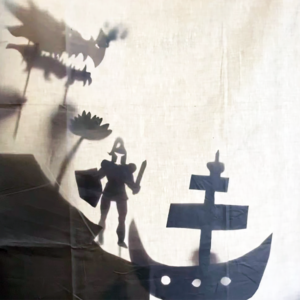
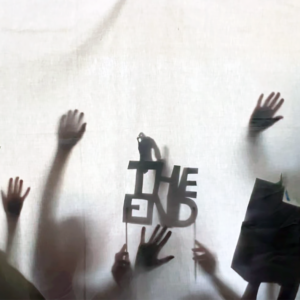
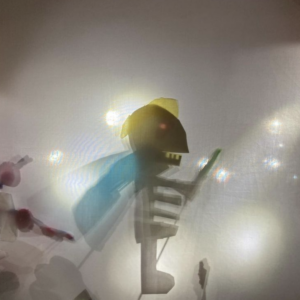
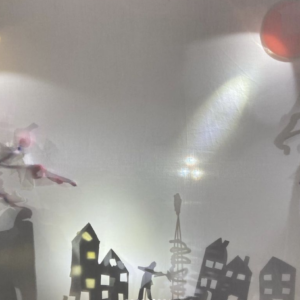
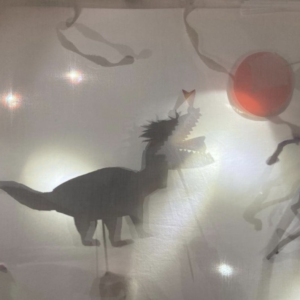
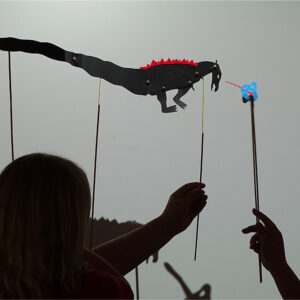
Shipwrecked! A Shadow Puppet Play by Children Aged 10

See This Resource Used In Schools…

Years 5 & 6, Artivity Studios
Shottermill Junior School Year 4

You May Also Like…

Pathway: Shadow Puppets

This is featured in the 'Shadow Puppets' pathway

This is featured in the ‘Shadow Puppets’ pathway

Talking Points: Cut Outs

Henri Matisse Cut Outs https://vimeo.com/97130137

Talking Points: Malaysian Puppets

Spirit of Kelantan (Wayang Kulit) https://vimeo.com/90989377

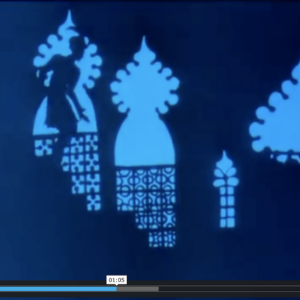
Talking Points: Lotte Reiniger

Lotte Reiniger - The unsung heroine of early animation BBC Ideas by Infocandy

Session Recording: Making Shadow Puppets

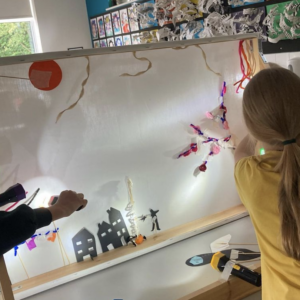
Shadow Puppets at Bourn Primary Academy


Paperback Figures: Collaged, Relief Sculptures

You May Also Like….

Visual Arts Planning Collections: Cardboard and paper

cardboard detail 3b

Book art with Primary children

Drawing feathers

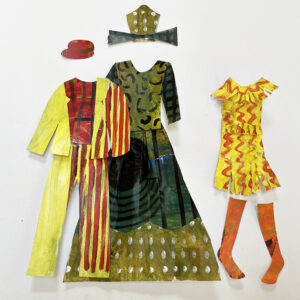
Making 2d & 3d Fashion Designs with Painted and Decorated Paper

assembling the outfits by Paula Briggs


Life Drawing: Drawing the Head by Hester Berry


Red to Green: Wax Resist and Scraffito


Red to Green: Making Sculpture


Red to Green: Steps to Observational Drawing


Red to Green: Monoprinting


Life Drawing: Capturing Gesture by Hester Berry


Red to Green: Block Printing


Red to Green: Taking Rubbings and Making Compositions

You May Also Like….

Pathway: Simple Printmaking

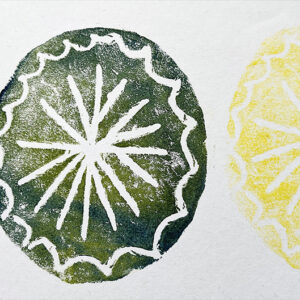
foam plate and print

Featured in the ‘Simple Printmaking’ pathway

Pathway: Making Birds

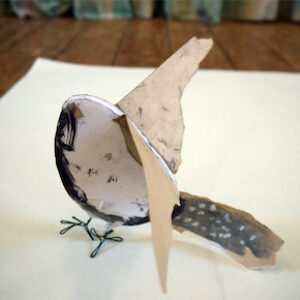
Collages Birds by Paula Briggs

Featured in the ‘Making Birds’ pathway

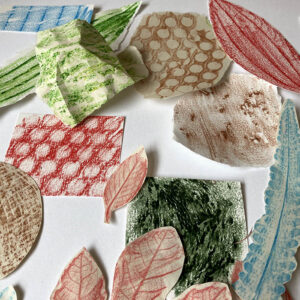
Collaging with Wax Crayon Rubbings

Scrunching Ripping and Cutting Collage Arrangement by Tobi Meuwissen


Red to Green: Patterns in Nature, Line and Wire


Aspire to Create: Inspired by Nature & Empowered by Creativity – Red to Green

One: Casting

Exploring mark making into wet clay, mould making, mixing and pouring plaster

Exploring mark making into wet clay, mould making, mixing and pouring plaster

Two: Patterns in Nature, Line and Wire

Using drawing to look at designs and patterns in nature to inspire the creation of wire sculpture

Using drawing to look at designs and patterns in nature to inspire the creation of wire sculpture

Three: Taking Rubbings and Making Compositions

Recording the surrounding world by taking rubbings

Recording the surrounding world by taking rubbings

Four: Block Printing

Learners are introduced to block printing

Learners are introduced to block printing

Five: Monoprinting

Exploring texture, pattern and mark making through monoprinting

Exploring texture, pattern and mark making through monoprinting

Six: Steps to Observational Drawing

Four steps to enabling observational drawing

Four steps to enabling observational drawing

Seven: Making Sculpture

Learners explore sculptural principles of form, space and balance

Learners explore sculptural principles of form, space and balance

Eight: Wax Resist and Scraffito

Introducing colour with wax resist and scraffito techniques

Introducing colour with wax resist and scraffito techniques


Red to Green: Casting