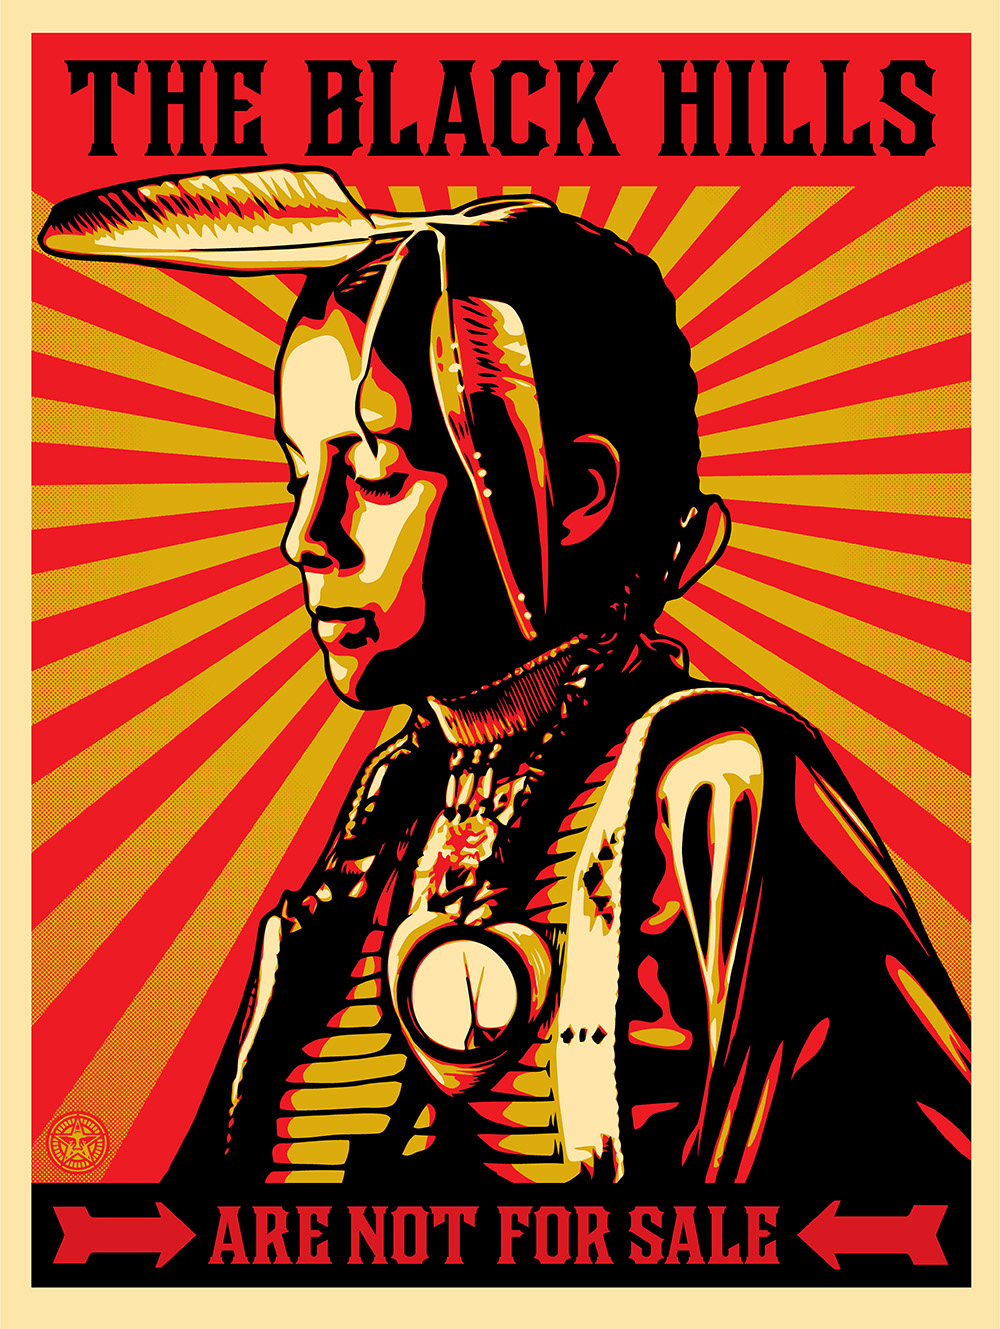
This resource explores sculptures by French artist Edgar Degas (1834-1917) and shows how sculptural processes can be facilitated in a classroom setting.
This resource was created in collaboration with AccessArt and the Fitzwilliam Museum, Cambridge and is one of three AccessArt resources: Inspired by Edgar Degas: Printmaking, Drawing & Sculpture at the Fitzwilliam Museum Cambridge with AccessArt.
-
Who is this resource for?
This resource is for any teacher, or educator, who would like to take a closer look at 19th century art, in particular Degas, and bring it to life in their classrooms.
This resource can be used to support looking at art work in a museum, or how you might use printable resources in the classroom to inspire making sculpture.
-
Accessing Degas’s sculptures…
We will take a closer look at the exhibition Degas: A Passion for Perfection at the Fitzwilliam Museum, Cambridge in 2017/18 to:
- Inspire teachers to look at Degas’s work and take it, and his processes, back into their classrooms,
- Introduce Degas’s sculptures with close up examples of his work including links to:
- The Fitzwilliam Museum’s Collections Explorer/Degas with access to downloadable images of the work. A must go-to for teachers!
-
Activities covered in this resource…
A Drawing Challenge with AccessArt Sculpture Prompt Cards, to help teachers explore Degas’s work – (NB these cards are useful on any gallery floor, in any museum, anywhere in the world!).
More about how Degas approached making sculpture and practical, hands-on techniques to aid classroom practise with examples from teachers on how to:
- Look and make an armature,
- Use and choose materials,
- Explore material manipulation and create form
-
You will need…
A variety of assorted materials and tools including:
Materials for joining and binding – for example:
- string, raffia, cable ties, ribbon, wool, felt, scrim,
Materials which can be used for modelling – for example:
- modelling wax, plasticine, clay,
Materials which can help add structure – for example:
- wooden blocks, modelling wire, sponge.
Simple tools – for example:
- a hammer, nails, pliers, scissors etc.
Setting the Scene
In November 2017, a group of primary school teachers explored the exhibition Degas: A Passion for Perfection, at the Fitzwilliam Museum, Cambridge with the museum’s education officer, Kate Noble and Paula Briggs & Sheila Ceccarelli from AccessArt.
For those who could not participate in this session, we hope that the resource below will have all that you need to inspire open ended, creative explorations, in the classroom, from a distance, inspired by Degas.
The Fitzwilliam Museum, generously shares works of great Art via its Collections Explorer which should be a go-to place for teachers with hundreds of great works available to download and use freely in the classroom.
Looking at Degas
Teachers spent 40 minutes drawing from sculptures in the exhibition before spending an hour and ten minutes in the studio making sculpture. The aim of the session was to enable teachers to experience the benefits of working freely with a variety of materials to create figurative sculpture in it’s loosest sense.
Part One: Drawing from Degas’s Sculptures
Degas was a prolific artist and worked in many different materials in order to extend his means of expression. The Fitzwilliam Museum owns the only original wax sculptures by Degas in Britain. Through the process of making these sculptures Degas went through a continual of cycle of building, testing, and changing as he experimented with different materials, poses and angles. Working in 3D helped him to build a better understanding of the subject, which in turn informed the development of his paintings and drawings. Degas only exhibited one of his sculptures during his lifetime, “Little Dancer Aged Fourteen.” He never worked in bronze; all the casts of his work were made posthumously.
Teachers can find images of work by Degas from the Fitzwilliam Gallery “Collections Explorer” here.
Participants were given graphite and soft (B) pencils and cartridge paper, and invited to make quick, intuitive drawings based upon their observations of the sculptures. In particular we asked the participants to seek out views where the poses felt in balance, or where they were on the point of being thrown out of balance. We also talked about the sculptures’ relationship with the ground, and the sky.
Some participants used prompt cards to help inspire their drawing – you can find the cards here. We also suggested participants may want to draw “outwards” from an imagined armature (internal structure). We also invited participants that they get into the pose of the sculpture before they draw it to see how it feels to inhabit that pose.
Whilst in the gallery Kate also shared images of some of the armatures (internal structures designed to support a sculpture) Degas used in the creation of his sculptures. Awareness of how Degas used these internal structures, together with the information gathered through the drawings, helped feed the next stage of the workshop in the studio.
Part Two – Making Sculpture in the Studio
The main aim of the studio session was to give teachers the chance to explore materials and understand processes by which we can manipulate materials into meaningful forms.
Degas’s own act of making incorporated the spontaneous manipulation and addition of materials to create and explore form. He’d manipulate wax and incorporate found objects and fabrics into it, to create the visual and textured effects he strived towards. Inspired by Degas’s process, teachers were encouraged to pick up the materials at hand and through making, come upon form. Rather than pre-designing a 3d form on paper and then making it (which often results in a poor understanding of the potential of a materials and frustration), participants were encouraged to design through making, exploration and play.
The materials made available for participants were a mixture of materials which would help bind (for example string, raffia, cable ties, ribbon, wool, felt, scrim), materials which can be modelled (modelling wax, plasticine, clay), and materials which can help add structure (wooden blocks, modelling wire, sponge). In addition we provided simple tools such as hammer, nails, pliers, scissors etc.
Using the drawings made in the studio as inspiration (without the pressure of turning them into 3d sculptures), teachers were invited to start by choosing materials which they were instinctively attracted to.
Some chose to start by building a wire armature using modelling wire and a wooden block. Using an armature can be a liberating way of getting your sculpture to stand, freeing you up to explore a variety of anatomical positions.
Others chose to start building a free standing figurative sculpture which had a different kind of relationship to the ground.
Most of the materials available might be considered as “resistant materials”, meaning they require the use of tools (including hands) to help manipulate, shape and join. When making sculpture, it can often feel like a battle with the materials (getting them to join together, getting them to communicate your ideas, getting them to stand up), and this is an important element to acknowledge to teachers and pupils. Making sculpture is not easy! It takes a great deal of thought, hand-eye coordination, and often physical effort. Fingers ache and it can be frustrating. Acknowledging to children that this is normal (and actually means you are on the right lines) is important. Having the teachers experience this for themselves is also a vital experience.
Teachers were encouraged to combine materials, building figurative forms, as Degas did, using a combination of fabric, wax, wire… and other elements.
This way of working with the materials led to wonderful translation and relationships between drawings made in the gallery, and sculptures made in the studio. The drawings were not “designs” for the sculpture, and yet the sculptures could not have been made without the knowledge and experience built through drawing. This is an important relationship.
Some of the finished sculptural objects, which were seen as exploratory…
With many thanks to the teachers who attended this session, and to Kate Noble from the Fitzwilliam Museum for making it possible.
A special thanks to Jane Munro, the Keeper of Paintings, Drawings and Prints at the Fitzwilliam Museum, Cambridge, and the curator of this exhibition, for her support and input into this resource.