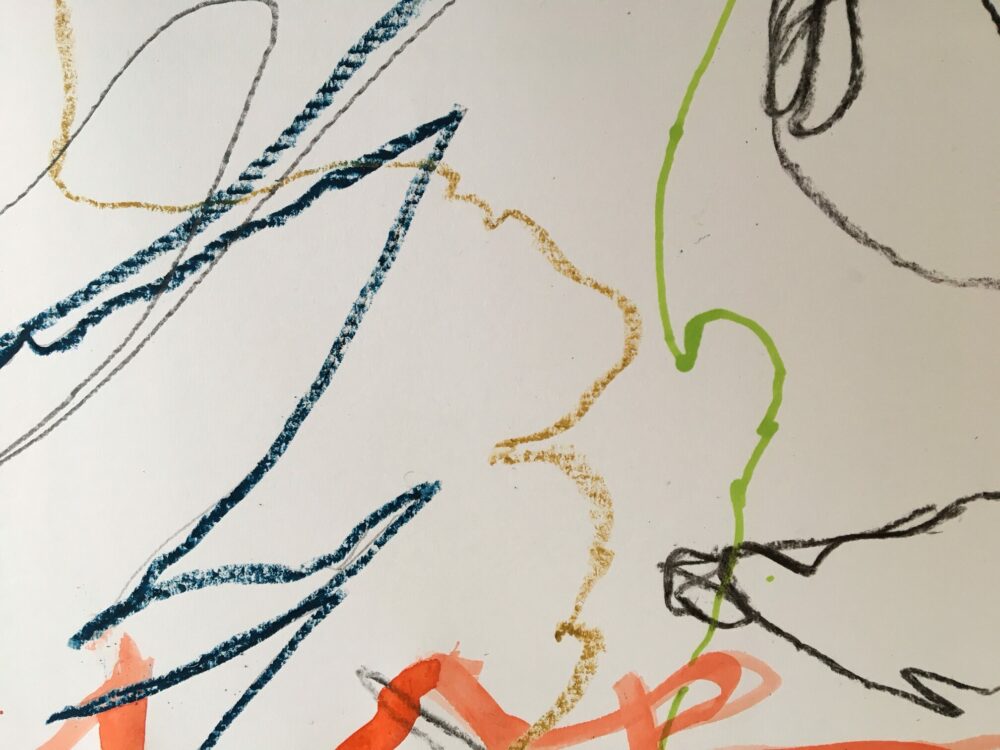
Movement Maps
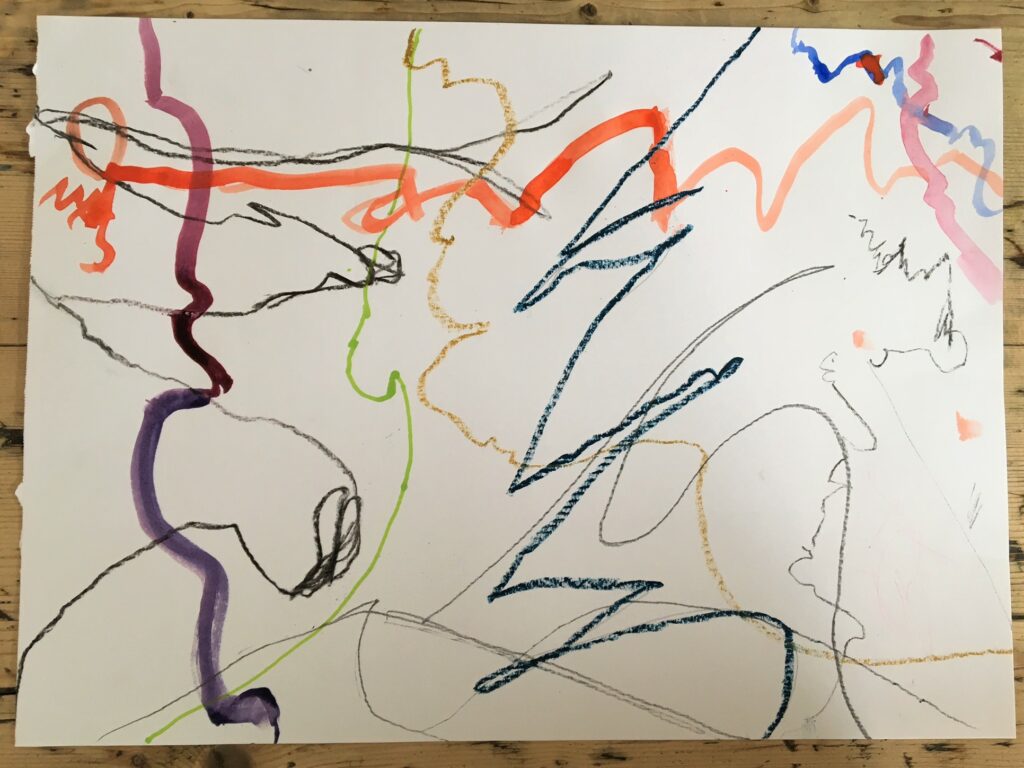
In this post, AccessArt team member Rachel Thompson develops a simple drawing concept into a large scale ‘movement map’, where movement and memories are translated into lines, marks and patterns. This resource is suitable for a wide range of ages and is an opportunity for children to engage with their creative voice, personal memories and feelings – as well as to express themselves through movement.
Aims: To introduce children to the idea of expressive and imaginative mark making.
The emphasis is on personal journeys and not on producing an art work that is predictable in its final form. The activity enables children to take ownership of their own work, as the stimulus they are starting from is their own.
The activity gives children time and opportunity to explore a range of drawing materials (the more the better) and to learn what effects each make and how they feel to use.
Age Range: All primary ages through to adult learners
Duration: Approx two 45-1 hour sessions
Materials: Small scrap paper (no bigger than A4), books to lean on, larger paper (A3 min), wide variety of drawing and painting materials such as charcoal, pastels, pencils, water colour.
To Begin
Have a number of paper options ready – nothing larger than A4 for this first activity as the participants will need to be able to move around freely whilst drawing on the paper. The paper can be scrap, torn roughly and different colours. As long as it is plain and there is enough for each participant to have at least 7 or 8 pieces each.
Ask each participant to choose a piece of paper, something to lean on such as a book or sketchbook, and a drawing material.
The first part of this mini project will take approximately 45 mins – 1 hour.
Find a space.
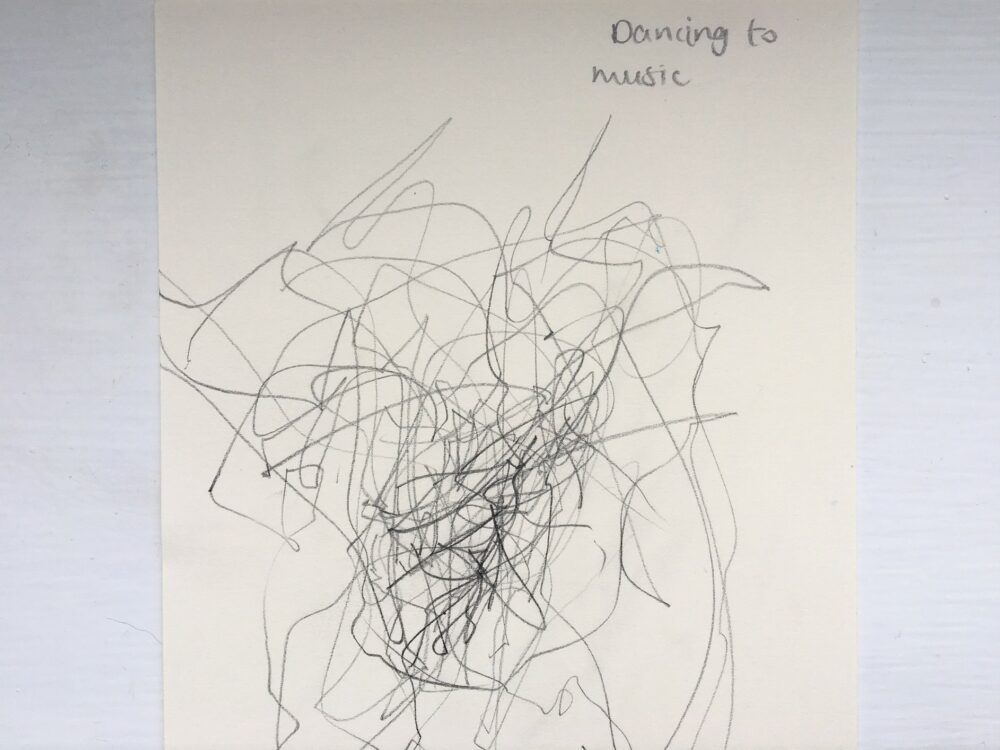
Choose from the list of prompts shown below that ask the participants to ‘journey’ through drawing. Some of the prompts are literal, and some from memory. Remind them that this is personal to their experience and that they should allow the pencil or drawing material to ‘find its way’ across the paper according to their movement and they shouldn’t worry where it ends up or how it looks.
Spend approx 1-4 minutes on each prompt, with a fresh piece of paper for each one.
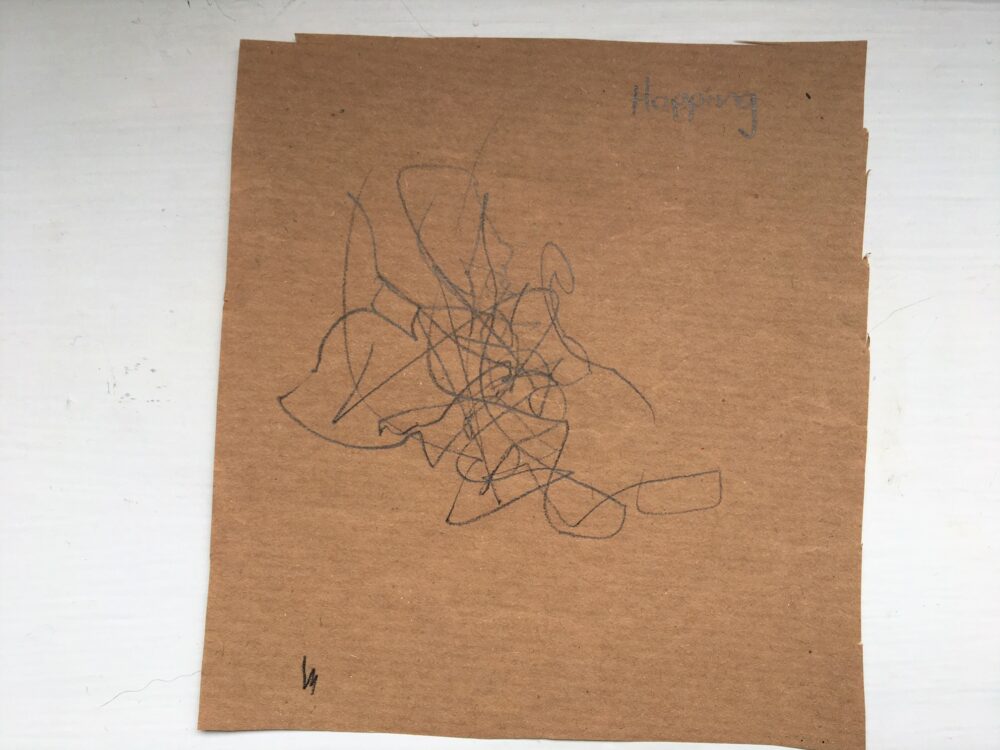
Suggestions of prompts are shown below, along with a photo example of each. The list is not exhaustive and you can think up your own or ask the participants to think of some too!
The Prompts:
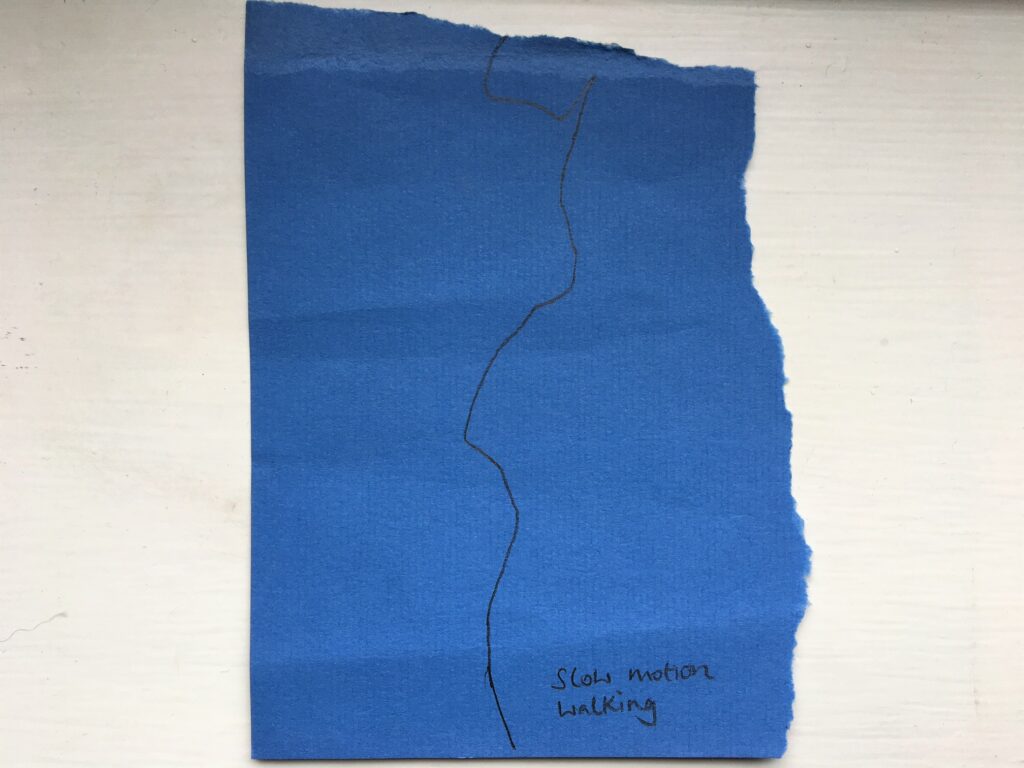
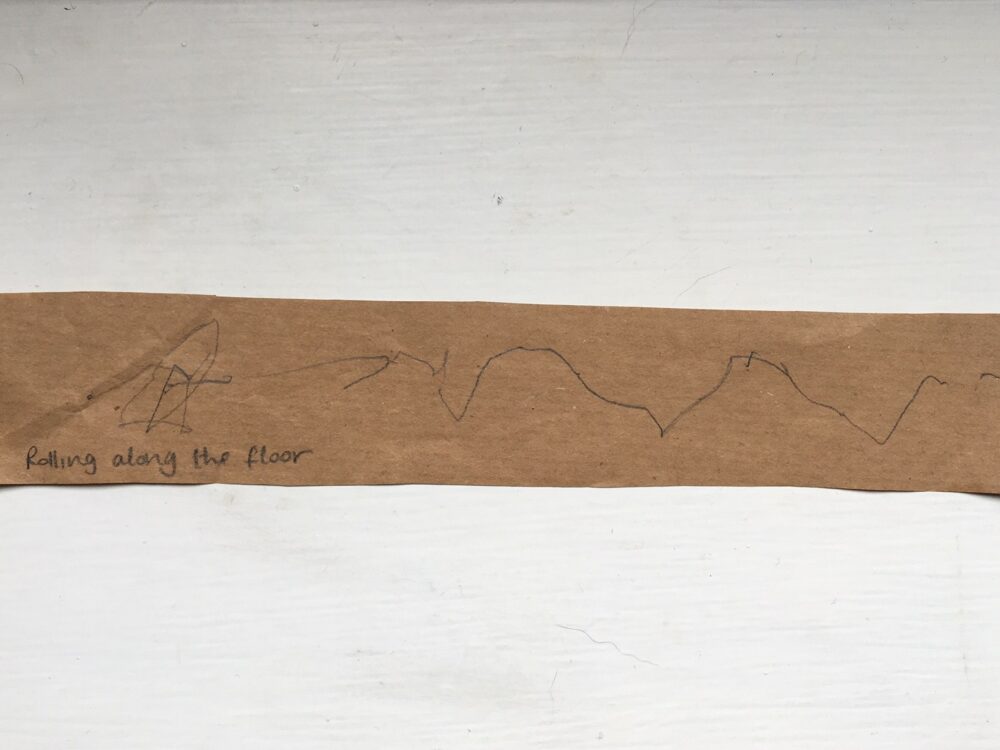
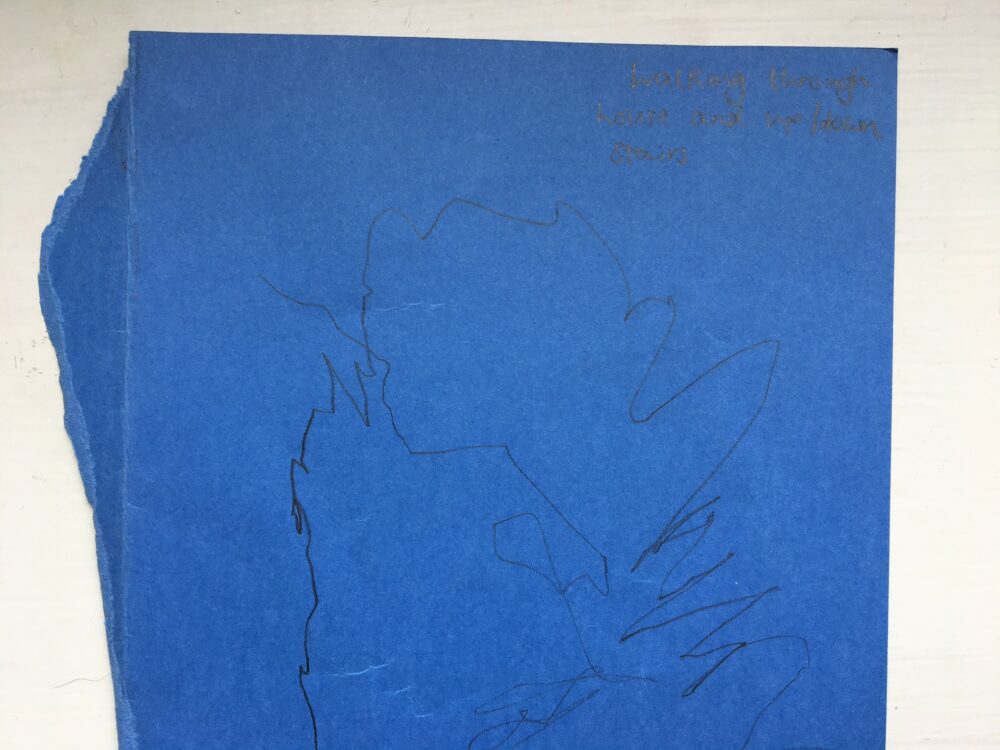
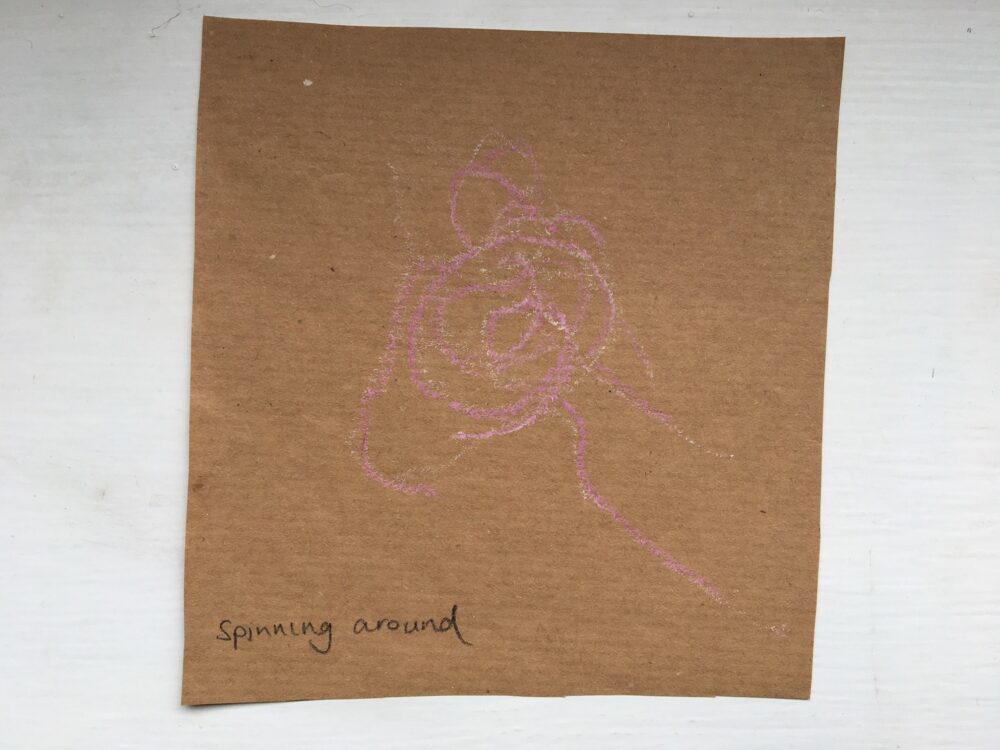
Next:
Having drawn marks according to real time movement, you can now challenge participants to engage with their imaginations for the next few prompts. A chance to engage with happy memories of favourite places:
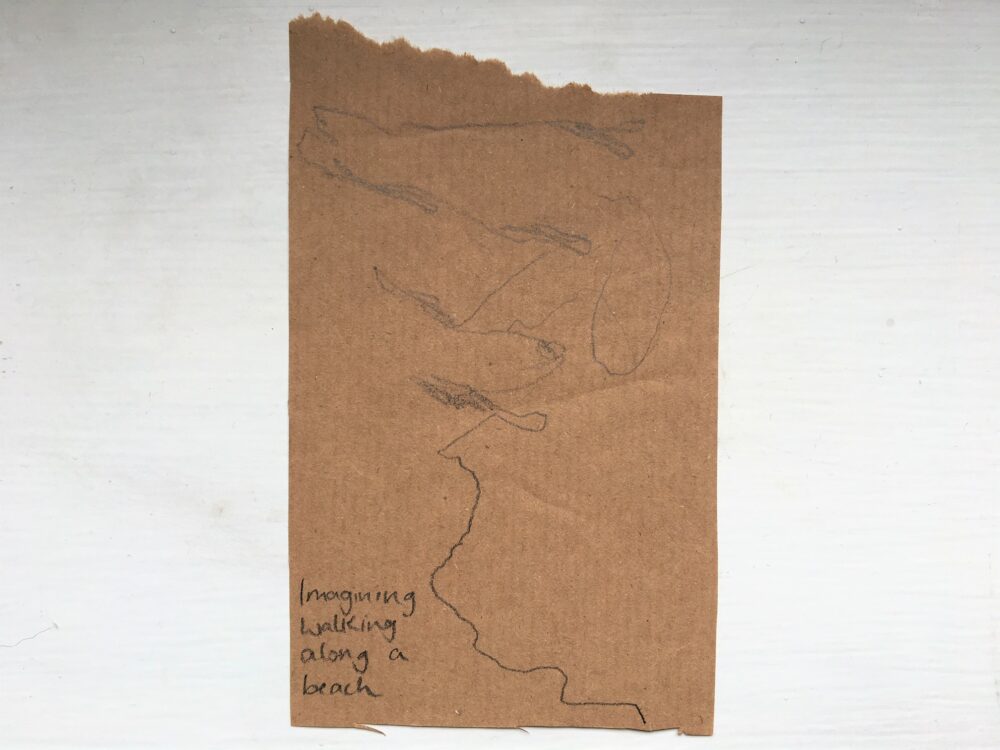
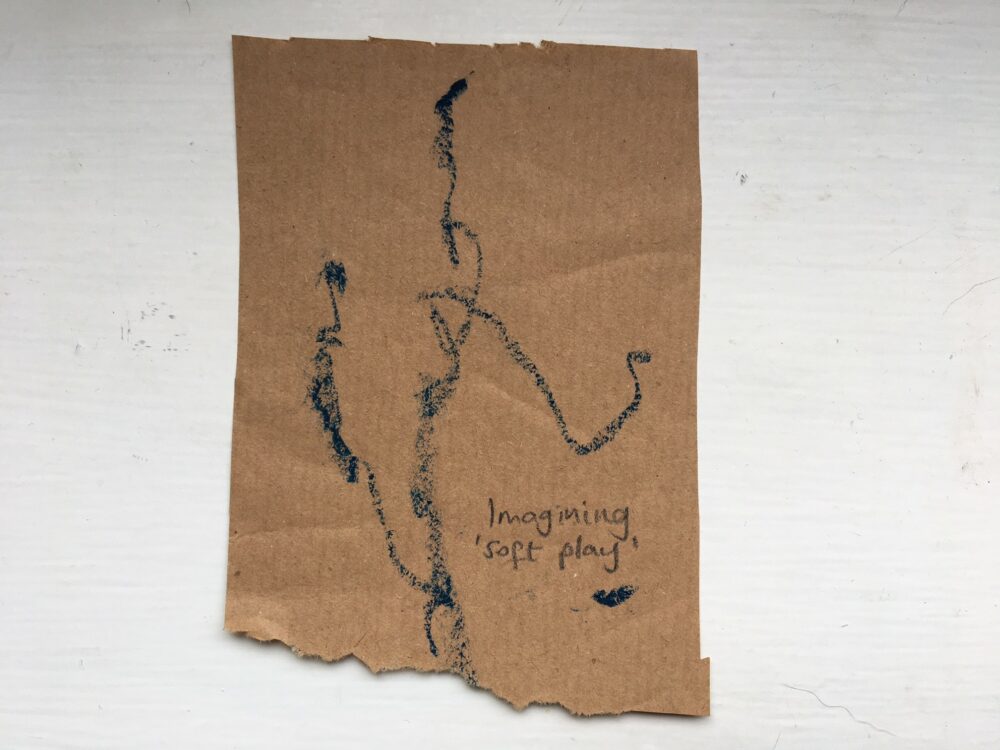
If possible, ask participants to label the prompts on the back of each piece of paper.
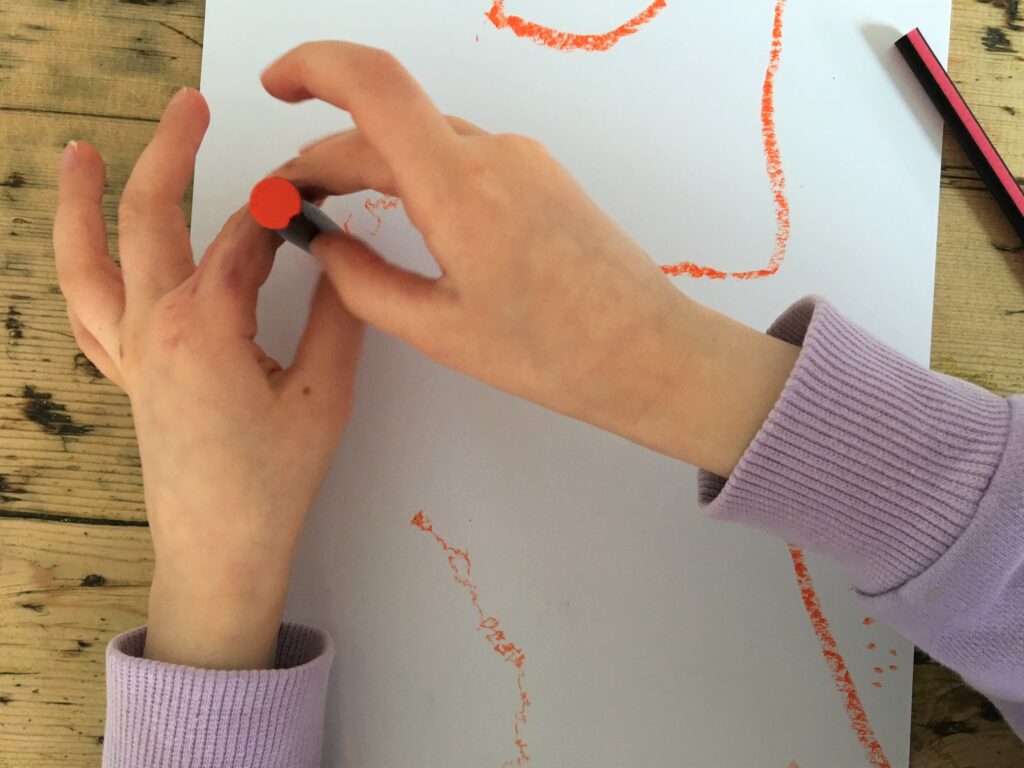
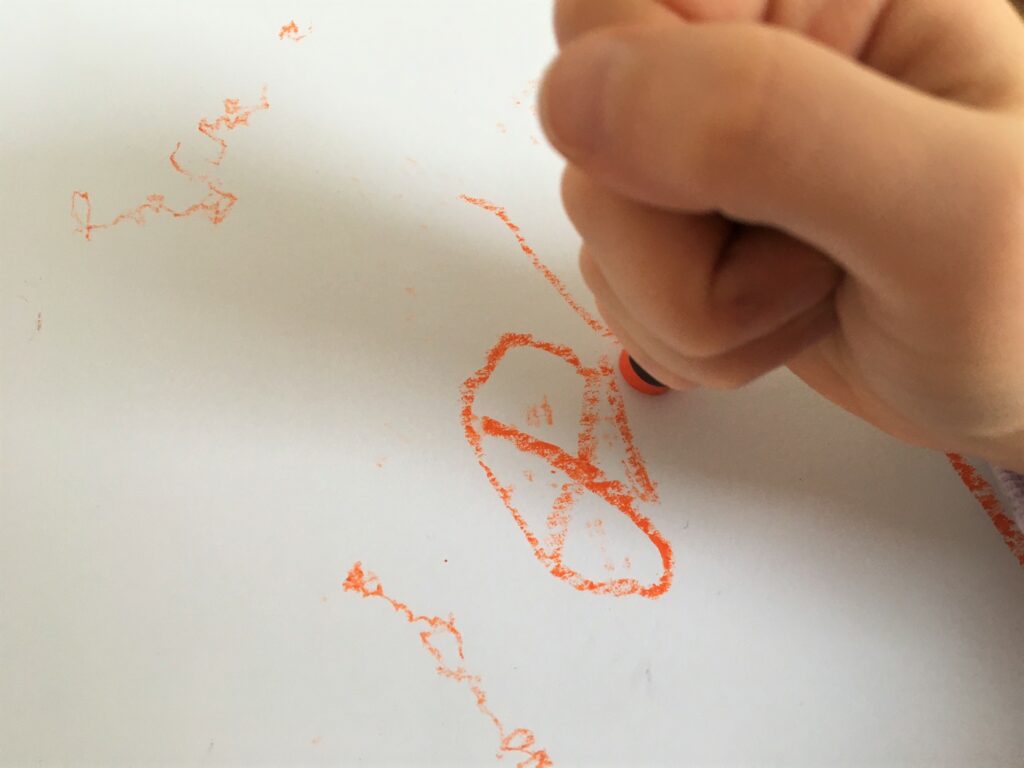
Remember to give reminders on how different materials can behave, and how our grip on them can create different marks. This is about experiencing ‘drawing in the moment’.
Reflection:
Now you have had the chance to talk about movement, memories and imagination, and how this transfers to drawing – invite participants to put a selection up on the wall and consider the following discussion points:
- Can they guess which movement is which?
- How do drawings of the same movements or memories differ from one person to the next?
- Do you prefer drawing from movement or from memory? Why?
- Are there any particular drawing materials that lend themselves to a particular movement or memory? Why do you think that is?
- Can anyone think of some more prompts for this exercise?
- Consider how this activity could be built into your regular sketchbook practice.
Moving On…
The second part of this mini project could take approximately one hour, although it could be built upon in new ways and we have suggestions for this in the ‘Notes to Teachers’ section at the top of this post.
The aim for this second part is for each participant to look at and reflect on their depictions of the above prompts and to take elements of them to create a larger scale abstract map.
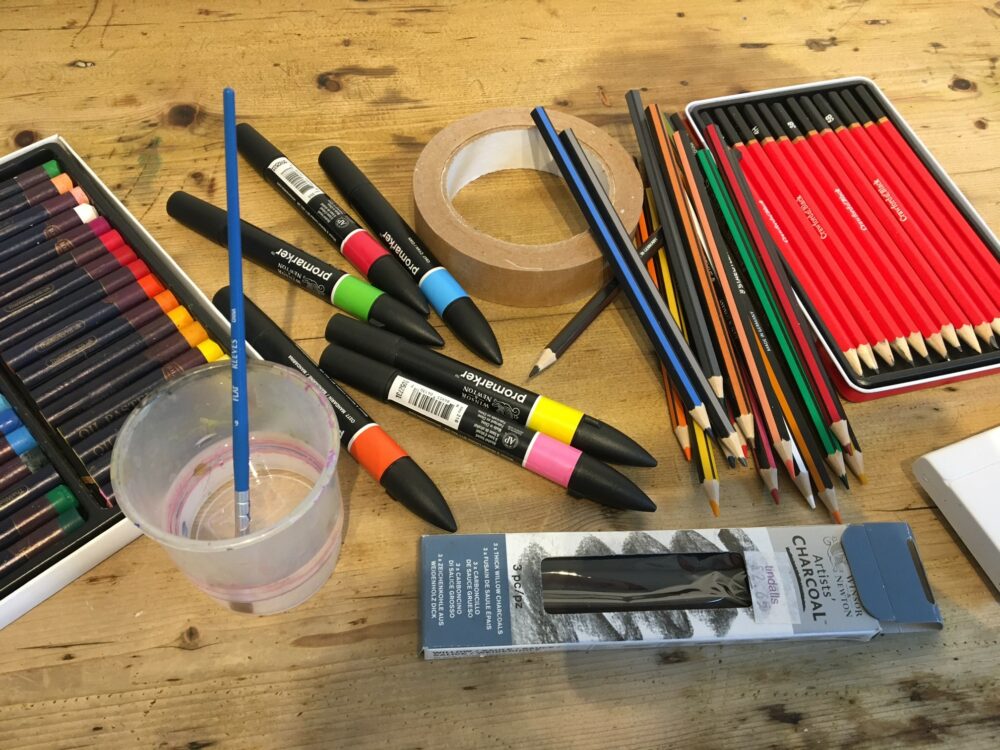
Now, we are building on the materials being used. Where the first activity was about using simple drawing tools such as pencils or charcoal- this is about widening the options. Have as wide a selection of drawing materials available as possible. Being able to experience how pastels differ to charcoal and how water colour differs to chalk builds our materials vocabulary and develops creative confidence.
To Begin
Invite participants to take a few moments to look at their previous movement pictures and observe any particular lines or sections that they like. Consider the following discussion points:
What is it that they like about the section they are looking at? The patterns? The chaos – or the order?
Can they pin point the exact movement or memory that particular line relates to?
How could the marks and patterns they’ve created weave in and out and around each other?
There are no right or wrong responses here. These discussions should be open ended but crucially, brief. The participants should transfer to a large sheet of cartridge or water colour paper (min A3) as soon as possible so that their exploration happens instinctively on the page without too much thinking involved!
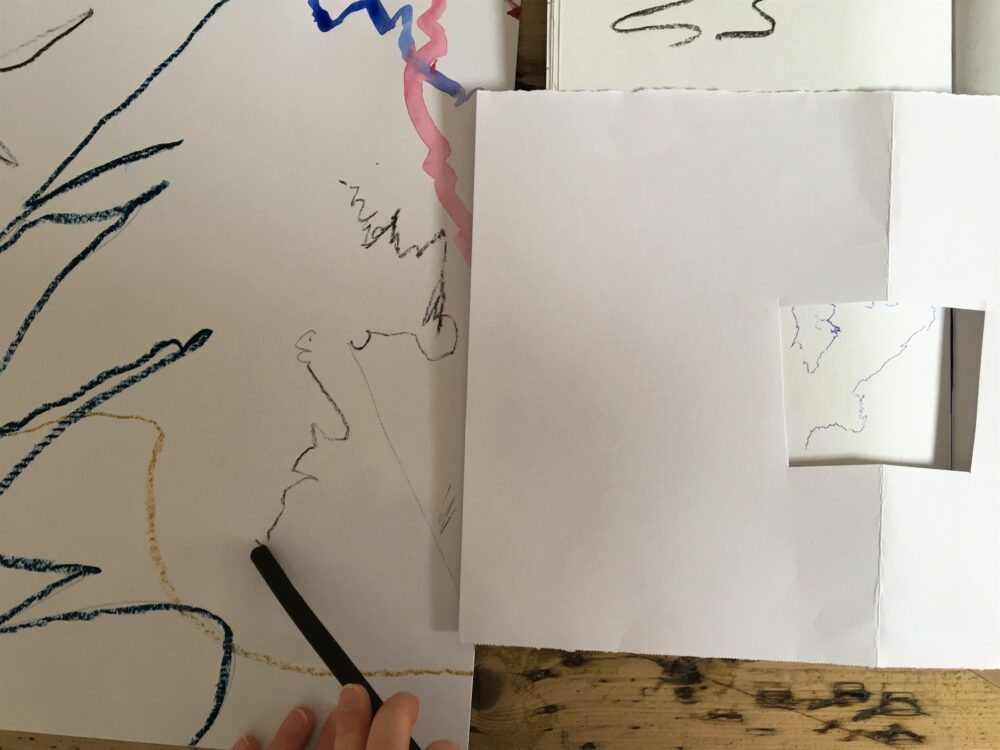
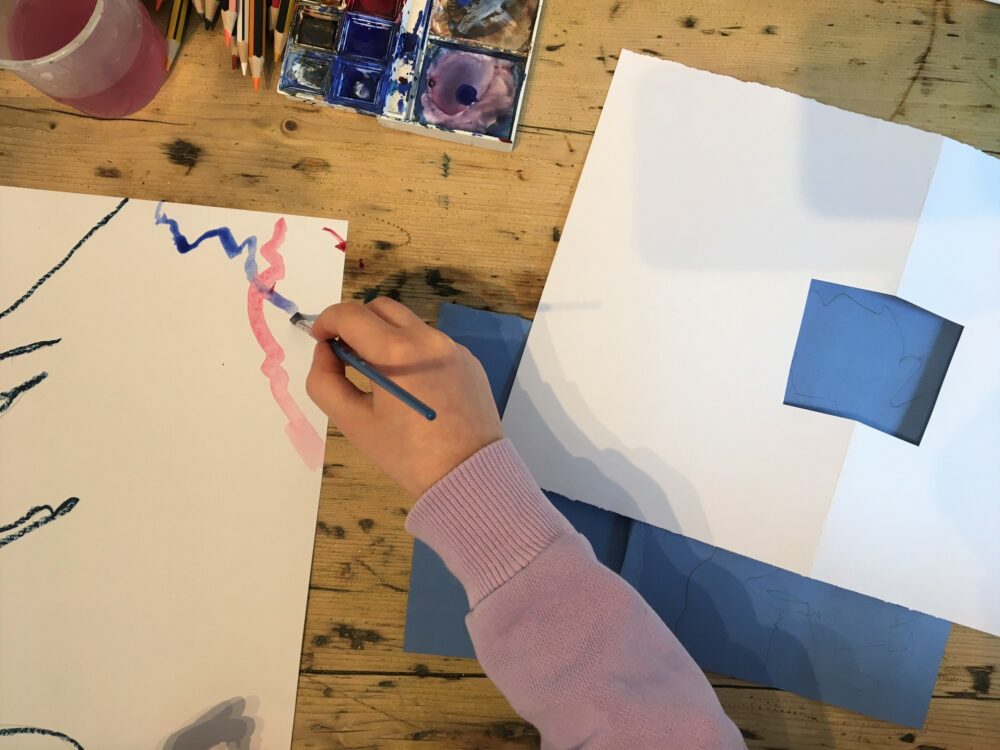
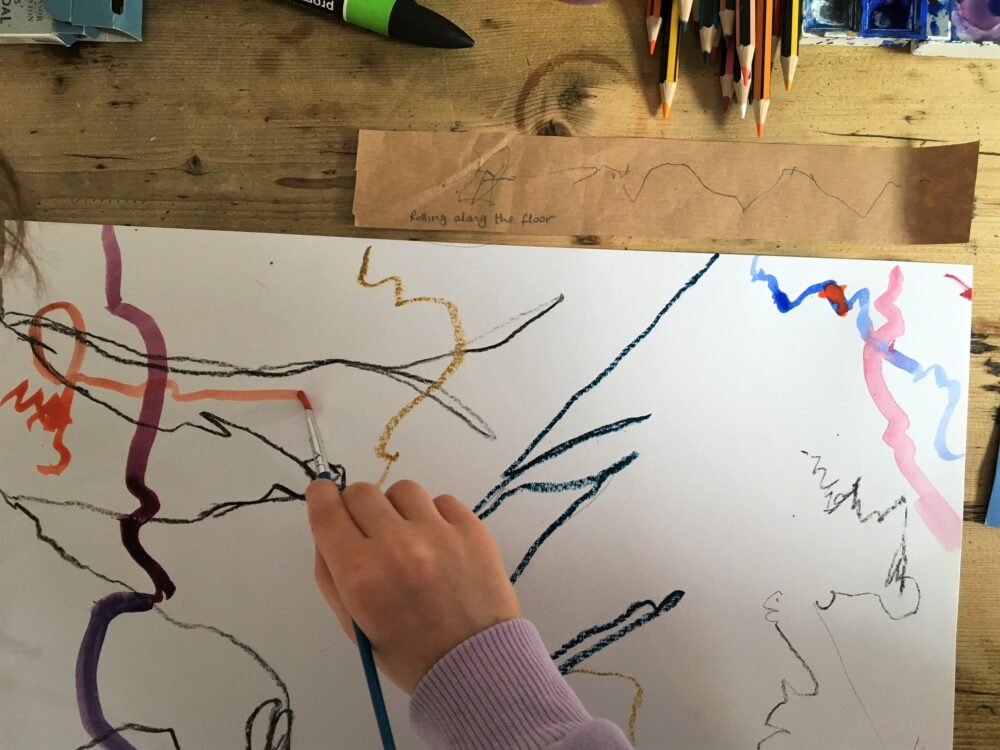
Invite participants to choose some paints or drawing materials and begin depicting elements of their earlier movement drawings on a larger scale, and in a way that means the marks interweave and overlap. Encourage them to vary colour, tone, materials etc to create interest on the page. For those finding it challenging to get started or ‘zoom in’ – try making a simple view finder by cutting out a square from a piece of card.
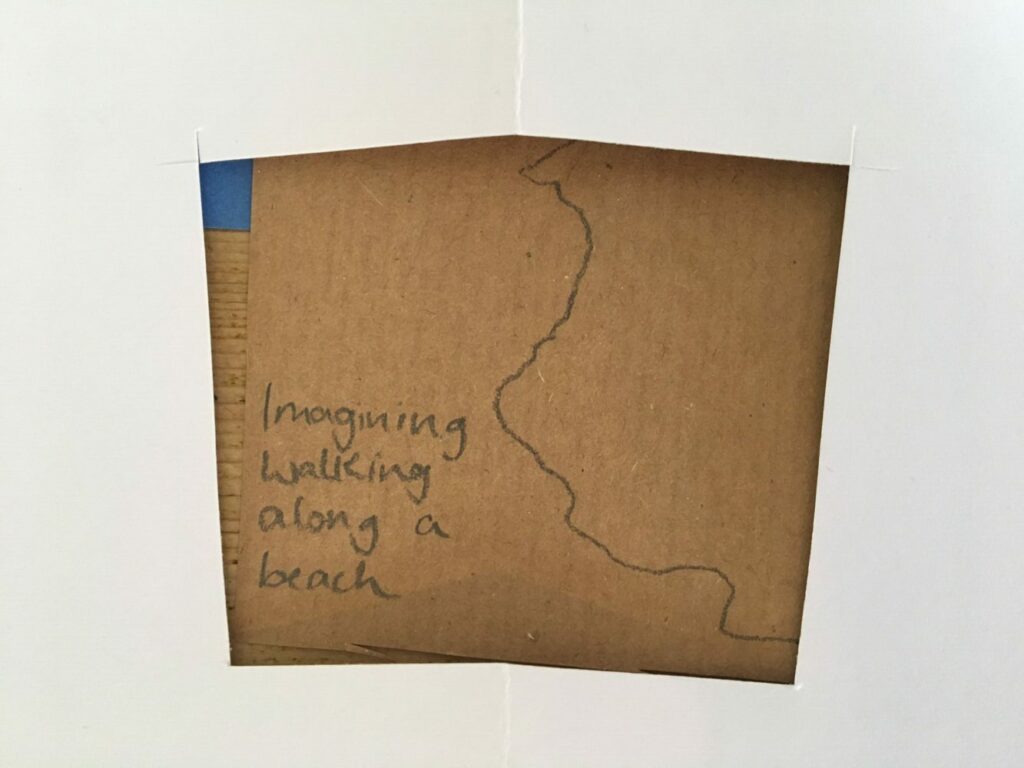
The lines revealed through the view finder can then be enlarged and repeated onto the larger paper.
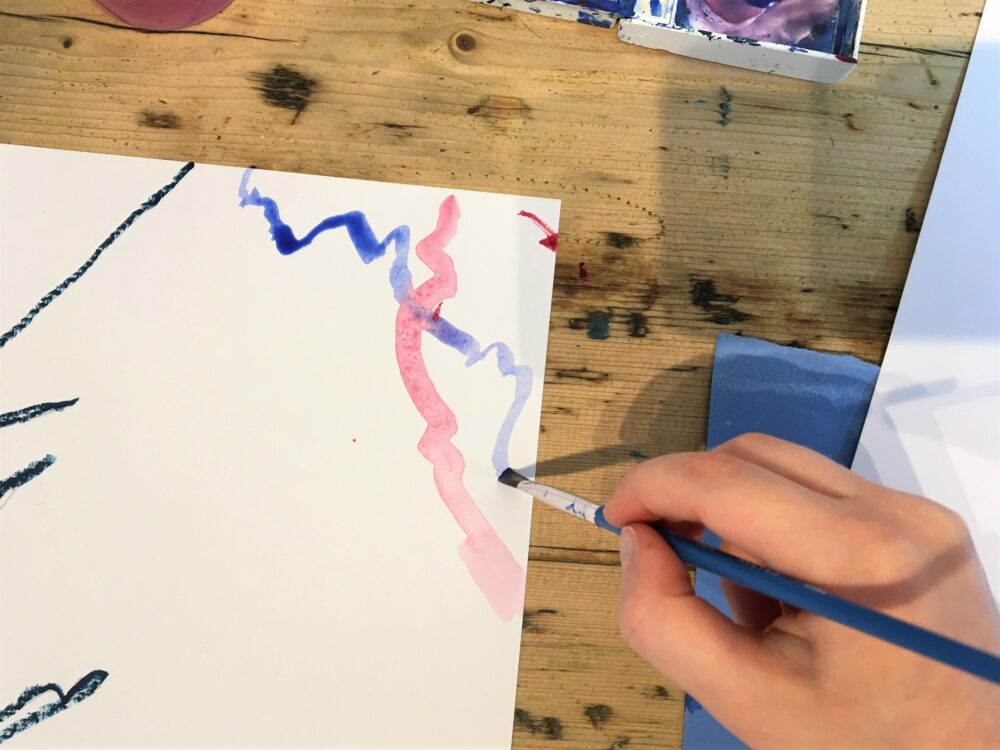
Younger children may find transferring marks from the movement drawings onto larger paper a bit tricky and so it’s important to stress that it’s not about creating a perfect copy of these drawings – but more about considering how we can represent rather than replicate.
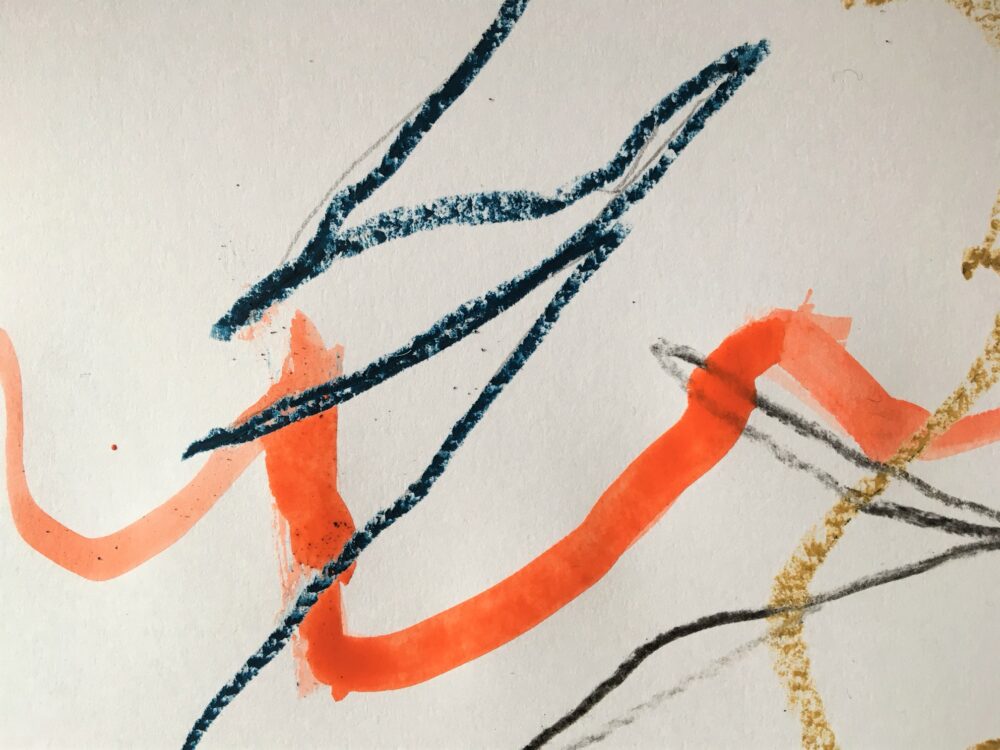
Observe how materials behave when in contact with one another. For example, oil pastel over water colour and vice versa.
Emphasise that this activity is about creating an art work that is truly unique and personal to each participant – and it is not about producing something finished or recognisable. Repeating activities similar to these and making them part of your classes’ ‘habits’ can help participants to embrace this approach and relinquish any anxiety they may feel that a drawing must be ‘perfect’.
Some final reflections:
Open up a discussion at the end of the session and perhaps pin some of the drawings up on the wall. Would anyone like to share their experience?
Discuss how the drawings look next to each other – can you map any journeys that extend from one picture to another? Could an even larger map be created?!
Can anyone share any thoughts on memories and how else we can depict them? Through diaries? Poems? We have been painting and drawing them in an abstract way. How is this different?
Have a go yourself! Go on the journey with your participants – modelling in this way is a great way for children to build confidence.
You can find more of Rachel’s resources here.

